 Skip to content
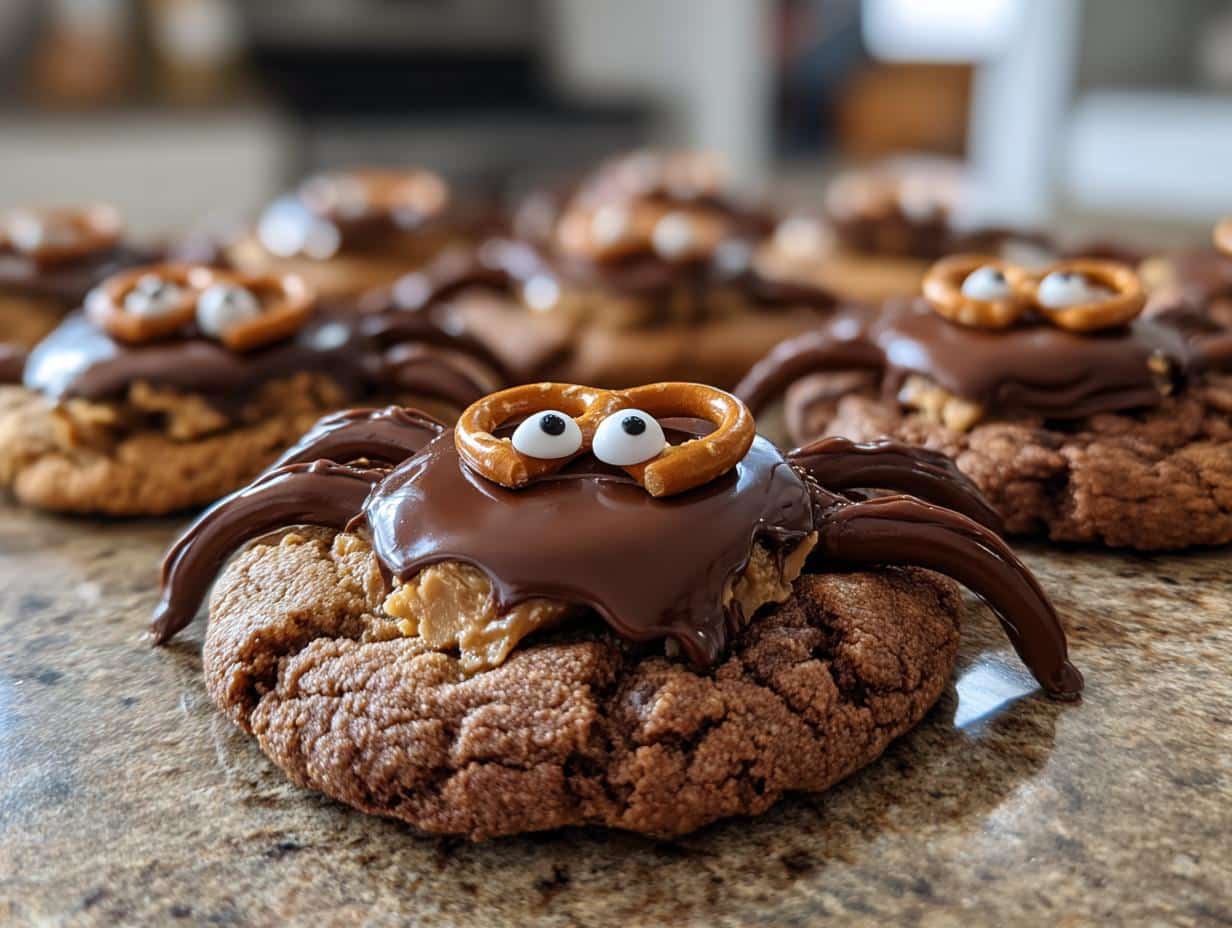
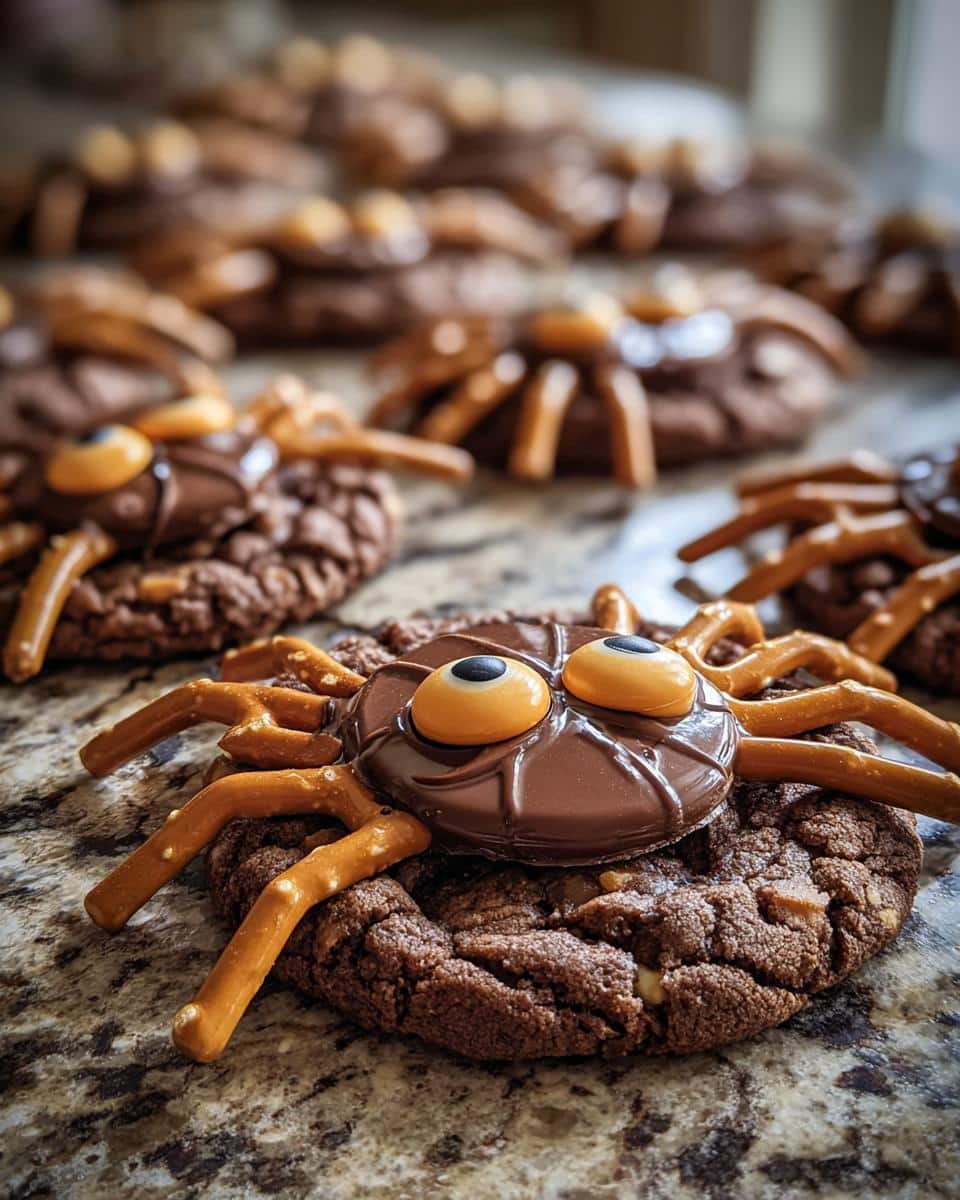
Nothing says Halloween quite like a batch of creepy-crawly spider cookies staring up at you from the plate! These little guys are my go-to spooky treat every October easy enough for kids to help with but impressive enough to steal the show at any Halloween party. Last year, my niece and nephew practically squealed with delight when we stuck the pretzel legs into the warm peanut butter cups (okay, fine, I might’ve squealed a little too).
What I love most about these Halloween spider cookies is how simple they are. You don’t need fancy decorating skills—just some basic ingredients you probably already have in your pantry. The chocolate cookie base bakes up perfectly chewy, the peanut butter cup makes the most delicious spider body, and those candy eyes? Absolute perfection. Trust me, these cookies disappear faster than ghosts at sunrise!
The best part? These treats look way more complicated than they actually are. In about 30 minutes, you’ll have a whole army of edible spiders ready to creep out your guests (in the best possible way). Whether you’re hosting a monster mash or just want a fun after-school baking project, these cookies always cast the perfect spell.
Table of Contents
Why You’ll Love These Halloween Spider Cookies
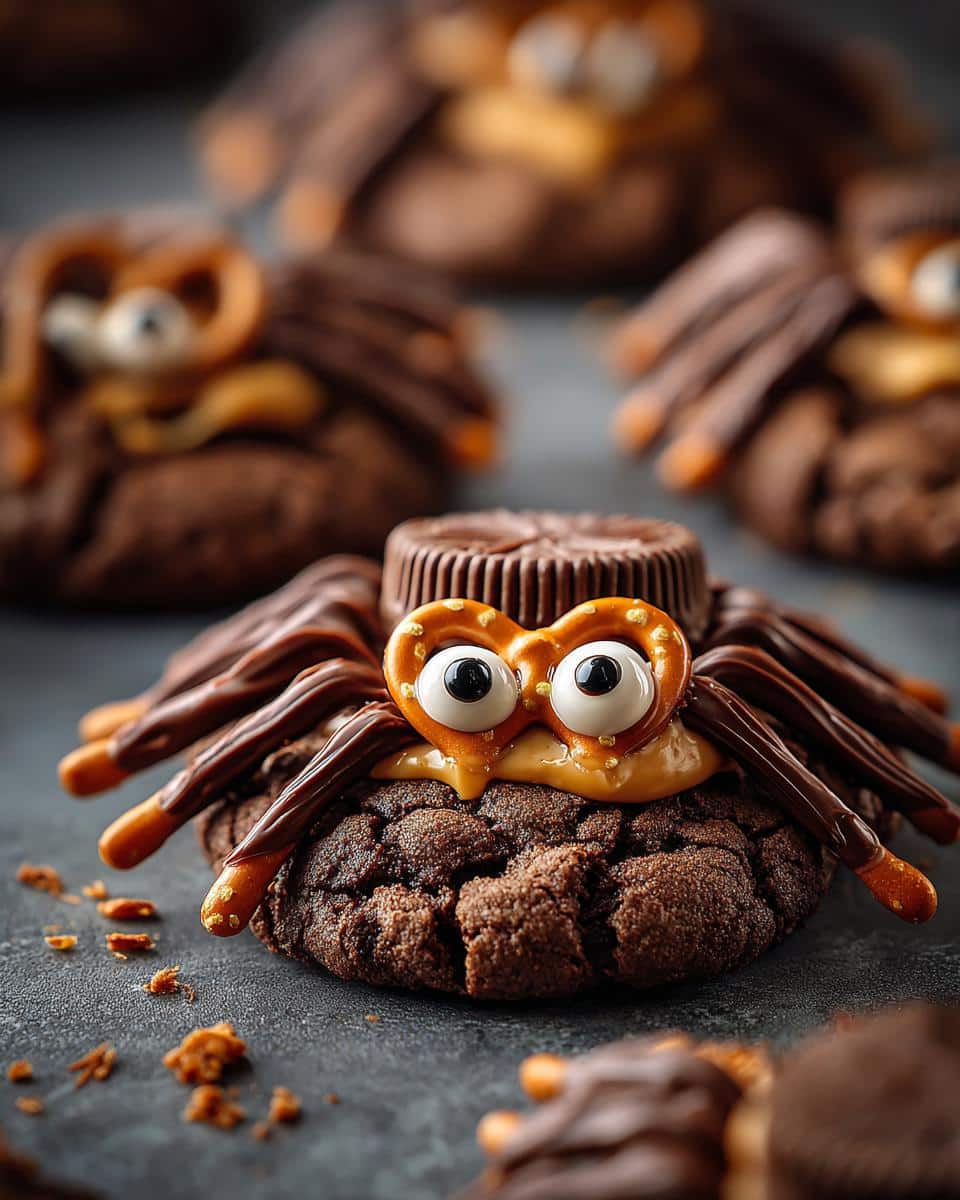
Listen, I know Halloween baking can get overwhelming with all those intricate cake designs and sugar skulls, but these spider cookies? They’re the ultimate stress-free, crowd-pleasing treat. Here’s why they’ve earned a permanent spot in my Halloween rotation:
- Party-perfect: They look impressively creepy but take barely any effort—ideal when you’re juggling costumes, decorations, and a sugar-hyped swarm of kids.
- Kid-magnet: Little hands love pressing in the pretzel legs and sticking on googly eyes (and sneaking peanut butter cups when you’re not looking).
- Pantry-friendly: Flour, cocoa, butter—no weird specialty ingredients. Even the “decorations” are just pretzels and store-bought candies!
- Totally customizable: Swap peanut butter cups for Rolos, use green candy eyes for aliens, or drizzle with white chocolate “webs.”
- Seriously delicious: That chocolate cookie base? Chewy perfection. The salty-sweet pretzel legs? *Chef’s kiss.* They taste as good as they look—maybe better.
Honestly, the hardest part is not eating them all before the party starts. Consider yourself warned!
Ingredients for Halloween Spider Cookies
Here’s everything you’ll need to summon your edible spider army – I promise it’s all simple stuff! The magic is in how these basic ingredients transform into something delightfully spooky.
- 1 cup all-purpose flour – Spoon and level it, don’t scoop!
- 1/2 cup unsweetened cocoa powder – I use regular, not Dutch-process (more on that below)
- 1/2 tsp baking soda – Check it’s fresh for the perfect rise
- 1/4 tsp salt – Just a pinch to balance the sweetness
- 1/2 cup unsalted butter, softened – Leave it out for 30 minutes until it gives slightly when pressed
- 3/4 cup granulated sugar – Regular white sugar works best here
- 1 large egg – Room temperature mixes in smoother
- 1 tsp vanilla extract – The good stuff, not imitation
- 24 mini peanut butter cups – Unwrapped and ready to become spider bodies
- 48 candy eyes – Because spiders need to see their prey!
- 1/2 cup chocolate chips, melted – For “gluing” the eyes
- 24 thin pretzel sticks, broken into small legs – Break each stick into 3-4 pieces
Ingredient Notes & Substitutions
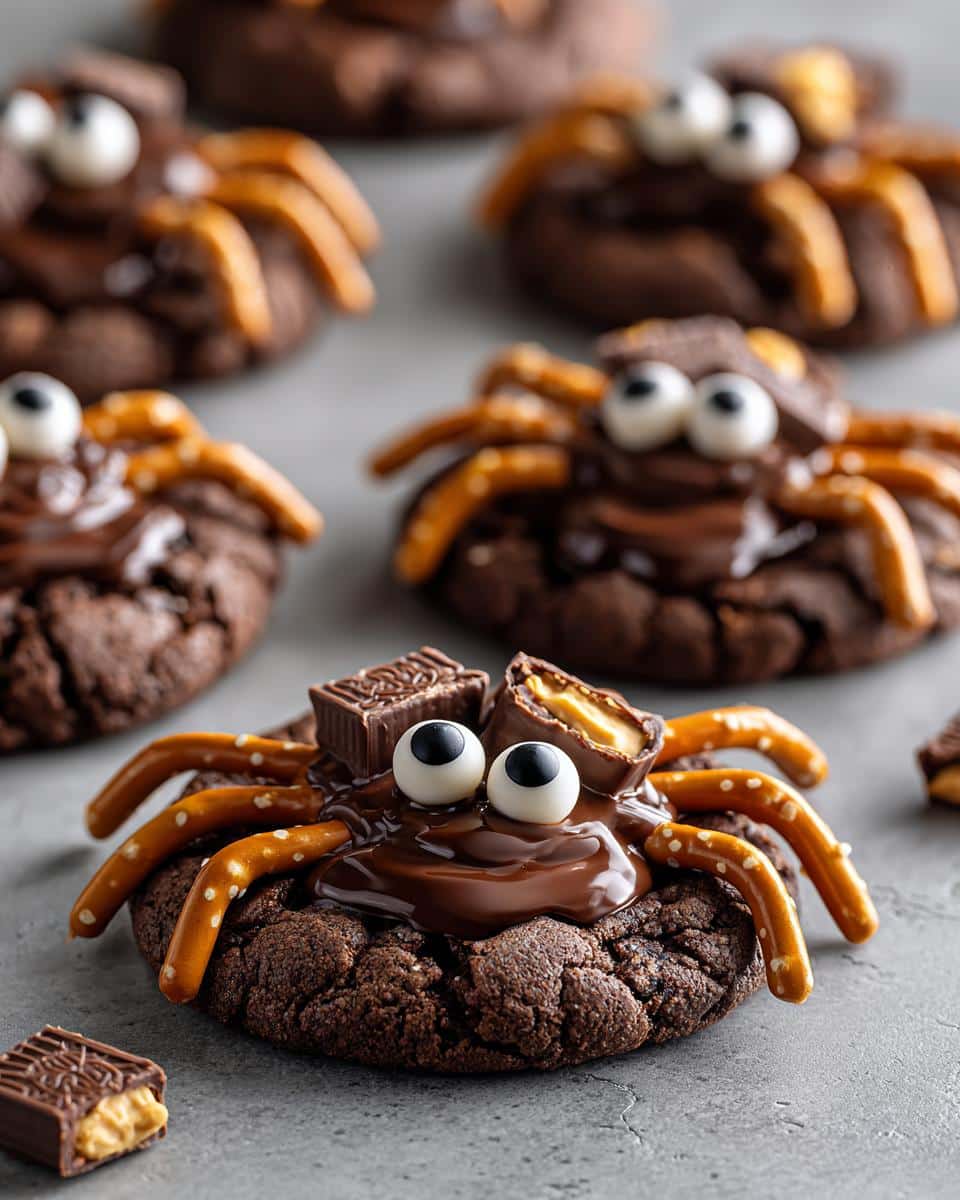
I’ve made these cookies with every variation imaginable – here’s my cheat sheet for swaps that actually work:
- Gluten-free? Use a 1:1 GF flour blend and GF pretzels. The texture stays perfect.
- Nut allergies? Swap peanut butter cups for mini Rolos or homemade Reese’s peanut butter cups.
- Cocoa powder: Stick with natural unsweetened (like Hershey’s), not Dutch-process, unless you want flatter cookies.
- Butter substitute: Margarine works in a pinch, but butter gives better flavor and texture.
- No candy eyes? Pipe tiny white chocolate dots with mini chocolate chip pupils.
- Pretzel alternatives: Thin licorice strips or piped chocolate legs work too (though pretzels give that perfect crunch!).
See? Even if you’re missing something, we can still make those creepy cookies happen!
Equipment You’ll Need
No fancy gadgets required here – just grab these basic tools from your kitchen and you’re ready to bake up some spider-y magic!
- Large mixing bowl – For combining all that chocolatey goodness
- Electric mixer or sturdy wooden spoon – I alternate between both depending on how much arm workout I want!
- Whisk – For getting those dry ingredients perfectly combined
- Measuring cups and spoons – Precision matters with baking (though I’ll admit to eyeballing the vanilla sometimes)
- Baking sheet – Standard half-sheet pan works great
- Parchment paper – Lifesaver for easy cleanup and non-stick cookies
- Cooling rack – Lets air circulate so cookies don’t get soggy
- Microwave-safe bowl – For melting chocolate (or use a double boiler if you’re feeling fancy)
- Small spoon or piping bag – For attaching those adorable candy eyes
That’s seriously it! No stand mixer, no cookie presses, no specialty pans. Just simple tools for maximum spooky fun. Now let’s make some cookies!
How to Make Halloween Spider Cookies
Okay, let’s turn those ingredients into eight-legged masterpieces! I’ve made this recipe so many times I could do it in my sleep, but I promise it’s foolproof even for first-timers. Just follow these simple steps:
- Prep your workspace: Preheat that oven to 350°F (175°C) and line your baking sheet with parchment paper. No parchment? A light grease will do, but parchment makes life easier.
- Whisk the dry stuff: In a bowl, whisk together the flour, cocoa powder, baking soda, and salt. Break up any cocoa lumps – we want smooth cookies, not lumpy spider bodies!
- Cream the butter & sugar: Beat the softened butter and sugar until fluffy. I let my mixer run for a full 2 minutes – this creates air pockets for the perfect cookie texture.
- Add wet ingredients: Beat in the egg and vanilla until just combined. Scrape down the sides – rogue butter chunks are the enemy!
- Bring it together: Gradually mix in the dry ingredients. The dough will be thick but shouldn’t be crumbly. If it’s sticky, chill for 15 minutes (more on that below).
- Shape & bake: Roll into 1-inch balls (I use a cookie scoop for consistency) and place on the sheet. Flatten slightly – they’ll spread a bit. Bake for 10 minutes exactly – they’ll look underdone but firm up.
- Create spiders: Immediately press a peanut butter cup into each warm cookie (they’ll soften perfectly). Working quickly, use melted chocolate to attach eyes and insert pretzel legs. If the chocolate sets too fast, pop the baking sheet back in the warm oven for 10 seconds.
- Cool completely: Let them set on the baking sheet for 5 minutes before transferring to a rack. The legs are fragile when warm!
Pro Tips for Perfect Spider Cookies
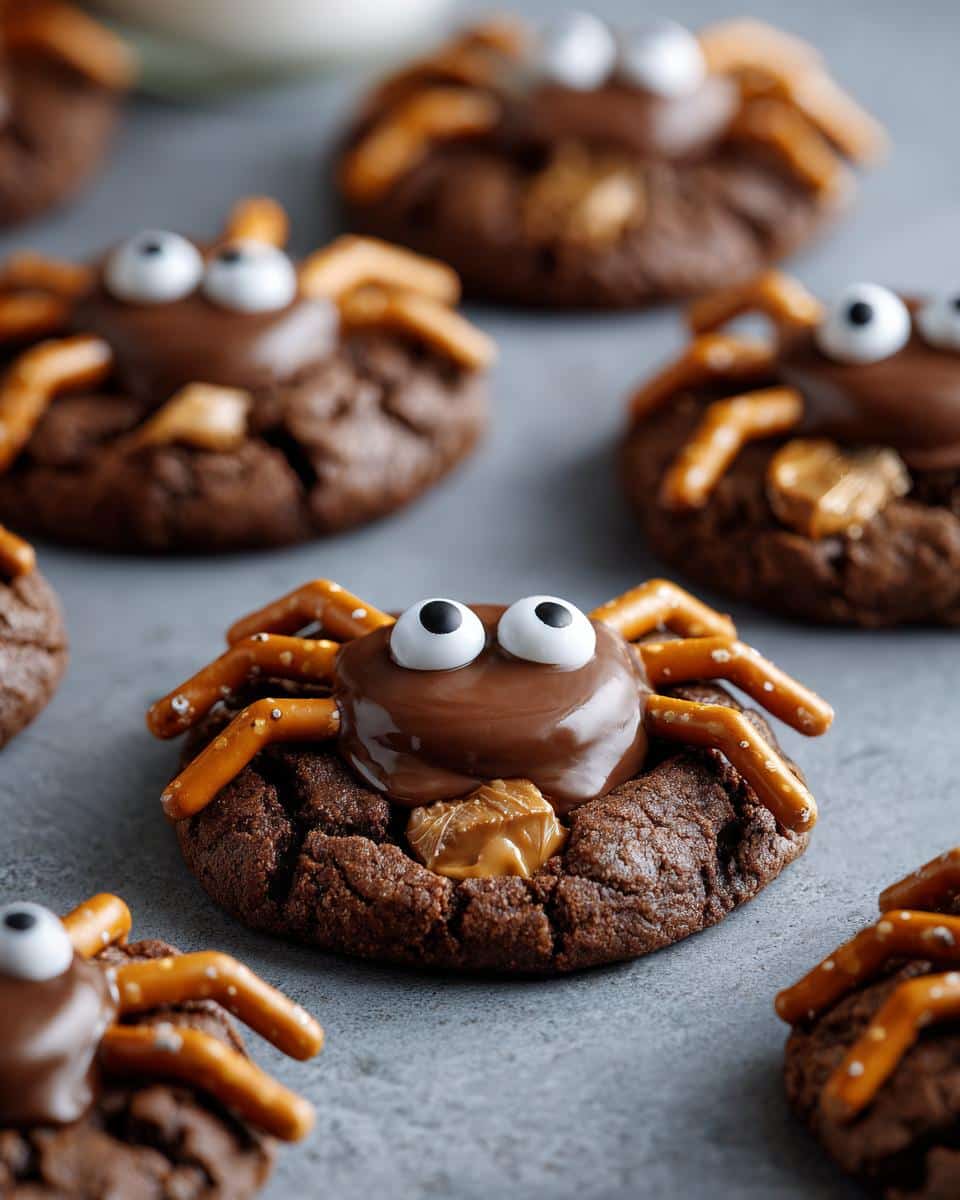
After years of trial and error (and a few wonky-looking spiders), here are my hard-earned secrets:
- Timing is everything: Those extra 2 minutes in the oven turn chewy cookies into crunchy ones. Set a timer!
- Chill sticky dough: If your dough feels too soft after mixing, 15 minutes in the fridge makes it much easier to handle.
- Melt chocolate gently: Microwave in 20-second bursts, stirring between each. Burnt chocolate won’t stick those eyes!
- Work fast with warm cookies: The peanut butter cups press easiest right out of the oven. Have all decorations ready to go.
- Break pretzels neatly: Use a knife to score and snap them – cleaner breaks than twisting by hand.
- Double the eyes: Because four-eyed mutant spiders are extra creepy (and kids love them).
See? No magic required – just a little patience and these tips will have you making picture-perfect spider cookies every time!
Storage & Serving Suggestions
Okay, let’s talk about keeping these eight-legged cuties fresh and how to serve them for maximum spooky impact! Here’s the deal – these cookies are best the day you make them (when the pretzels are still crisp), but with a few tricks, you can totally prep them ahead too.
Storage Tips:
- Airtight is key: Store in a single layer in an airtight container at room temperature. I like using those big plastic cookie keepers with the locking lids – keeps them fresh for up to 3 days.
- Separate layers carefully: If stacking, use parchment between layers so the legs don’t snap off. Nobody wants legless spiders!
- Freezing option: Freeze undecorated cookies for up to a month. Thaw, then refresh in a 300°F oven for 2 minutes before adding peanut butter cups and decorations.
- Pretzel trick: If the legs get soft, pop the whole cookie in a 325°F oven for 1-2 minutes to crisp them back up.
Serving Ideas:
- Go thematic: Serve on a black platter with fake spider webs (the cheesecloth kind – not real spider webs, obviously!).
- Perfect pairing: Dunk them in “witch’s brew” – just warm apple cider with a cinnamon stick stirrer. The cinnamon plays so nicely with the chocolate!
- Kids’ party hack: Let guests build their own spiders – set out cookies, peanut butter cups, and decorations for DIY fun.
- Ghoulish gift: Package in clear cellophane bags with orange and black ribbon – instant party favors!
Pro tip: If you’re transporting these to a party, pack them carefully in a shallow container so the legs don’t snap off in transit. Trust me, I learned this the hard way after showing up with a box of “spider stumps” one year!
Halloween Spider Cookies Variations
What’s creepier than spiders? Mutant spiders with personality! Once you’ve mastered the basic recipe, it’s time to get creative. Here are my favorite ways to mix things up—perfect for different Halloween themes or just when you want to surprise your cookie monsters (both literal and metaphorical).
Candy Body Swaps:
- Zombie spiders: Use green-tinted white chocolate to attach googly eyes at crazy angles. Bonus points for dripping “blood” (red icing) from their mouths!
- Vampire spiders: Substitute peanut butter cups with York peppermint patties—the white filling makes creepy fangs when you notch the edges.
- Glow-in-the-dark: Swap regular candy eyes for glow-in-the-dark versions (find them at craft stores). Charge them under a light before serving for an eerie effect.
- Monster mash: Mix up the bodies—try Rolos for golden spiders, caramel squares for striped ones, or even Oreo halves for mega spiders.
Leggy Alternatives:
- Chocolate-dipped: Pipe melted chocolate legs instead of pretzels for a smoother look (let dry before assembling).
- Candy legs: Use black licorice laces or sour straws cut into thin strips—chewier but super fun!
- Spaghetti spiders: Break uncooked spaghetti into pieces before baking—they’ll cook in the oven’s residual heat for a different texture.
Theme It Up:
- Haunted house party: Dust cookies with edible gray luster dust for “dusty attic” spiders.
- Witch’s brew: Add green food gel to melted white chocolate before piping web designs over the spiders.
- Pumpkin patch: Use orange candy melts for bodies and pipe jack-o’-lantern faces instead of eyes.
The best part? Kids love coming up with their own variations. Last year, my nephew insisted we make “spider superheroes” with candy capes. Were they anatomically correct? Absolutely not. Were they the hit of the party? You betcha!
Halloween Spider Cookies FAQs
After years of making these creepy treats, I’ve gotten all the same questions from friends and family—so let me save you some trouble with my tried-and-true answers!
Can I freeze these spider cookies?
Absolutely! Freeze the undecorated baked cookies for up to a month in an airtight container. When ready to serve, thaw at room temperature, then pop them in a 300°F oven for 2 minutes to soften just enough to press in the peanut butter cups. Decorate as usual—the legs will stay crisp this way.
How far in advance can I make them?
The cookies themselves stay fresh for 3 days when stored properly, but for best texture, I recommend assembling them the day of your event. You can bake the cookies 1-2 days ahead and store them plain, then add the spider decorations a few hours before serving.
Why did my pretzel legs break off?
Oh no—welcome to my first-year Halloween disaster! The key is inserting the pretzel pieces while the peanut butter cup is still warm and slightly melted. If they crack later, a tiny dab of melted chocolate works as “glue.” Also, handle them gently when storing—these are delicate critters!
Can I use regular-sized peanut butter cups?
You bet! Just flatten your cookie dough balls slightly larger before baking. The mini ones are easier for kids to handle, but regular cups make impressive giant spiders. You’ll need to adjust baking time by 1-2 extra minutes though.
Help! My candy eyes won’t stick!
Been there! Make sure your melted chocolate isn’t too thick—thin it with a tiny bit of vegetable oil if needed. Also, lightly press the eyes for 5 seconds to help them adhere. If all else fails, use tiny dots of frosting as glue (it dries clear).
Still have questions? Drop them in the comments—I’ve probably made every mistake possible with these cookies and lived to tell the tale!
Nutritional Information
Okay, let’s be real – these aren’t health food (shocking, I know), but here’s the nutritional breakdown per spider cookie based on standard ingredients. Remember, your exact numbers might vary depending on brands and any substitutions you make!
- Calories: 120
- Total Fat: 6g (3g saturated)
- Cholesterol: 15mg
- Sodium: 60mg
- Total Carbohydrates: 16g
- Dietary Fiber: 1g
- Sugars: 9g
- Protein: 2g
Important disclaimer: These estimates are based on generic USDA nutritional data and will vary depending on specific ingredient brands and amounts used. I’m not a nutritionist – I’m just a cookie lover who likes to know what I’m indulging in!
That said, considering these cookies contain actual chocolate, peanut butter, and pretzels (hello, three major food groups in my book), I’d say they’re basically balanced. Everything in moderation, right? Even spiders deserve love – especially the edible kind!
Final Thoughts
There you have it—my foolproof recipe for Halloween spider cookies that never fail to delight both kids and adults! Whether you’re making these for a spooky party, a classroom treat, or just because (no judgment here), I promise they’ll be the talk of the season. That perfect combination of chewy chocolate cookie, creamy peanut butter, and salty pretzel legs? Absolute magic.
I’d love to see your creepy creations! Tag me on social media with your spider cookie photos—especially if you try any wild variations like zombie spiders or candy-caped superheroes. Nothing makes me happier than seeing families baking together and having fun with this recipe, just like my niece and nephew do every year.
Oh, and a word to the wise: make a double batch. These eight-legged goodies disappear faster than you can say “trick or treat!” Now go forth and bake some spooky memories—I can’t wait to hear about all your Halloween adventures with these cookies. Happy baking, my fellow arachnid enthusiasts!
Print
Spooky 30-Minute Halloween Spider Cookies for Kids
- Total Time: 30 mins
- Yield: 24 cookies
- Diet: Vegetarian
Description
Creepy and fun Halloween spider cookies that are easy to make and perfect for spooky celebrations.
Ingredients
- 1 cup all-purpose flour
- 1/2 cup unsweetened cocoa powder
- 1/2 tsp baking soda
- 1/4 tsp salt
- 1/2 cup unsalted butter, softened
- 3/4 cup granulated sugar
- 1 large egg
- 1 tsp vanilla extract
- 24 mini peanut butter cups
- 48 candy eyes
- 1/2 cup chocolate chips, melted
- 24 thin pretzel sticks, broken into small legs
Instructions
- Preheat oven to 350°F (175°C). Line a baking sheet with parchment paper.
- Whisk flour, cocoa powder, baking soda, and salt in a bowl.
- Cream butter and sugar until fluffy. Beat in egg and vanilla.
- Gradually mix in dry ingredients until dough forms.
- Roll dough into 1-inch balls and place on baking sheet. Flatten slightly.
- Bake for 10 minutes. Press a peanut butter cup into each cookie while warm.
- Attach candy eyes with melted chocolate.
- Insert pretzel pieces as spider legs.
- Let cool before serving.
Notes
- Store in an airtight container for up to 3 days.
- Use gluten-free pretzels for a gluten-free option.
- Swap peanut butter cups for chocolate-covered caramels if allergic to peanuts.
- Prep Time: 20 mins
- Cook Time: 10 mins
- Category: Dessert
- Method: Baking
- Cuisine: American



