 Skip to content
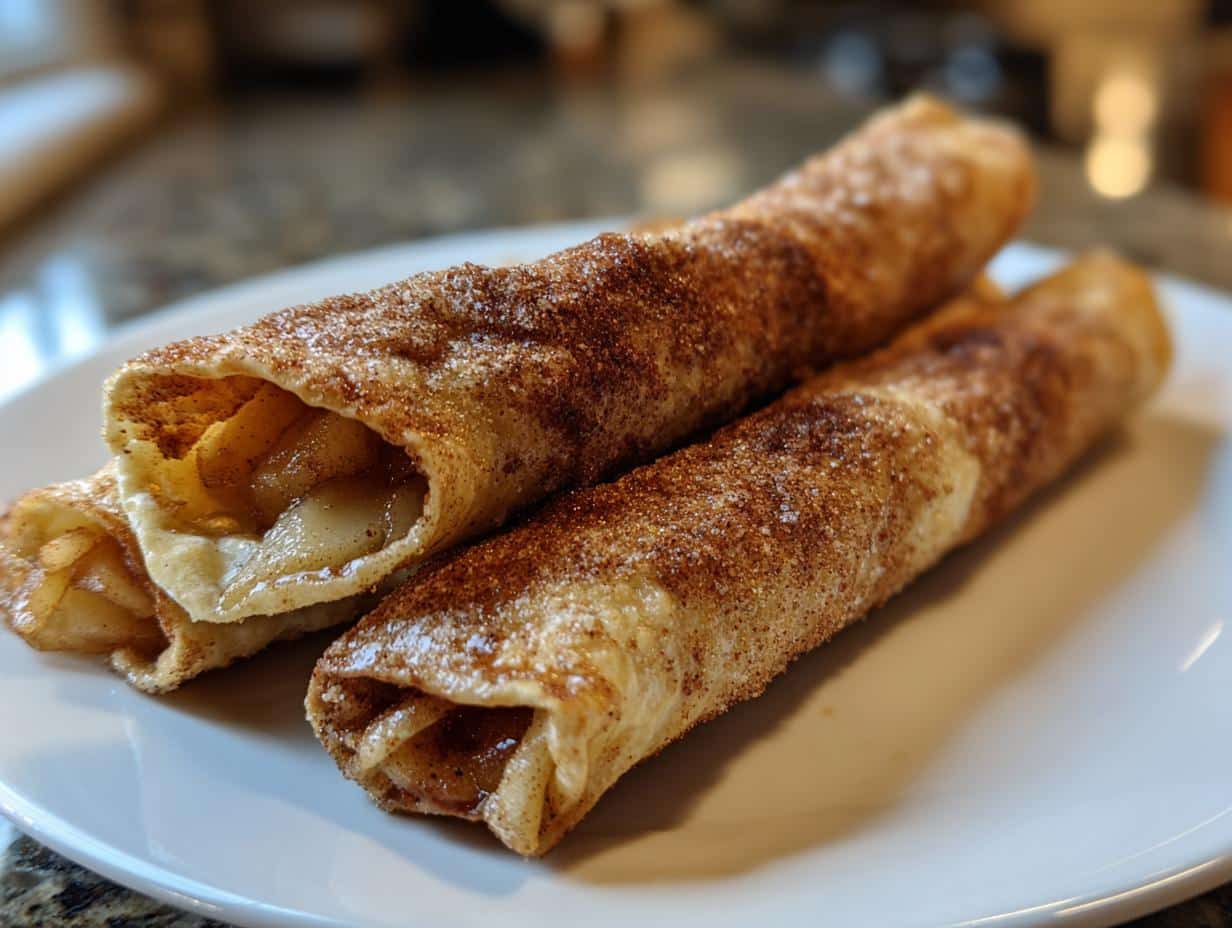
I’ll never forget the first time I made apple pie taquitos—my niece’s eyes lit up like I’d invented dessert magic. These crispy little rolls take everything we love about classic apple pie and wrap it up in a golden tortilla, ready to dunk in ice cream or sneak straight from the baking sheet. They’re my go-to when friends pop over unexpectedly because they come together in under 30 minutes, and honestly? The smell of cinnamon and baked apples makes my tiny kitchen feel like a fall festival. Kids go wild for the handheld shape, and adults always ask for the recipe—especially when I drizzle them with warm caramel sauce. Trust me, once you try this fun twist, you’ll never look at apple pie the same way again.
Table of Contents
Why You’ll Love These Apple Pie Taquitos
Listen, these taquitos aren’t just dessert—they’re a whole vibe. Here’s why they’ve become my secret weapon:
- Weeknight lifesaver: 25 minutes from chopping apples to golden perfection? Yes, please!
- Kid-tested magic: My picky nephew devours three before I can say “apple pie”
- Party superstar: That satisfying CRUNCH when you bite in? Always gets compliments
- Customizable fun: Drizzle with caramel, dust with powdered sugar, or go wild with ice cream
- Breakfast rebellion: (Don’t tell anyone I eat leftovers cold with my morning coffee)
Seriously—if happiness had a crispy outer shell and warm cinnamon-apple center, this would be it.
Apple Pie Taquitos Ingredients
Grab these simple ingredients – chances are you’ve got most in your pantry already! The magic happens when you combine them just right:
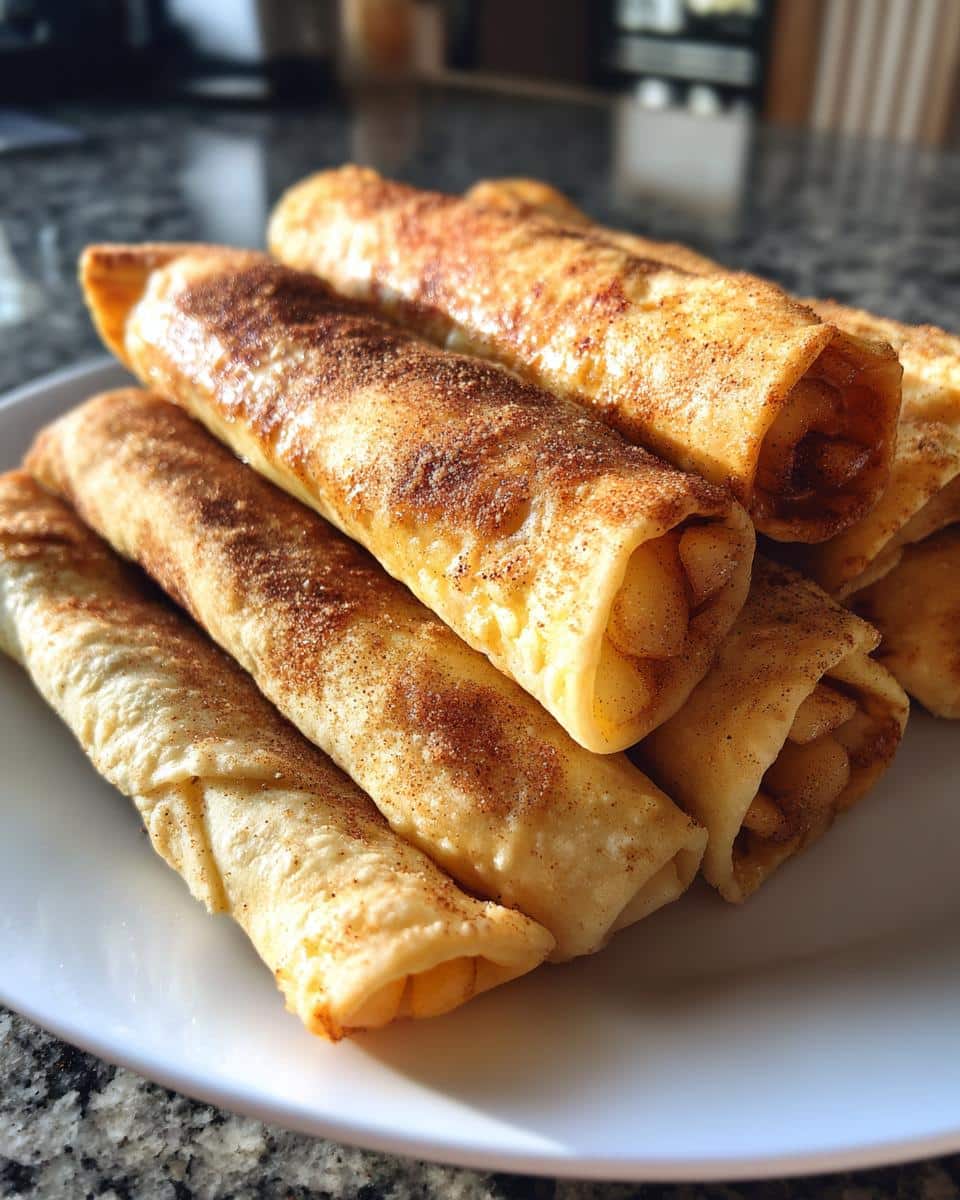
- 2 cups diced Granny Smith apples (about 2 medium – peel if you prefer, but I love the rustic texture with skins on)
- 1/4 cup packed dark brown sugar (that molasses richness makes all the difference)
- 1 tsp cinnamon (my secret? A heaping teaspoon for extra coziness)
- 1/2 tsp fresh grated nutmeg (skip the pre-ground if you can – the aroma is unreal)
- 8 small (6-inch) flour tortillas (I use the “street taco” size – they crisp up perfectly)
- 2 tbsp melted butter (salted butter gives that sweet-salty contrast we crave)
- 1 tbsp fresh lemon juice (bottled works in a pinch, but fresh keeps apples bright)
Ingredient Substitutions & Notes
Baking is an adventure – here’s how to tweak when needed:
- Apples: Honeycrisp or Fuji work if you want sweeter taquitos, but reduce sugar slightly
- Sweetener: Swap brown sugar for equal parts honey or maple syrup – just warm it slightly first
- Tortillas: Corn tortillas add authentic crunch (microwave 10 seconds first so they don’t crack)
- Spice shortcut: 1 1/2 tsp pumpkin pie spice replaces cinnamon + nutmeg in a pinch
- Dairy-free: Coconut oil works beautifully instead of butter (just melt and brush same way)
Pro tip: If your tortillas feel stiff, wrap them in a damp towel and microwave 15 seconds – they’ll roll without tearing!
How to Make Apple Pie Taquitos
Okay, let’s get rolling—literally! Follow these simple steps, and you’ll have golden, crispy taquitos before you know it:
- Preheat your oven to 375°F (190°C) before anything else. Trust me, waiting for the oven to heat is the longest part of this recipe!
- Mix the magic filling: In a medium bowl, toss together diced apples, brown sugar, cinnamon, nutmeg, and lemon juice until the apples are evenly coated. Let it sit for 5 minutes—this helps the flavors marry and the sugar to draw out some apple juices.
- Roll like a pro: Spoon about 2 tablespoons of filling onto each tortilla, spreading it in a line slightly below the center. Roll tightly (but not too tight—the apples need breathing room!) and place seam-side down on a baking sheet. If your tortillas fight back, a quick 10-second microwave wrap in a damp towel softens them right up.
- Butter up: Brush each taquito lightly with melted butter—this is what gives them that gorgeous golden crunch. Don’t skip this step, or you’ll miss that signature bakery-style shine!
- Bake to perfection: Pop them in the oven for 12-15 minutes until they’re crisp and lightly browned. Rotate the pan halfway through if your oven has hot spots (mine definitely does).
- Cool slightly—if you can wait: Let them rest 2-3 minutes before serving. That filling gets HOT, and the short rest helps the tortillas crisp up even more.
Pro Tips for Perfect Apple Pie Taquitos
After making these dozens of times (okay, maybe hundreds—my neighbors keep requesting them), here’s what I’ve learned:
- Dry those apples: After mixing the filling, pat the apples lightly with a paper towel. Too much juice = soggy taquitos. A little moisture is good, but we’re not making soup!
- Seal the deal: Lightly brush the tortilla edges with water before rolling—it acts like edible glue to prevent unraveling in the oven. No one wants a taquito explosion mid-bake!
- Give them space: Don’t crowd the baking sheet—leave about an inch between taquitos so hot air can circulate. I use two sheets if needed. Crispy edges for everyone!
- Underfill to win: It’s tempting to stuff them full, but 2 tablespoons max per taquito keeps everything intact. Extra filling? Bake it alongside in a ramekin—instant mini apple crisp!
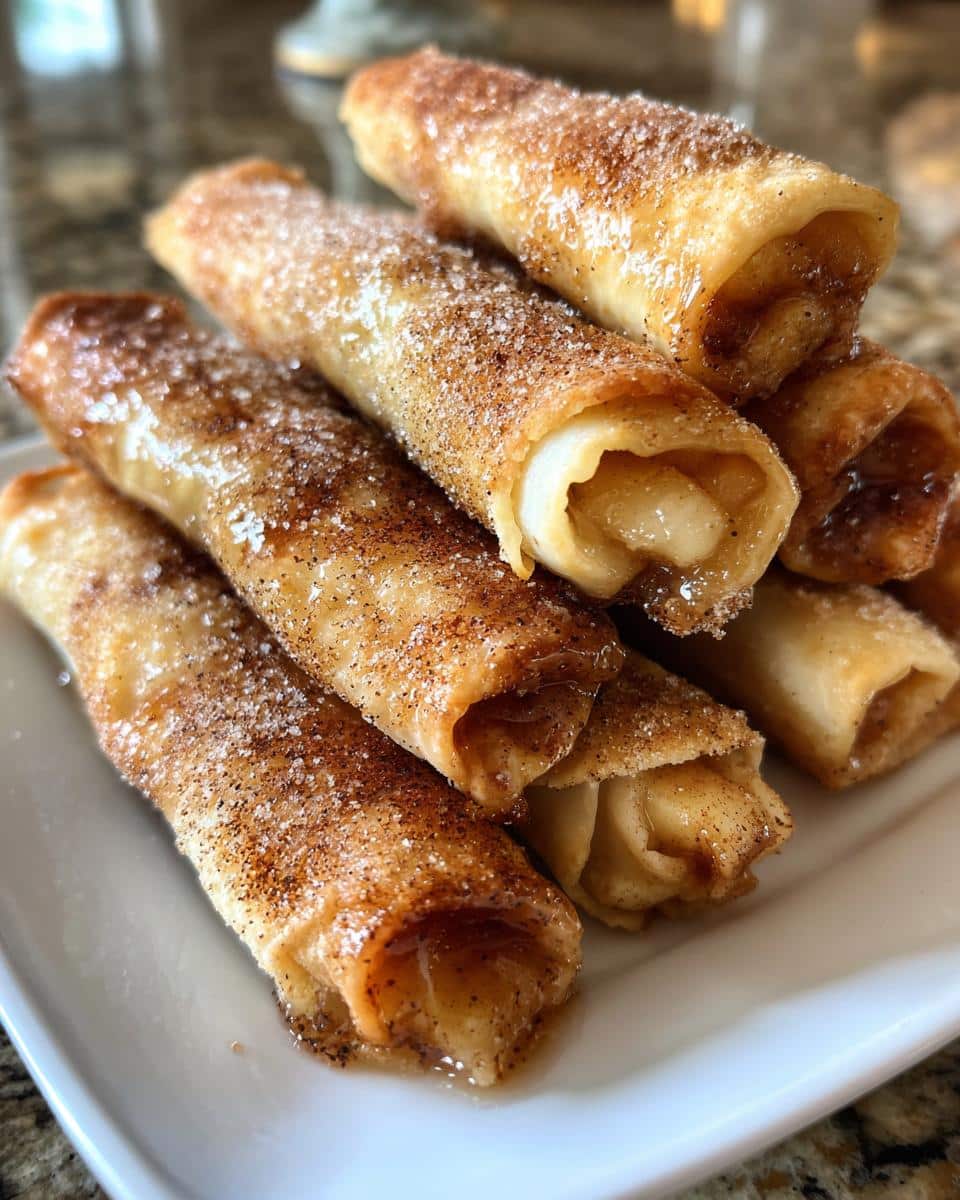
Follow these tips, and you’ll get taquitos so perfect, people will think you bought them from a fancy bakery. Your secret’s safe with me!
Serving Suggestions for Apple Pie Taquitos
Oh, the possibilities! These crispy gems shine brightest when served warm with:
- A scoop of vanilla ice cream melting into all those nooks and crannies
- A zigzag of warm caramel sauce (I cheat with store-bought and heat it slightly)
- A dollop of whipped cream mixed with a dash of cinnamon
For breakfast (don’t judge), I love them with Greek yogurt and honey. And if you’re feeling fancy? Sprinkle with toasted pecans or a dusting of powdered sugar right before serving!
Storing and Reheating Apple Pie Taquitos
Here’s the good news – these taquitos actually hold up beautifully when stored! I’ve tested every method so you don’t have to (you’re welcome). Just follow these tricks to keep that crispy magic alive.
Fridge storage: Let taquitos cool completely, then tuck them into an airtight container with parchment between layers. They’ll stay happy for 3 days – though in my house, they never last that long! The tortillas might soften a bit, but don’t panic – we’ll fix that in reheating.
Reheating like a pro:
- Oven method: Spread taquitos on a baking sheet at 350°F for 5-7 minutes. Flip halfway for even crispness – this is my go-to for reviving that fresh-baked crunch.
- Air fryer hack: 3 minutes at 375°F works like a charm! No preheating needed – just shake the basket once for perfect coverage.
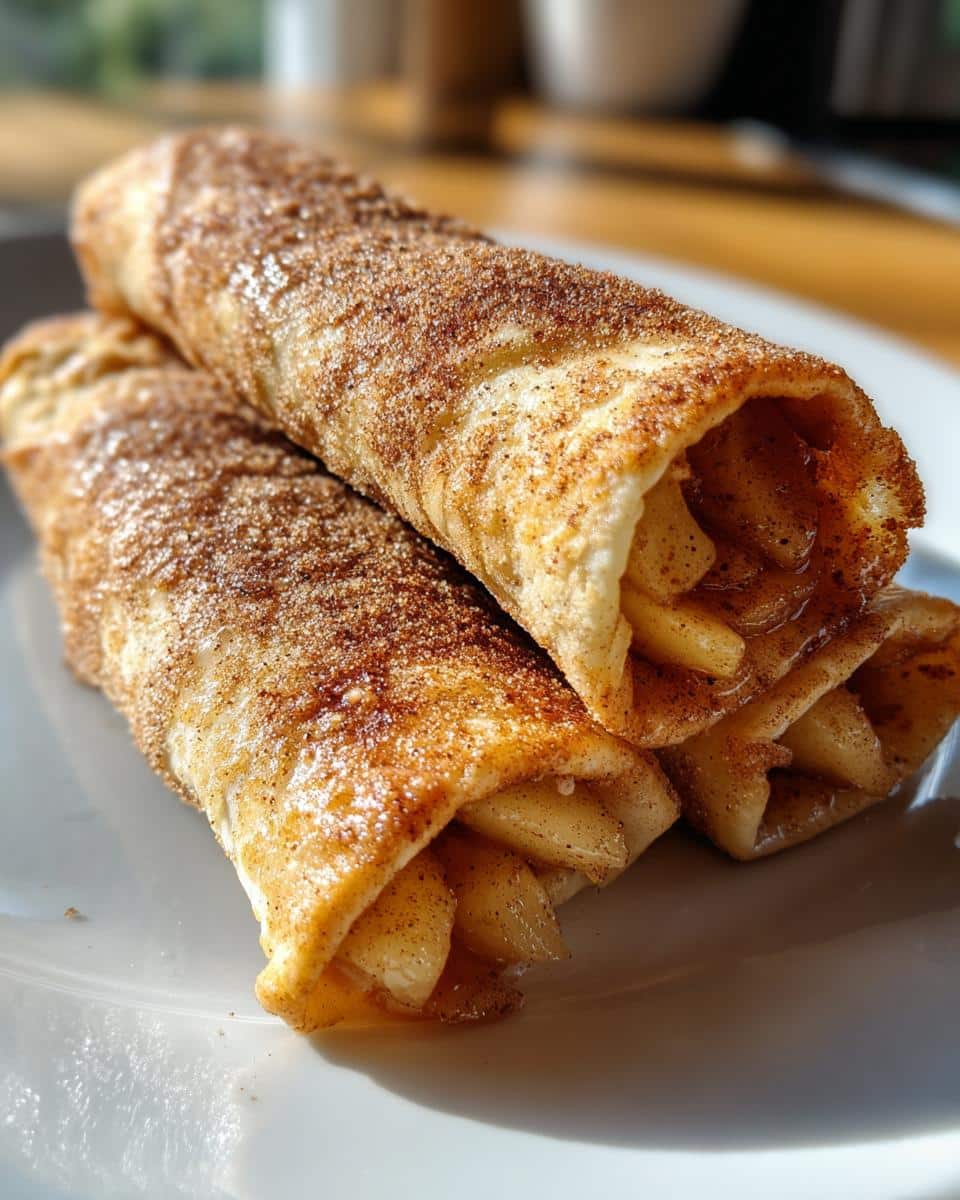
Freezing for later: These are freezer champions! After baking and cooling, freeze taquitos in a single layer on a tray first (1 hour), then transfer to freezer bags. They’ll keep for 2 months – just add 2 extra minutes when reheating from frozen. Fun fact: I always stash a batch before parties – they reheat so well, guests never guess they weren’t made fresh!
One warning: microwaving makes them chewy – only do this in dire emergencies (we’ve all been there). A quick 15-second zap to take the chill off is okay, but for real crispiness, oven or air fryer is the way!
Apple Pie Taquitos Nutritional Info
Let’s be real—when that first crispy bite hits your tongue, nutrition facts are probably the last thing on your mind! But for those curious souls (or meal planners like my sister), here’s the scoop:
The values below are per taquito without any toppings—because let’s be honest, who’s eating these plain? These are estimates since your apples’ sweetness, tortilla thickness, and butter brush intensity all play a role. My general rule? If I’m adding ice cream, I stop counting and just enjoy!
Quick heads up: These use real ingredients—no artificial sweeteners or fat-free tricks here. Grandma always said dessert should taste like dessert, and I stand by that philosophy. That said, using corn tortillas and coconut oil can shift the numbers if you’re making swaps.
Ultimately, these are meant to be savored, not scrutinized. Life’s too short not to lick caramel off your fingers!
FAQs About Apple Pie Taquitos
After years of making these (and fielding texts from friends mid-baking panic), here are the questions I get most:
Can I use corn tortillas instead of flour?
Absolutely! Corn tortillas give an awesome crunch—just microwave them wrapped in a damp towel for 10 seconds first so they don’t crack when rolling. You’ll want to work quickly while they’re still warm and pliable. Bonus: corn tortillas make these naturally gluten-free!
How do I keep the taquitos from getting soggy?
Three secrets: 1) Pat the apple filling lightly with a paper towel after mixing, 2) Don’t overfill (stick to 2 tbsp per taquito), and 3) Bake them on a rack over the baking sheet if you have one—that extra airflow works wonders. My cousin swears by brushing the tortillas with egg white before filling for extra crispness!
Can I prepare these ahead of time?
You bet! Assemble them up to 4 hours before baking—just cover tightly with plastic wrap and refrigerate. Add 2-3 extra minutes to the bake time since they’ll be cold. For longer prep, freeze unbaked taquitos (they keep 2 months!) and bake straight from frozen, adding 5-7 minutes.
Why Granny Smith apples specifically?
Their tartness balances the sweetness perfectly, and they hold their shape when baked. I tried softer apples once—ended up with apple mush tacos (not my finest moment). That said, Honeycrisp or Braeburn work in a pinch if you reduce the sugar slightly.
Help! My taquitos unrolled in the oven!
Been there! The fix: 1) Brush the tortilla edge with water before rolling (like sealing an envelope), and 2) Place them seam-side down first—the weight helps them stay put. If all else fails, stab them with a toothpick like a mini dessert kabob (just remember to remove it before serving!).
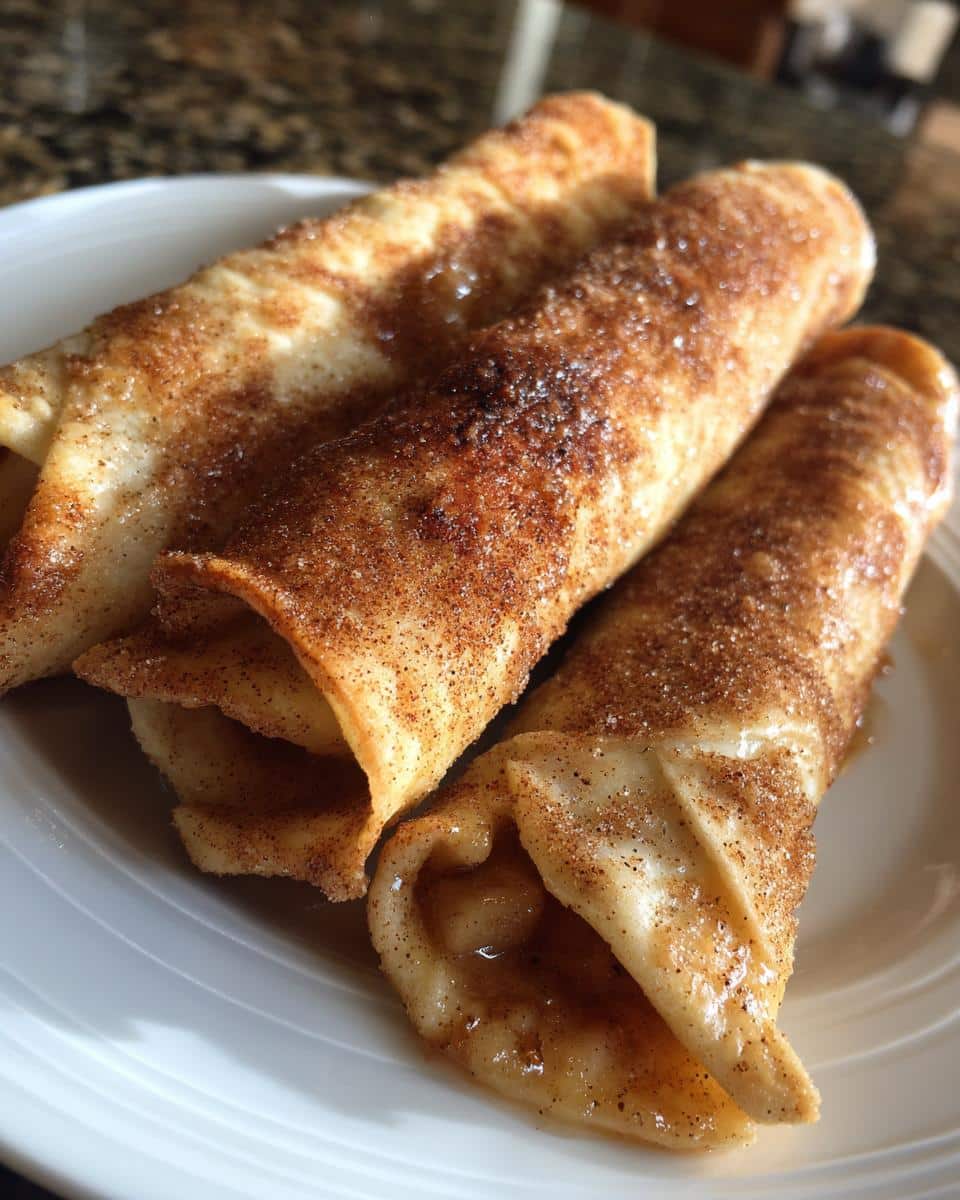
Try this recipe and share your twist in the comments!
Alright, now it’s your turn to work some kitchen magic! I want to hear all about your apple pie taquito adventures did you add a sprinkle of cardamom? Drizzle them with chocolate? Maybe sneak in some raisins when no one was looking? Whatever your twist, drop it in the comments below. Trust me, we’re all here for the delicious inspiration! And if this is your first time making them, take a quick pic that golden crunch deserves to be celebrated. Happy baking, friends!
Print
25-Minute Apple Pie Taquitos: Crispy Fall Magic Everyone Craves
- Total Time: 25 mins
- Yield: 8 taquitos
- Diet: Vegetarian
Description
A fun twist on traditional apple pie, these taquitos combine crispy tortillas with sweet apple filling.
Ingredients
- 2 cups diced apples
- 1/4 cup brown sugar
- 1 tsp cinnamon
- 1/2 tsp nutmeg
- 8 small flour tortillas
- 2 tbsp melted butter
- 1 tbsp lemon juice
Instructions
- Preheat oven to 375°F (190°C).
- Mix apples, brown sugar, cinnamon, nutmeg, and lemon juice in a bowl.
- Spoon filling onto tortillas and roll tightly.
- Place taquitos seam-side down on a baking sheet.
- Brush with melted butter.
- Bake for 15 minutes or until golden brown.
Notes
- Use firm apples like Granny Smith for best texture.
- Serve warm with vanilla ice cream.
- Prep Time: 10 mins
- Cook Time: 15 mins
- Category: Dessert
- Method: Baking
- Cuisine: Mexican-American



