
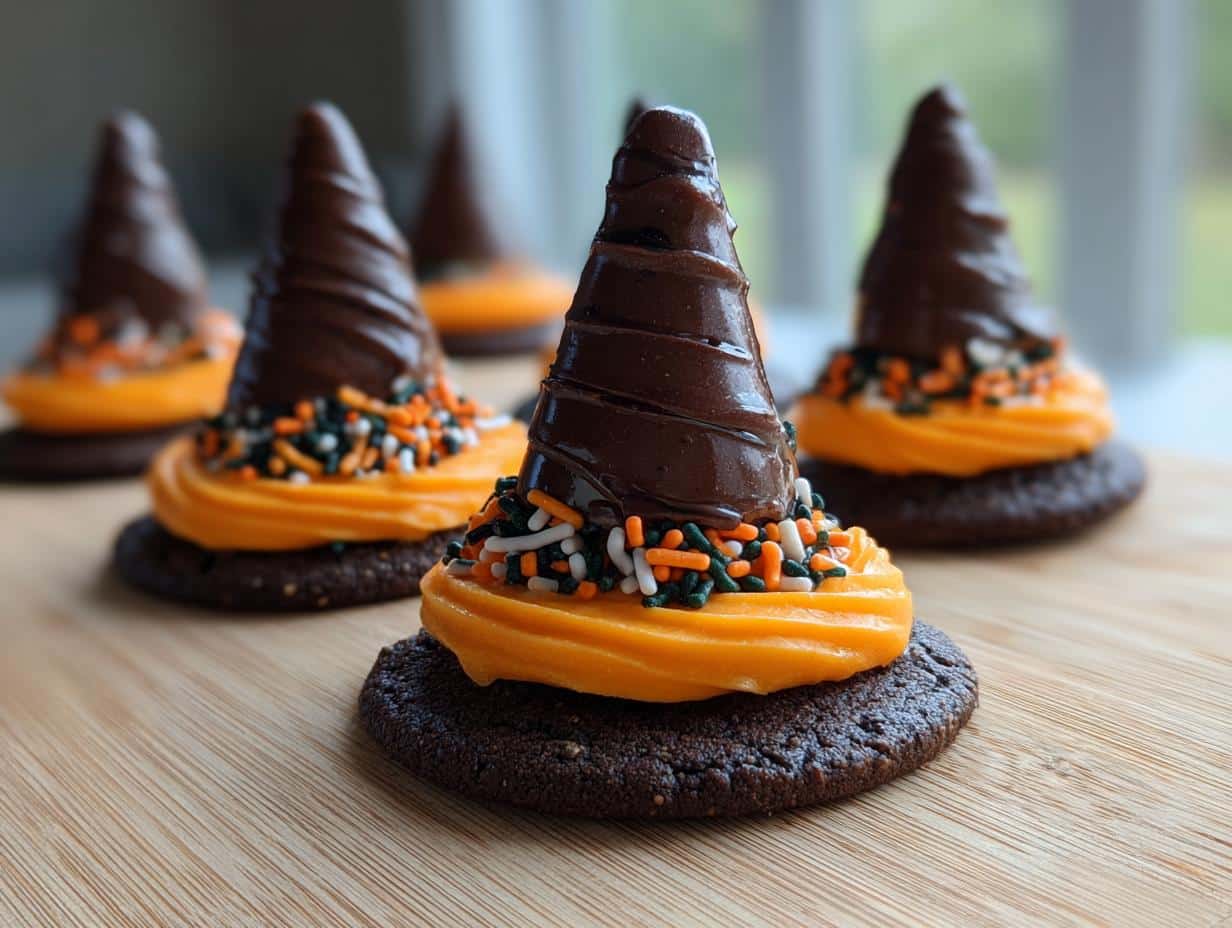
Is there anything more magical than Halloween baking? Every October, my kitchen transforms into a witch’s workshop where flour dust flies like spell ingredients and chocolate becomes pure magic. My absolute favorite creation? These adorable Witch Hat Cookies! They first appeared at my daughter’s preschool party—twenty-four little edible hats that disappeared faster than you could say “abracadabra.” The best part? Even if you’re all thumbs in the kitchen (trust me, I’ve set more than my share of oven mitts on fire), these no-bake treats are foolproof. Just imagine crunchy sugar cones perched on chocolate cookie bases, wrapped in swirls of colorful frosting—they’re like tiny edible costumes for your dessert table!
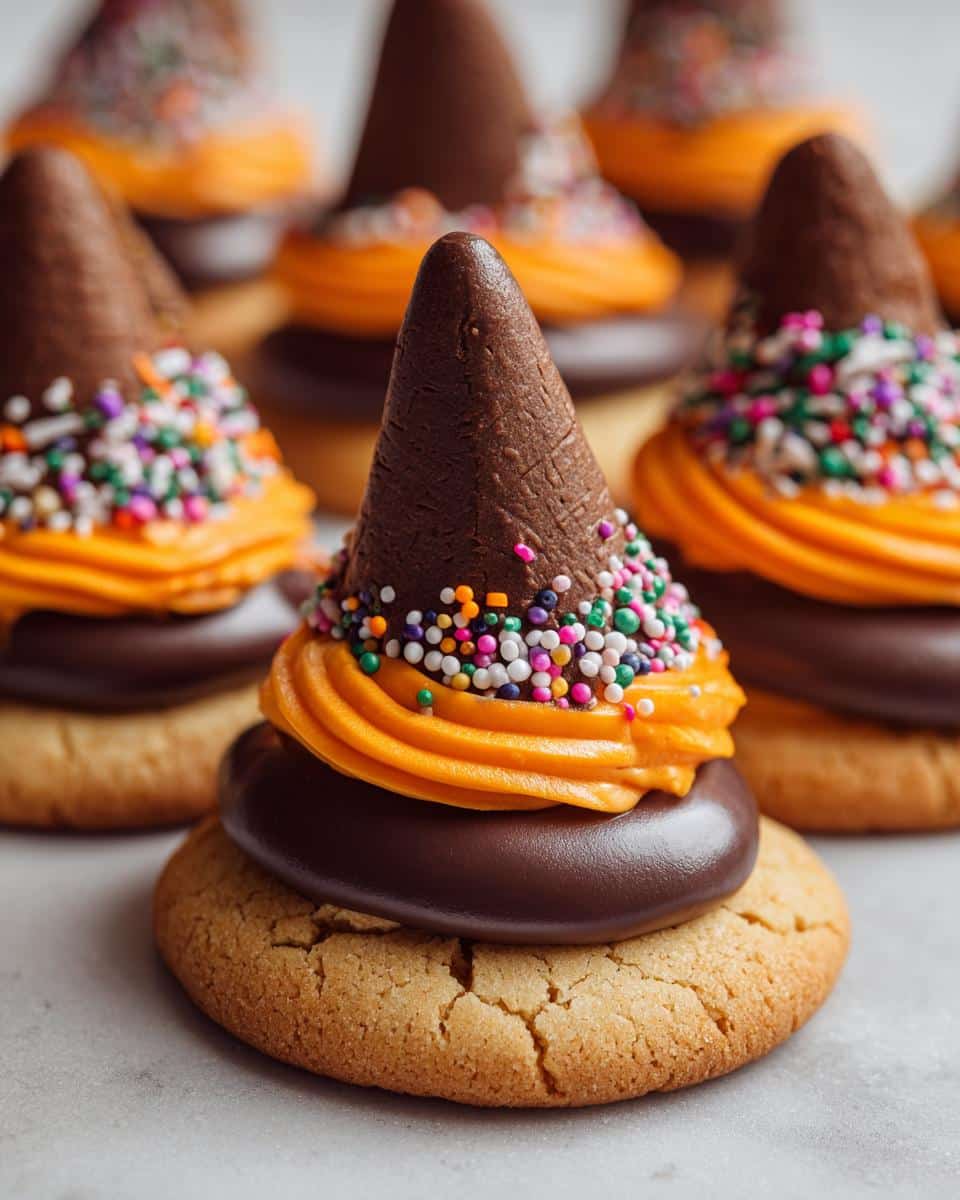
Why You’ll Love These Witch Hat Cookies
These adorable treats aren’t just cute – they check ALL the boxes for perfect Halloween baking:
- No oven required – my kind of recipe when I’m juggling costumes and candy duty!
- Impossible to mess up – crooked hats just add to their spooky charm
- Kid-approved magic – little hands love decorating (and sneaking sprinkles)
- Customizable colors – match your party theme with different frosting hues
They’re the kind of happy-making project that leaves everyone licking frosting off their fingers!
Ingredients for Witch Hat Cookies
Gather these simple pantry staples for your magical cookie creations:
- 24 chocolate cookies – I use store-bought chocolate sandwich cookies (the kind with vanilla filling) because they’re sturdy, but homemade chocolate shortbread works beautifully too
- 24 sugar cones – the classic pointy ones (not waffle cones!)
- 1 cup chocolate frosting – canned works fine, but homemade ganache takes these to the next level
- 1/2 cup orange frosting – or purple, green – whatever screams “Halloween” to you
- Sprinkles or edible glitter – because every witch needs some sparkle
Ingredient Notes & Substitutions
No sugar cones? Try flat-bottomed ice cream cones trimmed to size. Vegan? Use dairy-free cookies and frosting. Want extra crunch? Add chopped nuts to the frosting “glue.” The beauty of these hats is how adaptable they are – make them your own!
Equipment You’ll Need
You barely need any special tools for these magical hats – just:
- A piping bag (or plastic bag with corner snipped off)
- A flat surface (like a baking sheet) for assembly
- A little patience (the hardest ingredient to measure!)
See? Told you this was easy!
How to Make Witch Hat Cookies
Ready to whip up some magic? These witch hats come together faster than you can say “double, double toil and trouble” – just follow these simple steps!
Step 1: Prepare the Cookie Base
First, lay out all your chocolate cookies on a clean work surface or baking sheet. I like to line mine with parchment paper because inevitably, someone (usually me) will knock over a cone, and this makes cleanup way easier. Space them about 2 inches apart so you have room to work your decorating magic.
Step 2: Attach the Sugar Cone
Now the fun begins! Flip a sugar cone upside down – this is your hat’s pointy top. Use a butter knife to spread about 1 teaspoon of chocolate frosting on the flat, open end of the cone. Carefully press it onto the center of a cookie, holding for 5 seconds to set. Pro tip: If a cone wobbles, prop it up with a sprinkle jar while the frosting sets (about 5 minutes).

Step 3: Decorate the Hat Band
Time to make these hats fashion-forward! Fill a piping bag with your colored frosting (or use a plastic bag with the corner snipped). Pipe a thick ring around the base where cone meets cookie – this is your witch’s hatband. I make mine chunky because (a) it hides any messy edges, and (b) more frosting is always better in my book!
Step 4: Add Finishing Touches
Here’s where your inner artist shines! While the frosting is still wet, sprinkle on edible glitter or Halloween-themed sprinkles. For extra drama, I sometimes pipe little web designs with contrasting frosting. Let the hats sit for 30 minutes so the frosting sets completely before stacking or packing. Store in an airtight container at room temperature – if they last that long!
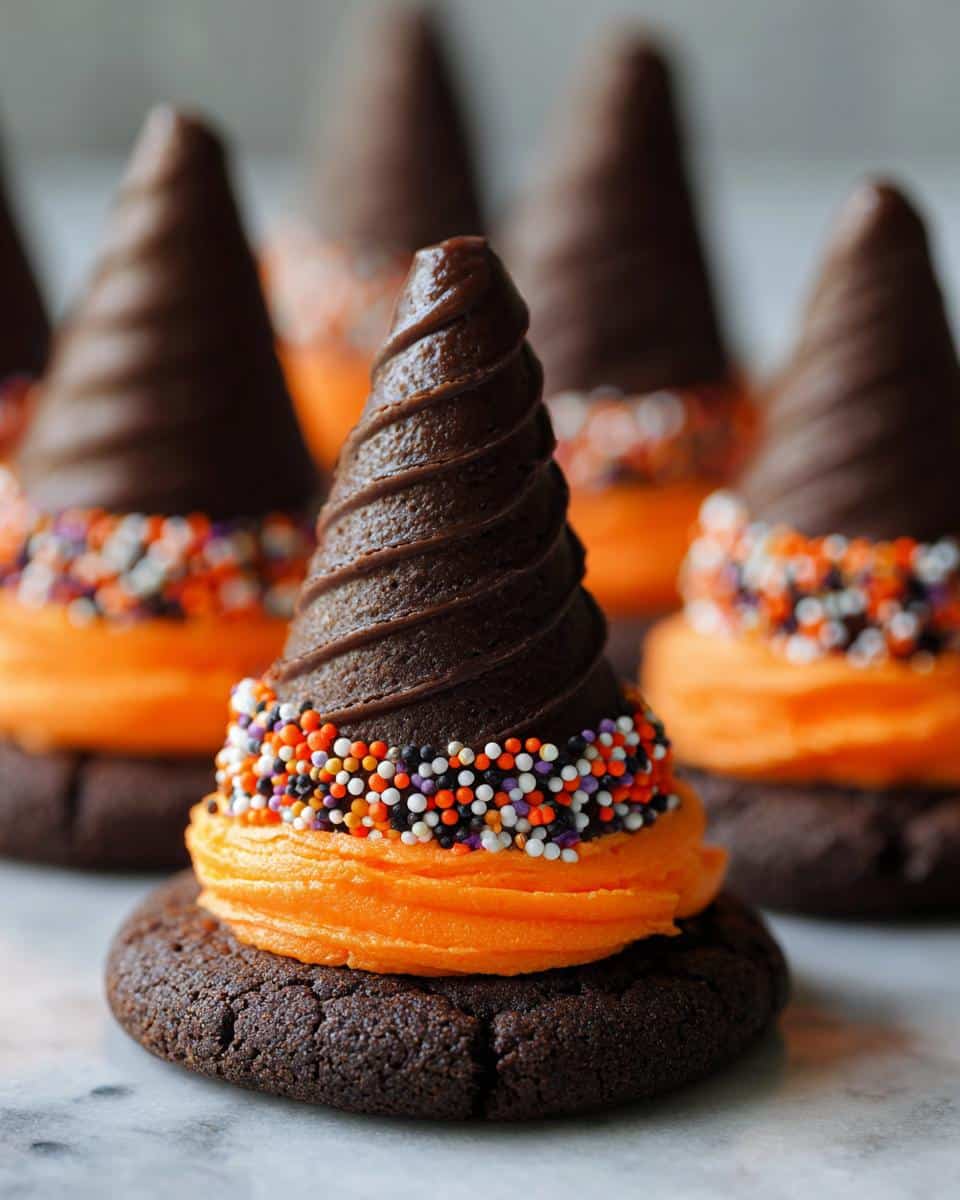
Tips for Perfect Witch Hat Cookies
After making these magical treats for years (and yes, a few hat disasters along the way), I’ve learned these tricks to witch hat perfection:
- Frosting consistency is key – too runny and your cones slide off; too stiff and they won’t stick. Aim for peanut butter thickness!
- Work in batches – attach 6 cones, then decorate those while the next set’s frosting sets
- Crooked is charming! Wobbly hats look more whimsical – embrace the “just flew in on a broomstick” vibe
- Chill your frosting if your kitchen’s warm – it makes piping those perfect bands way easier
Remember – even “messy” witch hats disappear just as fast at parties!
Serving and Storage Suggestions
These witch hats are best served the same day when the cookies are still crisp and the frosting fresh – though good luck keeping little hands away that long! For storage, I tuck them into airtight containers with parchment between layers. They’ll stay perfect for 2 days (if hidden in the fridge) or 1 day at room temperature. Pro tip: The cones soften over time, so for maximum crunch, assemble no more than 4 hours before serving!
Witch Hat Cookies Variations
Half the fun of these witch hats is customizing them for different occasions! For a gothic twist, try black frosting with silver glitter. Birthday party? Rainbow sprinkles turn them into magical party hats. Around Christmas, swap the orange for red and green to make elf hats – same method, totally different holiday spirit! The possibilities are as endless as your imagination.
Nutritional Information
Each witch hat cookie has about 120 calories, but these are estimates – your exact count will vary based on cookie brands and frosting amounts. Honestly, when they’re this cute, who’s counting?
Frequently Asked Questions
Q1. Can I use ice cream cones instead of sugar cones?
You can, but they’ll look different! Ice cream cones are shorter and wider – I recommend trimming the bottoms flat with scissors if you go this route. The classic pointed sugar cones give that perfect witchy silhouette, but improvising is part of the Halloween fun!
Q2. How long do Witch Hat Cookies stay fresh?
They’re best within 24 hours as the cones soften over time. Store them in an airtight container at room temperature – if you refrigerate them, the cookies may get soggy. Honestly though, these never last long enough to worry about storage at my house!
Q3. Can I make these gluten-free?
Absolutely! Just use gluten-free cookies and check your sugar cones’ labels. The frosting is naturally gluten-free (but always verify ingredients if using store-bought). Some brands even make gluten-free ice cream cones that work beautifully!
Q4. What’s the easiest way to transport these delicate cookies?
I pack them in cupcake tins with parchment liners – each hat gets its own little nest. For extra security, you can gently wrap the whole tin with plastic wrap. Just remind your passengers “No sudden broomstick stops!”
Q5. Can kids help decorate these?
Please do! Little hands love piping frosting and adding sprinkles. Just expect some creative interpretations – last year my nephew made a hat with “battle damage” from too many sprinkles. It was the first one eaten!
Share Your Creations!
I’d love to see your witchy masterpieces! Tag me on social media if you snap pics of your cookie creations – nothing makes me happier than seeing all the creative spins fellow Halloween bakers come up with. Those lopsided hats and sprinkles gone wild? That’s where the real magic happens!
Print
Magical Witch Hat Cookies: 24 Easy No-Bake Treats for Halloween
- Total Time: 15 minutes
- Yield: 24 cookies
- Diet: Vegetarian
Description
Witch Hat Cookies are a fun and easy Halloween treat. These cookies feature a sugar cone placed on a cookie base with frosting to create a spooky witch hat look.
Ingredients
- 24 chocolate cookies (store-bought or homemade)
- 24 sugar cones
- 1 cup chocolate frosting
- 1/2 cup orange frosting (or any color for decoration)
- Sprinkles or edible glitter (optional)
Instructions
- Place chocolate cookies on a flat surface.
- Flip a sugar cone upside down and attach it to the center of each cookie using chocolate frosting.
- Pipe a ring of orange frosting around the base of the sugar cone to resemble the hat’s band.
- Add sprinkles or edible glitter for extra decoration.
- Let the frosting set before serving.
Notes
- Use store-bought cookies and frosting for a quicker option.
- Adjust the frosting color to match your Halloween theme.
- Store in an airtight container to keep fresh.
- Prep Time: 15 minutes
- Cook Time: 0 minutes
- Category: Dessert
- Method: No-Bake
- Cuisine: American



