 Skip to content

There’s something magical about pulling hot apple hand pies from the oven – that golden-brown crust just begging to be broken into, revealing the sweet cinnamon-spiced apples inside. These little handheld wonders became my signature dessert after I first made them for a chaotic family picnic years ago (where they disappeared faster than the kids could run!). What I love most is how simple they are – no fancy pie skills required, just flaky dough wrapped around tender apples with that perfect balance of tart and sweet. Whether you’re packing them for lunchboxes, serving dessert at a potluck, or just craving a warm treat with your afternoon coffee, homemade apple hand pies deliver pure comfort in every bite.
Ingredients for Apple Hand Pies
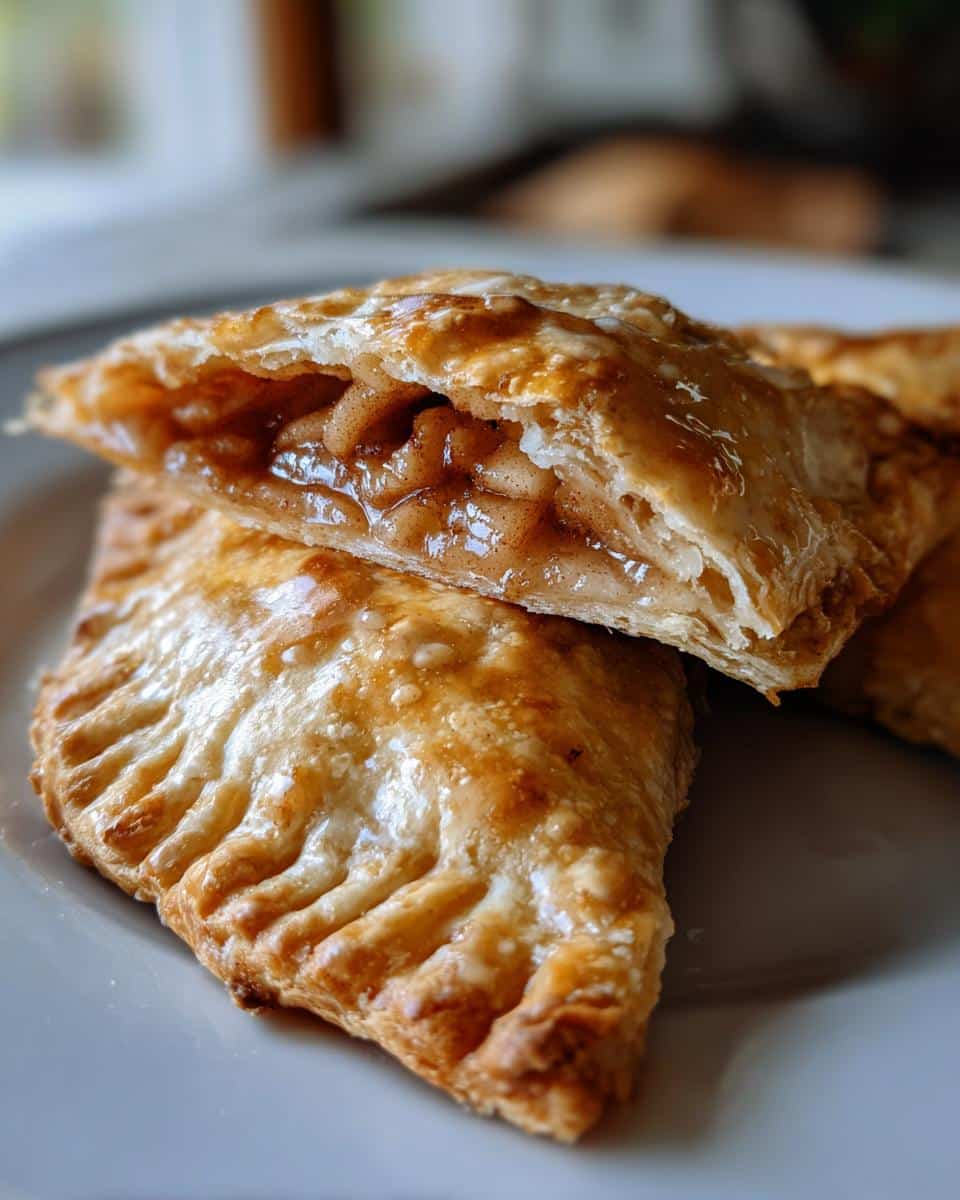
Every great apple hand pie starts with the right ingredients – and trust me, the little details here make all the difference between “good” and “oh-my-goodness-I-need-another” pies. I’ve learned (through many delicious experiments) that cold butter and properly prepped apples are non-negotiable!
For the Dough
- 2 cups all-purpose flour (spooned and leveled)
- 1/2 teaspoon salt (I use fine sea salt)
- 2/3 cup cold unsalted butter, cubed (straight from the fridge!)
- 4-6 tablespoons ice water (add gradually)
For the Filling
- 2 medium apples, peeled and finely diced (Granny Smith are my favorite)
- 1/4 cup granulated sugar (lightly packed)
- 1 teaspoon cinnamon (the good stuff!)
- 1 tablespoon fresh lemon juice (stops browning)
- 1 egg (for that beautiful golden egg wash)
How to Make Apple Hand Pies
Now for the fun part – transforming those simple ingredients into golden, flaky pockets of apple goodness! After making hundreds of these over the years, I’ve learned a few tricks to get them just right. Follow these steps, and you’ll be biting into warm apple hand pies before you know it.
Prepare the Pie Dough
Start by whisking together your flour and salt in a big bowl. Now grab those cold butter cubes – I like to work quickly so the butter stays chilly. Use a pastry cutter or your fingers to work the butter into the flour until the mixture looks like coarse crumbs with some pea-sized butter bits remaining. That’s what’ll give you those perfect flaky layers!
Drizzle in the ice water one tablespoon at a time, mixing gently with a fork after each addition. Stop when the dough just starts to clump together when pressed – it shouldn’t be sticky or crumbly. I usually need about 5 tablespoons. Shape it into a disk, wrap in plastic, and chill for at least 30 minutes (this relaxes the gluten and makes rolling easier).
Make the Apple Filling
While the dough chills, let’s tackle the filling. Toss your diced apples with lemon juice right away to prevent browning. Sprinkle over the sugar and cinnamon, then mix until every piece is evenly coated. The sugar will draw out some juice – that’s good! Just give it another stir before filling your pies.
Assemble and Bake
Preheat your oven to 375°F (190°C) and line a baking sheet with parchment. Roll out the dough to about 1/8-inch thickness on a lightly floured surface. I use a 4-inch round cutter (a wide-mouth jar works too!). Place a heaping tablespoon of filling on one half of each circle, leaving a border. Fold over, seal edges with a fork, then poke a few steam vents on top.
Brush with beaten egg for that beautiful golden shine. Bake 20-25 minutes until deeply golden – the aroma will tell you when they’re close! Let cool slightly before eating (if you can resist), because that filling gets piping hot.
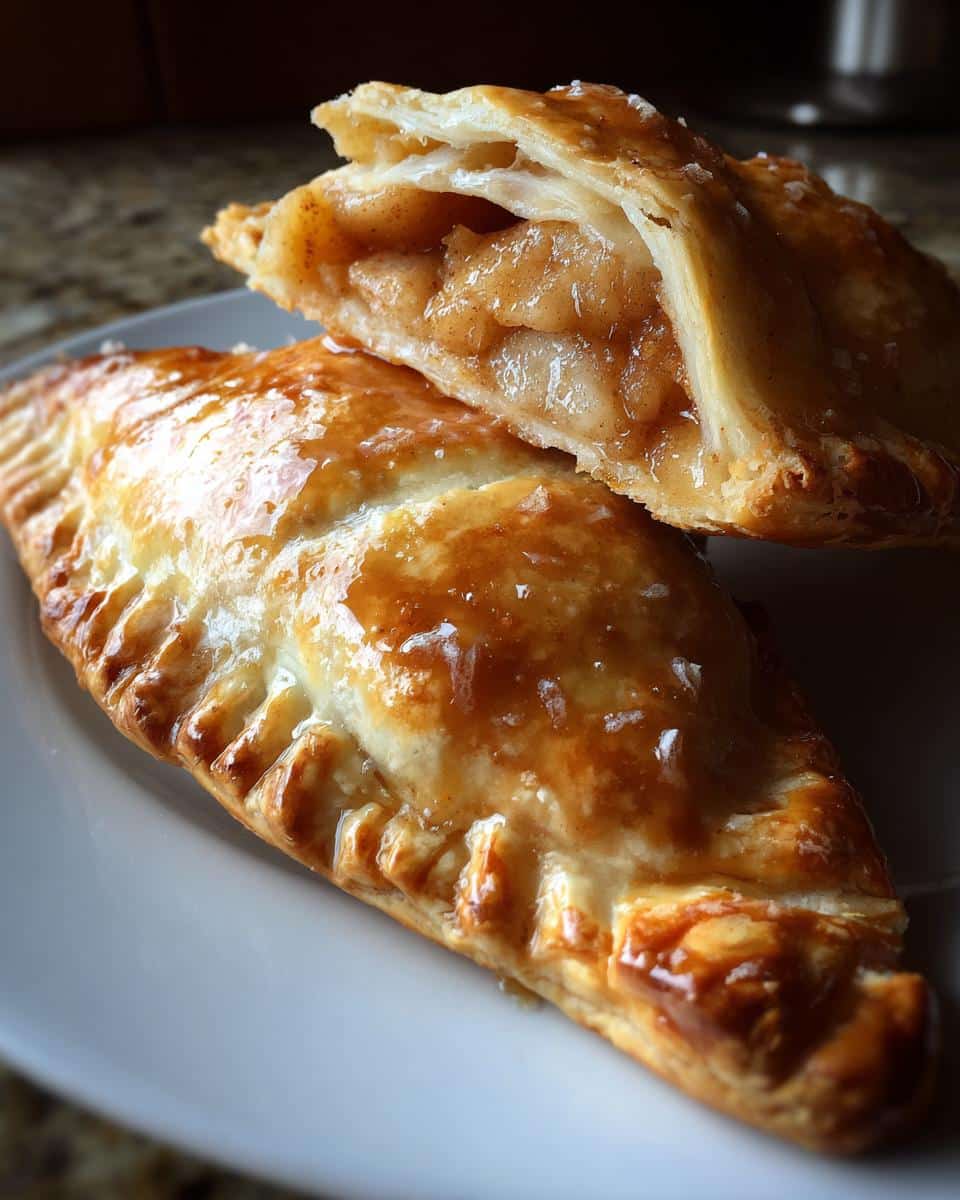
Tips for Perfect Apple Hand Pies
After burning my fingertips on more piping-hot apple filling than I’d care to admit, I’ve picked up some can’t-miss tricks that’ll make your hand pies the star of any gathering:
- Keep everything chilly! Cold dough equals flaky layers. If your kitchen’s warm, pop the assembled pies in the fridge for 10 minutes before baking.
- Dice those apples small and even – about 1/4-inch pieces. Big chunks make sealing tricky and can leave gaps in your filling.
- Don’t skip the steam vents! Poke 2-3 small holes with a toothpick after sealing. This lets steam escape so your pies don’t burst open dramatically (I learned this the messy way).
- Watch for color, not just time. Ovens vary – mine runs hot! Look for deep golden-brown edges and bubbling filling peeking through the vents.
- Let them rest just 5 minutes after baking. That molten apple lava needs a moment to settle unless you enjoy “apple hand pie surprise” burns!
Ingredient Substitutions
Don’t have exactly what the recipe calls for? No worries – I’ve tried these swaps when pantry surprises hit, and they all work beautifully:
- For gluten-free: Swap the all-purpose flour with a 1:1 gluten-free blend (I like Bob’s Red Mill). The texture comes out slightly more tender but still delicious.
- Sweetener options: Coconut sugar or light brown sugar can replace granulated sugar – just pack it lightly. The flavor gets deeper and more caramel-like.
- Butter alternatives: In a pinch, very cold vegan butter works, though the flavor won’t be quite as rich. I’ve even used frozen coconut oil cubes with good results!
- Apple variations: Pears make a lovely swap if you’re out of apples (just reduce sugar slightly). For extra zing, try mixing in a handful of cranberries or raisins.
- Egg wash substitute: Brush with milk or cream for browning if avoiding eggs – it won’t get quite as shiny but still looks great.
Baking is all about adapting – as my grandma used to say, “The best recipes are the ones you can make with what you’ve got!”
Storing and Reheating
These apple hand pies keep beautifully for about 2 days in an airtight container at room temperature – if they last that long! For longer storage, freeze them unbaked (just assemble up to the egg wash step) or baked in a single layer. When craving strikes, pop frozen pies straight into a 350°F (175°C) oven for 15-20 minutes until warmed through and crisp. The toaster oven works wonders too!
Apple Hand Pies Nutritional Info
Now, I’m no nutritionist, but here’s the scoop on what’s in these tasty little pockets. Each apple hand pie comes in at about 220 calories – not bad for a treat that tastes this good! They’ve got 10g fat (6g saturated), 30g carbs with 2g fiber, and 3g protein per serving. These are estimates since apple sizes and crust thickness can vary slightly in home baking. My philosophy? Enjoy every bite – life’s too short not to savor homemade pie!
FAQs About Apple Hand Pies
I get asked the same questions about these little pies every time I make them – here are the answers that’ll help you avoid my rookie mistakes!
Can I use pre-made pie dough?
Absolutely! While homemade dough has my heart, refrigerated pie crust works in a pinch (we’ve all had those busy days). Just unroll it gently and cut to size – I find it’s often thinner than I’d roll it myself, so you might get a few more pies from the batch. If using frozen, let it thaw just enough to handle without cracking. The texture will be slightly less flaky but still delicious when filled with that spiced apple goodness.
How do I prevent soggy bottoms?
Oh, the dreaded soggy bottom! Here’s what I’ve learned: First, make sure your filling isn’t too wet – drain any excess liquid from the apples before spooning onto the dough. Second, bake on parchment paper or a silicone mat rather than directly on the pan. And my secret weapon? A quick sprinkle of breadcrumbs or crushed graham crackers on the bottom dough before adding filling – they soak up juices beautifully without affecting flavor.
What are the best apples for hand pies?
After testing every apple variety at my farmers market, I swear by Granny Smith for their perfect balance of tartness and structure. They hold their shape beautifully during baking without turning mushy. Honeycrisp and Braeburn are great sweet-tart alternatives. Avoid super soft apples like McIntosh – they’ll cook down to applesauce texture before your crust browns! Pro tip: Mix two varieties for complex flavor – I love half Granny Smith, half Pink Lady for extra dimension.
Share Your Apple Hand Pies
Nothing makes me happier than seeing your homemade apple hand pies come to life! Did you add a special twist to the recipe? Maybe a dash of nutmeg or a scoop of vanilla ice cream on top? I want to hear all about it – leave a comment below with your baking adventures (or mishaps – we’ve all been there!).
Print
Irresistible Apple Hand Pies: 5 Secrets to Golden Perfection
- Total Time: 55 minutes
- Yield: 8 hand pies
- Diet: Vegetarian
Description
Delicious handheld apple pies with a flaky crust and sweet filling.
Ingredients
- 2 cups all-purpose flour
- 1/2 teaspoon salt
- 2/3 cup cold unsalted butter, cubed
- 4–6 tablespoons ice water
- 2 medium apples, peeled and diced
- 1/4 cup granulated sugar
- 1 teaspoon cinnamon
- 1 tablespoon lemon juice
- 1 egg (for egg wash)
Instructions
- Mix flour and salt in a bowl. Cut in butter until crumbly.
- Add water gradually, mixing until dough forms.
- Chill dough for 30 minutes.
- Preheat oven to 375°F (190°C).
- Combine apples, sugar, cinnamon, and lemon juice in a bowl.
- Roll out dough and cut into circles.
- Spoon filling onto half of each circle, fold, and seal edges.
- Brush with egg wash and bake for 20-25 minutes.
Notes
- Use Granny Smith apples for a tart flavor.
- Dough should be cold for easier handling.
- Poke small holes on top to vent steam.
- Prep Time: 30 minutes
- Cook Time: 25 minutes
- Category: Dessert
- Method: Baking
- Cuisine: American




Comments and Reviews