 Skip to content
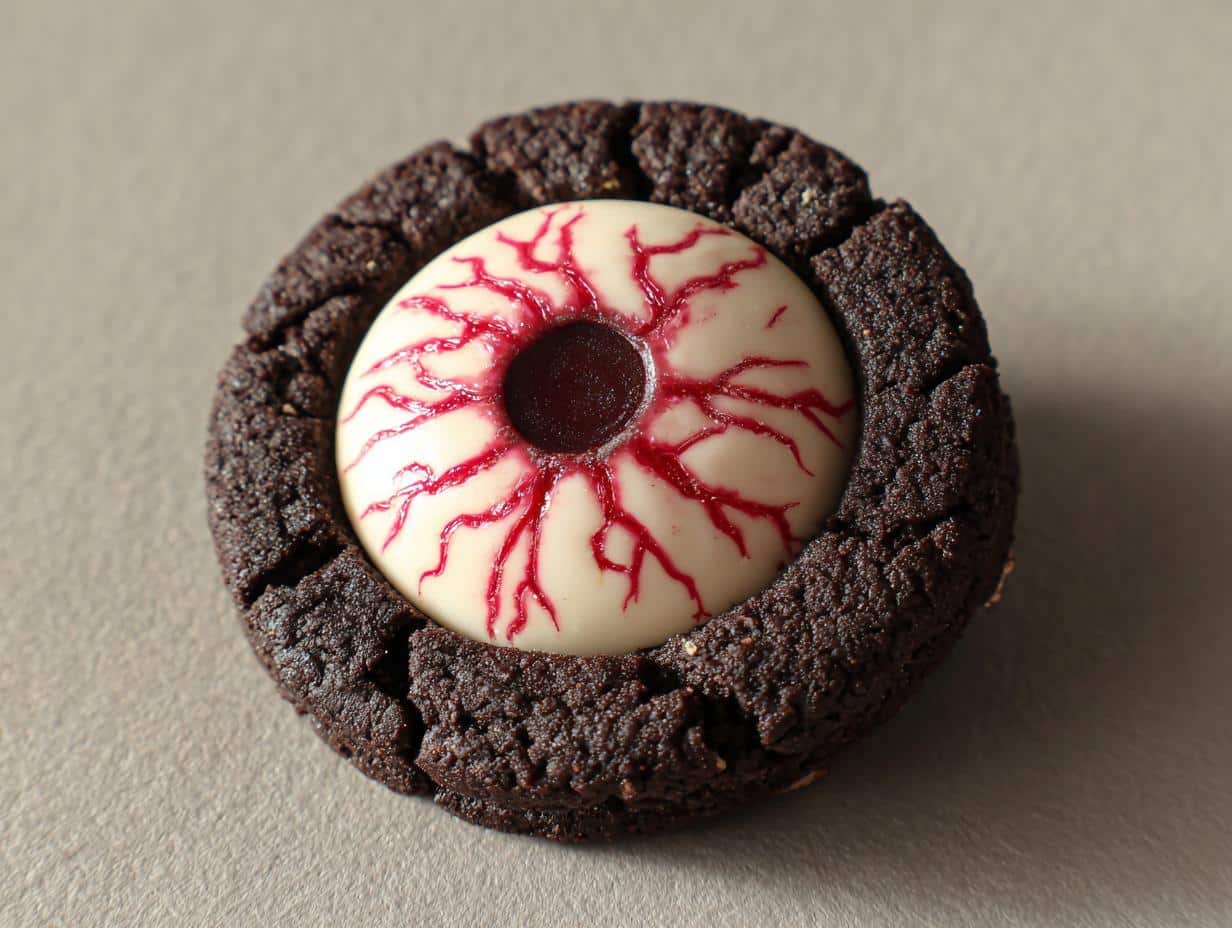
Okay, confession time—I’m the person who starts planning Halloween treats in *July*. These eyeball no-bake cookies? They’re my secret weapon for spooky season. No oven, no fuss, just a little boiling, stirring, and shaping into the creepiest (cutest!) edible eyeballs you’ve ever seen. I’ve been making them for years—first for my niece’s haunted house party, now for every Halloween potluck. The best part? Kids go wild for them (adults too—don’t let them pretend otherwise). One bite of that chocolate-peanut butter base with the googly candy melt center, and you’ll be hooked. Trust me, these disappear faster than a ghost in daylight.
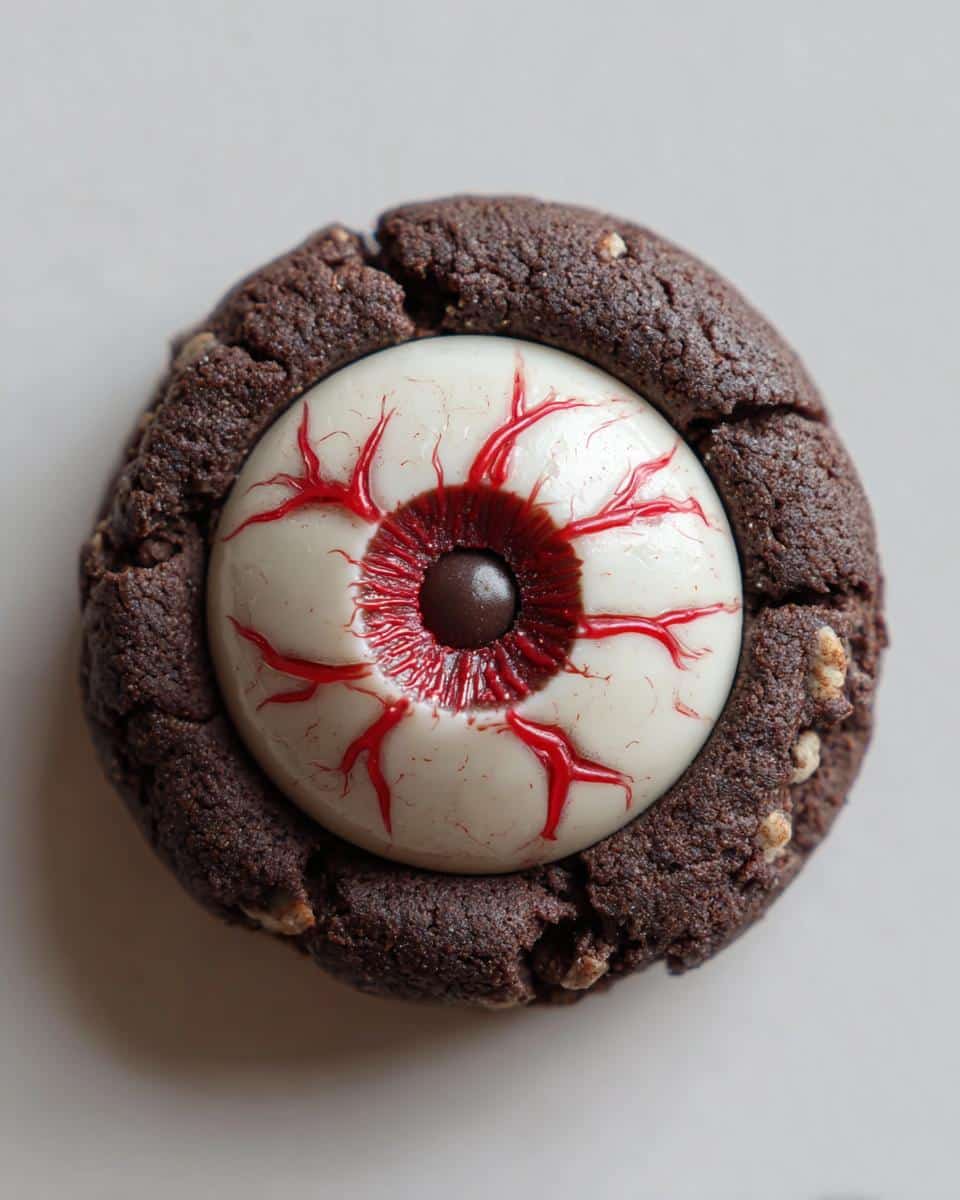
Why You’ll Love These Eyeball Cookies
- 15-minute magic: From pantry to eyeballs in less time than a horror movie trailer
- Zero baking required: Perfect for when your oven’s already haunted by casseroles
- Kid-approved decorating: Let little monsters add the chocolate chip pupils (messy fingers = more fun)
- Customizable creep factor: Swap red gel for green, add spiderweb drizzle—go full mad scientist
- Party MVP: Always the first treat to vanish at Halloween gatherings (I bring extras now)
Ingredients for Halloween Eyeball No-Bake Cookies
Gather these pantry staples—you probably have most already! The magic happens when simple ingredients transform into spooky edible eyeballs. I always use natural unsweetened cocoa powder (not Dutch-process) for that deep chocolate flavor. And don’t even think about the crunchy peanut butter—smooth is key here for the perfect creepy texture. The candy melts? White ones work best for that eerie eyeball effect, but I’ve used pastel colors when I wanted zombie or alien eyes (more on that later). Here’s your shopping list:
- 1 cup granulated sugar (reduce to ¾ cup if you prefer less sweetness)
- ¼ cup unsweetened cocoa powder (the darker, the spookier!)
- ½ cup whole milk (2% works in a pinch, but whole gives richer texture)
- ¼ cup unsalted butter (cold butter cuts boiling time—learned that the hard way)
- ½ cup smooth peanut butter (I use Jif, but any creamy brand works)
- 1 tsp pure vanilla extract (imitation vanilla makes ghosts cry)
- 3 cups quick oats (not instant! They hold shape better)
- 12-15 white candy melts (Wilton’s or any brand that melts smoothly)
- 12-15 mini chocolate chips (for the pupils—regular chips look too cartoonish)
- Red decorating gel (Wilton’s “Blood Red” is my go-to for veins)
Ingredient Substitutions & Notes
Allergic to peanuts? Sunflower seed butter works beautifully (just expect a slightly earthier taste). For vegan versions, swap butter with coconut oil and use almond milk—but know the texture will be softer. Can’t find candy melts? White chocolate chips work in a pinch (microwave for 3 seconds to flatten them). And if you’re out of red gel, a toothpick dipped in strawberry jam makes surprisingly good “blood” veins!
Equipment You’ll Need
No fancy gadgets required—just the basics you probably already have in your kitchen. Here’s what I grab every time (usually while humming “Monster Mash”):
- Medium saucepan (not too big—you want the mixture to boil properly)
- Parchment paper (trust me, skipping this makes eyeballs stick like glue)
- Large baking sheet (for all those creepy peepers to cool on)
- Measuring cups & spoons (eyeballing measurements leads to zombie-textured cookies)
- Wooden spoon (for stirring—metal conducts too much heat)
That’s it! Though I sometimes add tweezers for precise chocolate chip placement when I’m feeling extra.
How to Make Halloween Eyeball No-Bake Cookies
Alright, let’s get spooky! These cookies come together faster than a witch on a broomstick, but there are a few key moments where timing is everything. First—line that baking sheet with parchment while your saucepan heats up. I learned this the hard way when I had to scrape up sticky eyeball blobs with a spatula (not cute). Now, here’s exactly how I make them:
Step 1: The Boil That Binds
Dump the sugar, cocoa powder, milk, and butter into your saucepan. Stir constantly over medium heat—this isn’t a “walk away and check your phone” situation. You’ll see little bubbles first, but wait for a full rolling boil (big bubbles breaking the surface) and let it go for exactly 60 seconds. Set a timer! Under-boiled = mushy eyeballs. Over-boiled = crunchy hockey pucks.
Step 2: The Peanut Butter Plunge
Pull the pan off the heat and immediately stir in the peanut butter and vanilla. Watch how the mixture turns glossy and smooth—that’s your cue to dump in the oats. Fold them in until every flake is coated. Pro tip: If the mixture seems too runny, let it cool for 2 minutes; the oats will absorb extra moisture.
Step 3: Eyeball Assembly Line
Working quickly (the mixture firms up fast!), drop tablespoon-sized blobs onto your parchment paper. I use a cookie scoop for even sizes—wonky eyeballs are fun, but you want them to look intentional. Now comes the magic…
Shaping & Decorating the Eyeballs
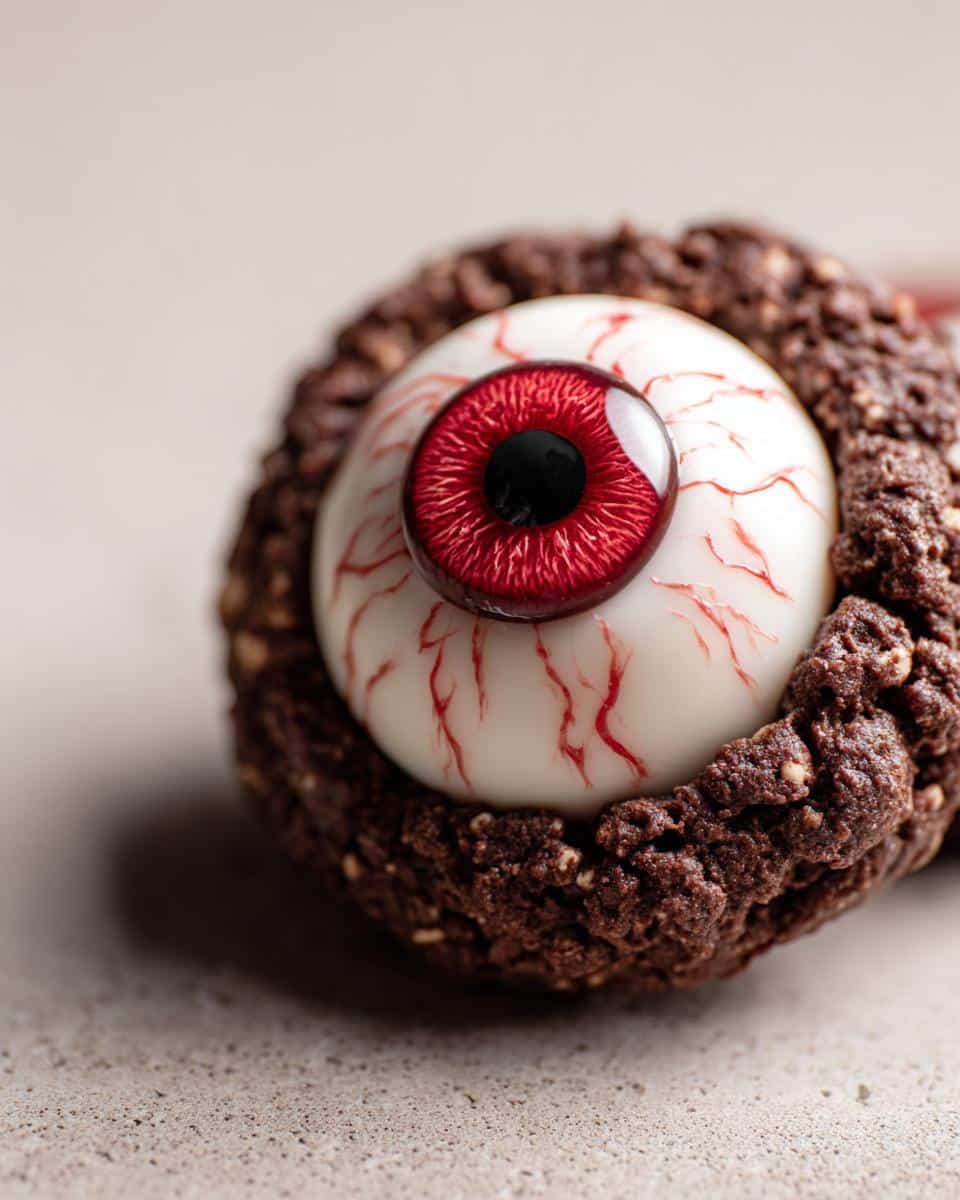
Press a white candy melt into the center of each warm cookie blob. The heat will slightly melt it—that’s good! Use the back of a spoon to gently flatten it into an iris shape. Immediately add a mini chocolate chip (pointy side down!) dead-center for the pupil. Wait 1 minute, then take your red gel and draw squiggly “veins” outward from the edges. Don’t overthink it—real eyeball veins are messy! Let the cookies cool completely (about 20 minutes) before serving. The candy melts will harden, giving that perfect glassy eyeball effect. BOO-tiful!
Tips for Perfect Eyeball Cookies
After making dozens of batches (some more “monstrous” than others), here are my hard-won secrets for eyeball cookie success:
- Cookie scoop is key—I use a #60 scoop (about 1 tbsp) for uniform eyeballs that stare back at you in perfect unison.
- Watch that boil like a haunted house—60 seconds EXACTLY. Any less = sticky mess. Any more = crumbly zombie eyes.
- Work fast after mixing—the oats absorb moisture quickly. If it hardens, just microwave the bowl for 10 seconds to soften.
- Store with parchment between layers—otherwise, you’ll have a tray of eyeballs fused together in a horror show.
- Chill candy melts first—cold ones hold their shape better when pressed into warm cookies.
Trust me, these little tricks turn good creepy cookies into “Did you really MAKE these?!” showstoppers.
Serving & Storage Suggestions
These eyeball cookies taste best at room temperature—the candy melts have that perfect eerie shine, and the texture stays delightfully chewy. I always arrange them on a black platter for maximum Halloween drama (bonus points for plastic spiders as garnish!). For storage, pop them in an airtight container with parchment between layers—they’ll stay fresh for up to 5 days. If your kitchen runs hot (or if you’ve gone heavy on the red gel “veins”), stash them in the fridge to prevent melting. Pro tip: Hide a few in the back of the pantry—they mysteriously vanish!
Halloween Eyeball Cookie Variations
Once you’ve mastered the classic version, it’s time to play mad scientist with these eyeball cookies! My niece and I love experimenting—last year we made glowing alien eyes by swapping white candy melts for neon green ones. Try purple melts for zombie eyes or add edible glitter sprinkles for a magical monster effect. For parties, I make mini bite-sized eyeballs using just 1 tsp of dough—perfect for popping into your mouth between screams!
Some of our favorite twists:
- Bloodshot eyes: Swirl red gel across entire candy melt before adding pupil
- Zombie eyes: Use gray-tinted candy melts with cracked surface texture
- Spiderweb eyes: Drizzle melted white chocolate in web patterns over red veins
- Vampire eyes: Add tiny fondant fangs sticking out from the cookie edge
The possibilities are endless—just don’t be surprised when your kitchen starts looking like a mad scientist’s lab!
Nutritional Information
Just a heads up—these numbers are estimates since brands vary (and let’s be real, who actually stops at one eyeball cookie?). The values are per cookie based on my typical ingredients, but your witch’s brew might differ slightly. Enjoy them guilt-free—it’s Halloween!
Frequently Asked Questions
Q: Can I freeze these eyeball cookies?
Absolutely! Freeze them undecorated—just the cookie base—for up to 2 months in an airtight container with parchment between layers. Thaw at room temperature, then add candy melts and veins right before serving. The gel can get weird when frozen (learned that the messy way).
Q: How long do these stay fresh?
They’re best within 3 days but will last up to 5 days stored properly. The red gel veins might bleed a tiny bit over time—just adds to the creepy effect! If your house is warm, pop them in the fridge so the candy melts don’t sweat.
Q: My mixture turned out too runny—help!
No panic! Either let it cool for 2-3 more minutes (the oats will absorb excess moisture) or stir in an extra ¼ cup oats. Next time, make sure you boiled the sugar mixture for the full 60 seconds—that’s usually the culprit.
Q: Can I make these nut-free for school parties?
You bet! Sunflower seed butter works great (though the cookies will be slightly darker). For totally nut-safe versions, use soy nut butter or oat butter—just avoid anything too runny. The candy melts are typically nut-free, but always check labels.
Final Thoughts
Alright, my fellow Halloween enthusiasts—it’s your turn to unleash these creepy eyeball cookies on the world! I’d love to see what spooky variations you dream up (tag me @SpookyBaker if you share pics!). Whether you’re making them for little goblins or a grown-up fright fest, these no-bake treats are guaranteed to steal the show. Now go forth and bake…err, no-bake some edible magic!
Print
15-Minute Halloween Eyeball No-Bake Cookies That Wow Everyone
- Total Time: 20 mins
- Yield: 12-15 cookies
- Diet: Vegetarian
Description
Easy-to-make no-bake cookies shaped like eyeballs for a fun Halloween treat.
Ingredients
- 1 cup sugar
- 1/4 cup cocoa powder
- 1/2 cup milk
- 1/4 cup butter
- 1/2 cup peanut butter
- 1 tsp vanilla extract
- 3 cups quick oats
- 12-15 white candy melts
- 12-15 mini chocolate chips
- Red decorating gel
Instructions
- Line a baking sheet with parchment paper.
- In a saucepan, mix sugar, cocoa, milk, and butter.
- Bring to a boil over medium heat, stirring constantly.
- Remove from heat and stir in peanut butter and vanilla.
- Add oats and mix well.
- Drop tablespoon-sized portions onto the baking sheet.
- Press a candy melt into the center of each cookie.
- Add a mini chocolate chip to the center of each candy melt.
- Use red gel to draw veins around the edges.
- Let cool until firm.
Notes
- Store in an airtight container for up to 5 days.
- For nut-free version, use sunflower seed butter.
- Adjust sugar to taste.
- Prep Time: 15 mins
- Cook Time: 5 mins
- Category: Dessert
- Method: No-Bake
- Cuisine: American



