 Skip to content
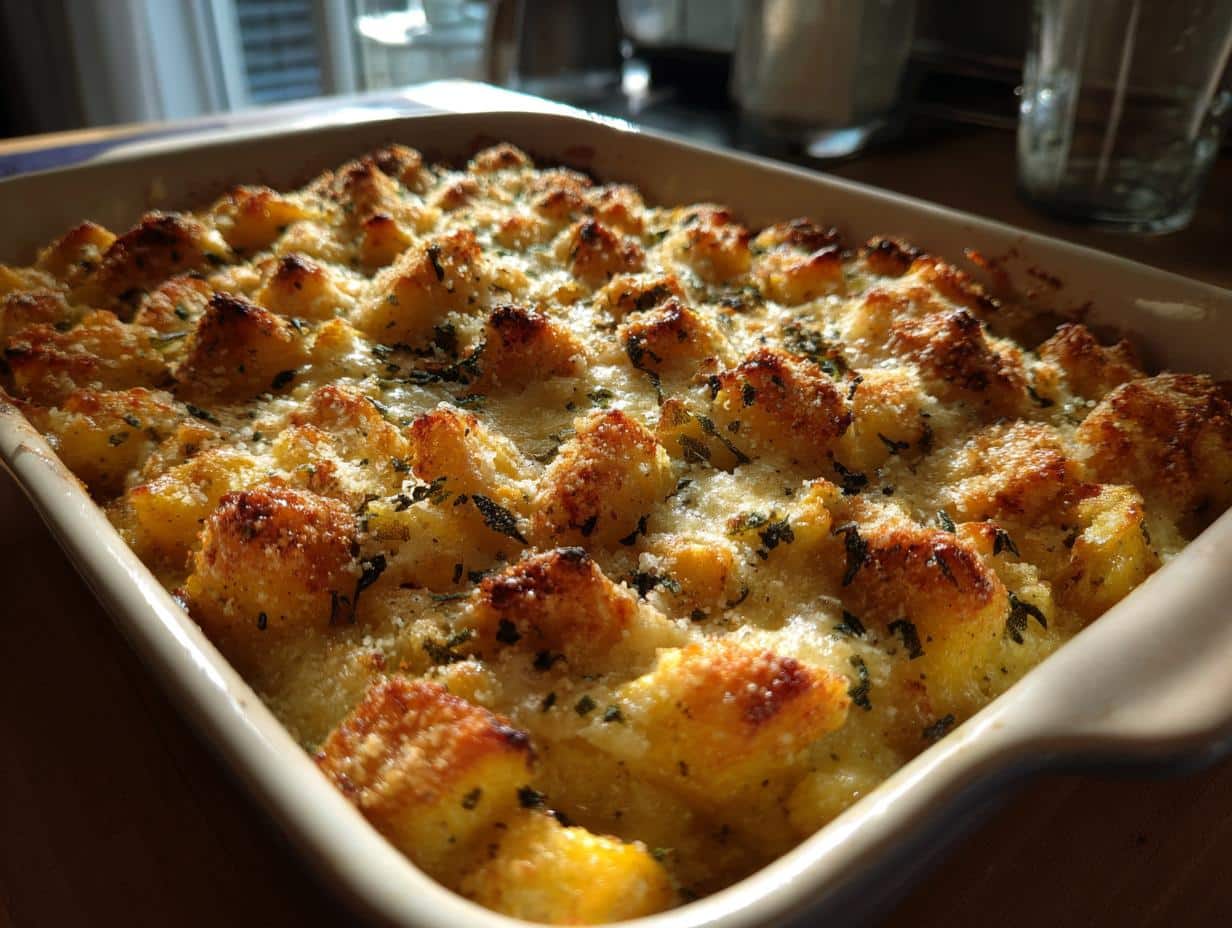
There’s something magical about the first chilly evening when you know fall has truly arrived. That’s when my Fall Pumpkin & Sage Casserole makes its grand debut in our kitchen. The scent of roasted pumpkin and earthy sage fills the house while I’m chopping vegetables, wrapping us in warmth before we even take the first bite.
I started making this dish years ago when our neighbor brought over an enormous pumpkin from her garden. Now it’s our family’s official “welcome autumn” tradition – we eat it curled up on the couch with wool socks on, watching the leaves turn outside our window. Simple ingredients transform into pure comfort with just an hour of cooking.
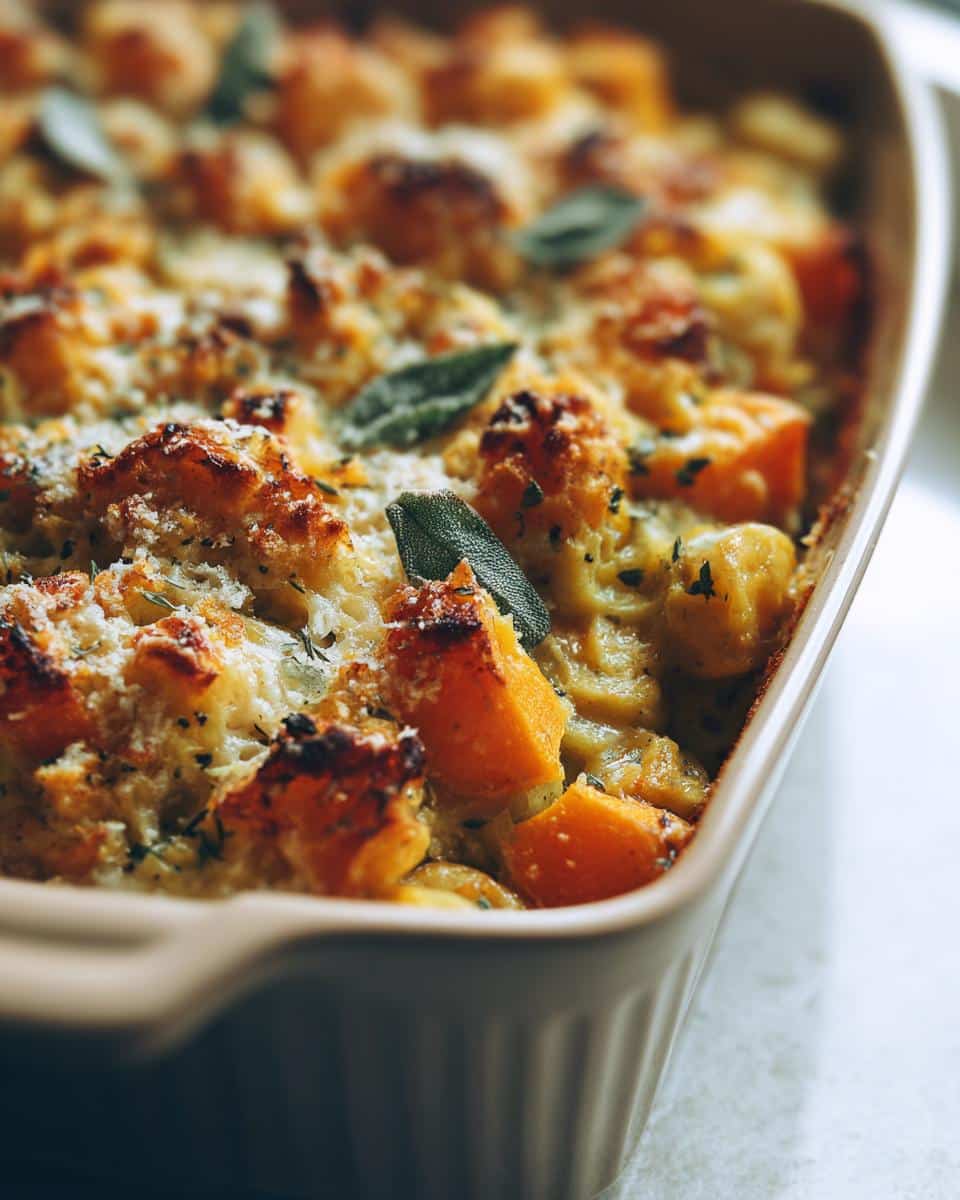
Ingredients for Fall Pumpkin & Sage Casserole
This casserole comes together with simple, cozy ingredients that sing when they’re combined. Trust me – fresh sage makes all the difference here. I learned that the hard way when I tried using dried sage once (never again!). Here’s what you’ll need:
For the pumpkin base:
- 1 small pumpkin, peeled and cubed (about 4 cups) – look for sugar pie or kabocha varieties
- 2 tbsp good olive oil – the fruitier the better
- 1 tsp kosher salt (I swear by Diamond Crystal)
- ½ tsp freshly cracked black pepper
- 1 tbsp fresh sage leaves, chopped (pack them lightly in the measuring spoon)
Aromatics & liquids:
- 1 medium yellow onion, diced (about 1 cup)
- 2 garlic cloves, minced (or more if you’re like me and love garlic!)
- 1 cup vegetable broth – I use low-sodium so I can control the salt
- ½ cup heavy cream – don’t skimp here, it creates that luscious sauce
For the crispy topping:
- 1 cup panko breadcrumbs (regular works too in a pinch)
- ½ cup freshly grated parmesan – the good stuff from the deli section
See? Nothing fancy, just real ingredients that let the fall flavors shine. I always double check my sage is fresh – give it a sniff, it should smell piney and bright. And when cubing the pumpkin, try to keep the pieces about the same size so they roast evenly. Now let’s get cooking!
How to Make Fall Pumpkin & Sage Casserole
The secret to this casserole’s deep flavor? Roasting the pumpkin first – it caramelizes the natural sugars and makes every bite heavenly. Don’t rush these steps; each layer builds that perfect autumnal taste. Here’s exactly how I make it every time:
Roasting the Pumpkin
First, crank your oven to 375°F (190°C). While it heats, toss those beautiful pumpkin cubes with olive oil, sage, salt, and pepper in a big bowl. Get your hands in there – really coat every piece! Spread them on a baking sheet (parchment paper saves cleanup) and roast for 25 minutes. You’ll know they’re ready when you can pierce them easily with a fork but they still hold their shape.
Building the Casserole Base
While the pumpkin roasts, grab your favorite skillet. Sauté the onion over medium heat until it turns translucent – about 5 minutes. Add garlic (your kitchen will smell amazing) and cook just 30 seconds more. Now stir in your roasted pumpkin, broth, and cream. Let it simmer gently for 5 minutes until the liquid reduces slightly. The sauce should coat the back of a spoon – not too thick, not too watery.
Baking to Perfection
Transfer your pumpkin mixture to a greased baking dish. In a small bowl, mix breadcrumbs and parmesan – I use my fingers to break up any cheese clumps. Sprinkle this golden blanket evenly over the top. Bake uncovered for 20 minutes until the topping is crisp and the edges bubble like little autumn volcanoes. Let it rest 5 minutes before serving – patience rewards you with perfect slices!
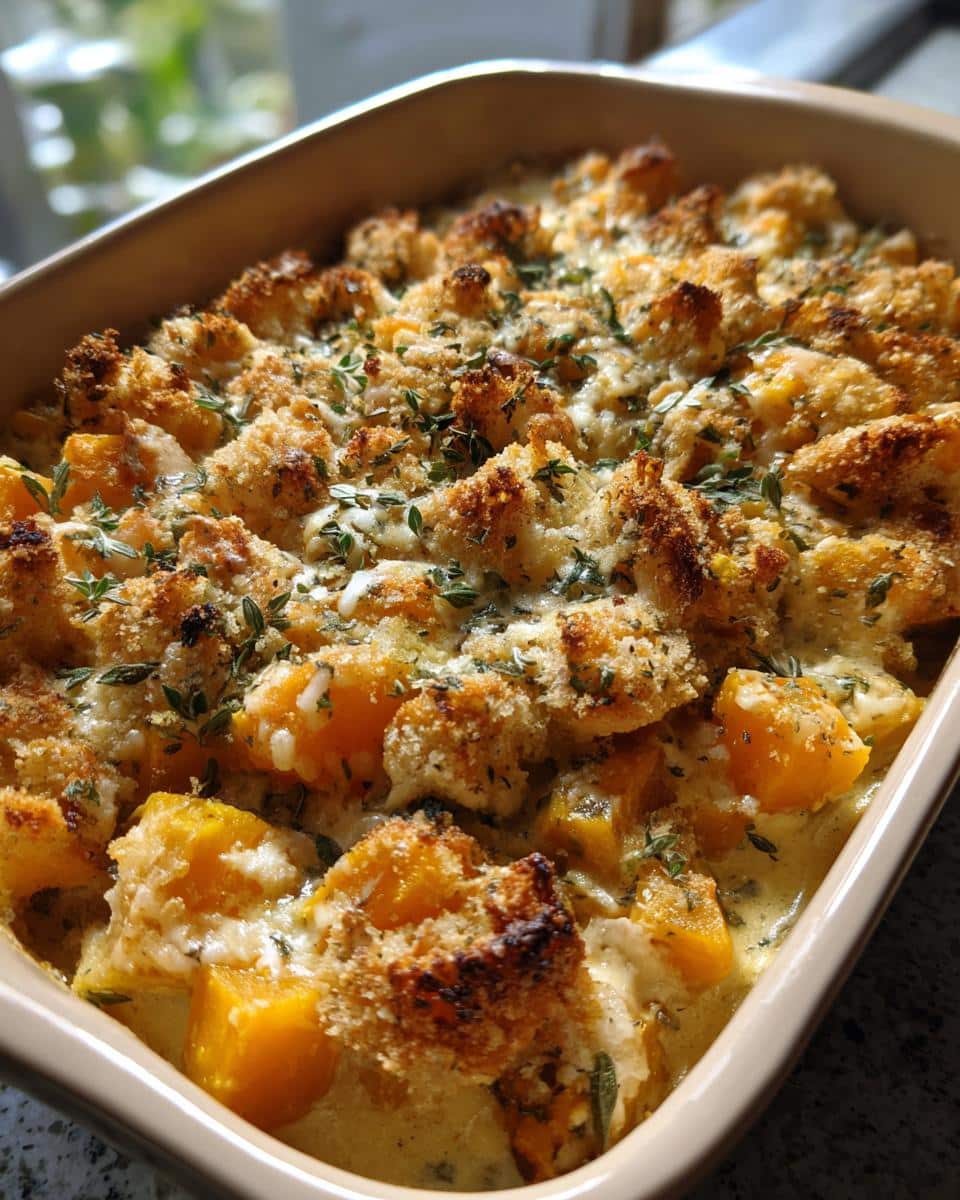
Why You’ll Love This Fall Pumpkin & Sage Casserole
This casserole earns its spot as my go-to fall dish year after year, and I swear you’ll feel the same way once you try it. Here’s what makes it so special:
- It’s autumn comfort in every bite – The roasted pumpkin gets almost caramelized while baking, and the sage adds this woodsy note that just screams “cozy season.” It’s the kind of dish that makes you want to curl up under a blanket.
- Simple enough for weeknights, fancy enough for guests – I’ve served this both on random Tuesdays and at Friendsgiving dinners. The prep is straightforward, but the flavors feel special. No one needs to know it only took you about an hour!
- Celebrates seasonal ingredients perfectly – When pumpkins start appearing at the farmers market, this is my favorite way to use them. The casserole lets their natural sweetness shine without overwhelming it.
- Leftovers taste even better – Somehow the flavors deepen overnight. I always make extra so I can enjoy it reheated for lunch the next day (though my husband usually sneaks bites straight from the fridge).
Honestly, the hardest part about this recipe is waiting those last five minutes before digging in when your whole house smells incredible. But trust me, it’s worth it!
Tips for the Best Fall Pumpkin & Sage Casserole
After making this casserole more times than I can count, I’ve learned a few tricks that take it from good to “can I get your recipe?” good. Here are my non-negotiable tips for pumpkin casserole perfection:
Fresh sage makes all the difference – I know, I sound like a broken record, but I once tried making this with dried sage when I was out of fresh. Big mistake! That piney, almost citrusy brightness from fresh leaves is what makes this dish sing. Rub a leaf between your fingers – if it doesn’t release that incredible aroma, your sage is too old.
Cube your pumpkin like you mean it – I aim for 1-inch pieces, and I’m pretty obsessive about keeping them even. Why? Big chunks stay crunchy while small ones turn to mush. Pro tip: Cut your peeled pumpkin into slices first, then cubes – way easier! And don’t toss those seeds; roast them with a little oil and salt for bonus crunch.
Let it rest before serving – I know it’s tempting to dive right in when it comes out of the oven bubbling and golden. But giving it just 5 minutes to settle makes slicing so much cleaner. Plus, that quick rest lets the flavors really come together. Use the time to toss together a quick salad or light some candles – we’re going for cozy autumn vibes here!
One last thing – if your breadcrumbs start browning too fast during baking, just tent some foil loosely over the top. The pumpkin underneath will keep cooking while your topping gets perfectly golden, not burnt. Now go make some fall magic!
Ingredient Substitutions & Variations
Listen, I get it – sometimes you’re staring at your fridge wondering how to make this work with what you’ve got. The beauty of this casserole is how adaptable it is! Here are my tried-and-true swaps when I’m in a pinch:
- Butternut squash for pumpkin – My neighbor’s garden overfloweth with squash last year, and guess what? It works beautifully. Just peel and cube it the same way. The flavor’s slightly sweeter, but still totally autumnal.
- Coconut milk for cream – When my niece with dairy allergies visits, I use full-fat coconut milk. It adds this subtle tropical note that oddly complements the sage. Shh – sometimes I do this even when she’s not here!
- Gluten-free breadcrumbs – My best friend swears by crushed gluten-free crackers (the buttery round ones) mixed with nutritional yeast. I was skeptical until I tried it – crispy perfection!
Want to get creative? Try adding a handful of chopped toasted pecans to the topping, or stir some wilted kale into the pumpkin mixture before baking. The recipe’s forgiving – make it yours!
Serving Suggestions for Fall Pumpkin & Sage Casserole
This casserole truly shines when you build an autumnal feast around it. Over the years, I’ve discovered some perfect pairings that make the whole meal sing. Here’s how I love to serve it – whether it’s just for us or when we’ve got company coming over.
Main dish pairings:
- Simple roasted chicken – The crisp skin and juicy meat balance the casserole’s creaminess perfectly. I rub mine with olive oil, salt, and extra sage before roasting – it ties everything together.
- Apple cider glazed pork chops – The slight sweetness plays so nicely with the savory pumpkin. Bonus: they cook in about the same time as the casserole!
On the side:
- Massaged kale salad – Toss torn kale with lemon juice, olive oil, and a pinch of salt. Let it sit while the casserole bakes – the acidity cuts through the richness.
- Crusty sourdough bread – Essential for sopping up every last bit of that creamy sauce. I warm mine in the oven during the casserole’s last 5 minutes.
Finishing touches:
- Fresh sage leaves – I fry a few extra in butter until crisp, then scatter them on top. It’s pretty and adds a lovely crunch.
- Pumpkin seeds – The ones you saved from prepping the pumpkin! Toast them with a pinch of smoked paprika for extra depth.
For holidays, I’ll sometimes arrange thin apple slices in a circle on top before baking – they caramelize beautifully and make the whole dish look fancy with zero extra work. But honestly? Even served straight from the baking dish with a simple green salad, this casserole always feels special. That’s the magic of fall flavors!
Storing and Reheating
Here’s the thing about this casserole – it’s actually better the next day! But only if you store it right. I learned this the hard way when I once left it uncovered in the fridge overnight (never again). Now I’ve got my storage routine down to a science.
Storing leftovers:
- Let the casserole cool completely before covering – about 30 minutes on the counter does the trick.
- Press plastic wrap directly onto the surface before sealing with a lid or foil. This keeps it from drying out.
- It’ll stay perfect for 3 days in the fridge. After that, the breadcrumbs start losing their crunch.
Reheating like a pro:
- Microwaves are the enemy here – they turn that beautiful crispy topping into a sad, soggy mess.
- Instead, pop individual portions in a 350°F (175°C) oven for about 15 minutes. If the top needs more crisp, broil for the last minute (but watch it like a hawk!).
- No time to wait? A toaster oven works wonders for single servings too.
One last tip – if the casserole seems dry when reheating, drizzle a tiny bit of broth over it before warming. It brings back that luscious creaminess. And yes, I’ve absolutely eaten leftovers cold straight from the fridge at midnight – no judgment here!
Fall Pumpkin & Sage Casserole FAQs
I get asked these same questions every fall when pumpkin season rolls around. After making this casserole dozens of times, I’ve learned what works (and what absolutely doesn’t). Here are the answers to the big three questions that always come up:
Can I use canned pumpkin instead of fresh?
Oh honey, no. I tried this once when I was in a hurry – big mistake! Canned pumpkin puree turns the whole dish into a watery, mushy mess. The texture is all wrong, and you lose that lovely roasted flavor. Fresh pumpkin cubes hold their shape and caramelize beautifully in the oven. Trust me, the extra 10 minutes peeling and chopping makes all the difference.
Can I make this casserole ahead of time?
Absolutely! Here’s my make-ahead trick: Roast the pumpkin and prepare the base mixture up to a day in advance. Store them separately in the fridge. When you’re ready, just assemble with the breadcrumb topping and bake as directed. It might need an extra 5-10 minutes in the oven since everything’s cold. Perfect for stress-free holiday cooking!
Does this casserole freeze well?
I wish I could say yes, but the cream sauce tends to separate when frozen and thawed. The texture becomes grainy instead of silky smooth. If you must freeze it, leave off the breadcrumb topping and add it fresh when baking. But honestly? This dish is so good fresh, I recommend making it the day-of or enjoying leftovers within 3 days.
Nutritional Information
Okay, let’s talk numbers – but remember, these are just estimates since your actual ingredients might vary slightly from mine. Here’s the nutritional breakdown per serving (about 1/6th of the casserole):
- Calories: 250
- Fat: 12g (5g saturated, 6g unsaturated)
- Carbohydrates: 28g
- Fiber: 4g
- Sugar: 6g (all natural from the pumpkin!)
- Protein: 6g
- Sodium: 450mg
Now, full disclosure – I’m not a nutritionist, just a home cook who loves good food. These numbers can shift depending on your exact ingredients. Using low-sodium broth? Your sodium will be lower. Added extra parmesan? Maybe bump up the protein count. The beauty of cooking from scratch is you control what goes in!
What I love about this dish is how it balances indulgence with wholesome ingredients. You’re getting vitamin A from the pumpkin, healthy fats from olive oil, and that sage packs an antioxidant punch. Comfort food that actually makes you feel good? That’s my kind of meal.
After all these years, this Fall Pumpkin & Sage Casserole still surprises me with how something so simple can taste so special. There’s a reason it’s become my signature dish every autumn – it wraps you up in warmth and nostalgia with every creamy, crispy bite. Whether you’re cooking for a crowd or just want to treat yourself on a chilly night, this recipe never lets me down.
Now it’s your turn! I’d love to hear how your version turns out. Did you add a pinch of nutmeg? Try it with sweet potatoes instead? Maybe you discovered the perfect wine pairing? Drop your twists and tips in the comments below – let’s keep making this cozy tradition even better together!
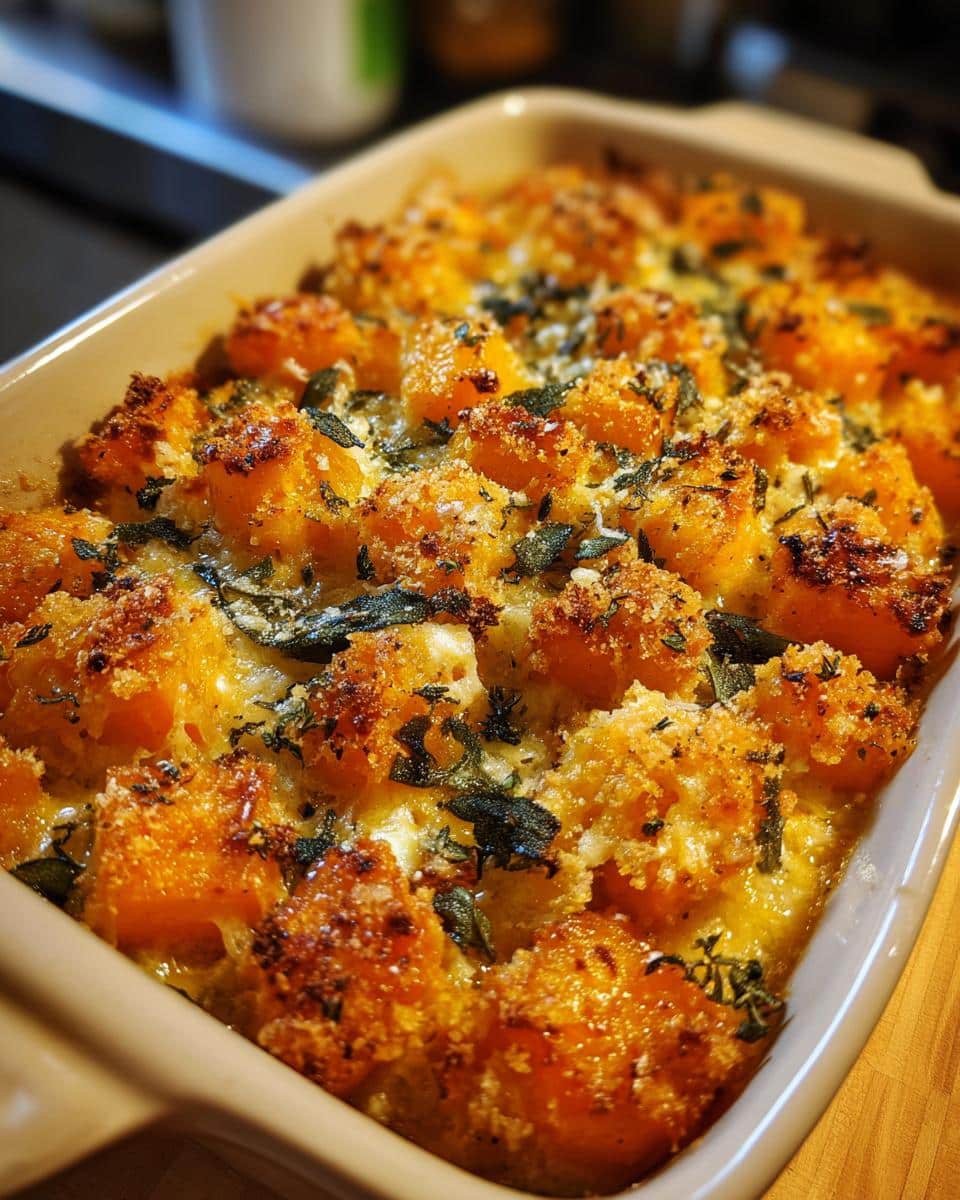

Incredibly Cozy 6-Ingredient Fall Pumpkin & Sage Casserole
- Total Time: 60 mins
- Yield: 6 servings
- Diet: Vegetarian
Description
A warm and hearty casserole with pumpkin and sage, perfect for fall.
Ingredients
- 1 small pumpkin, peeled and cubed
- 2 tbsp olive oil
- 1 tsp salt
- 1/2 tsp black pepper
- 1 tbsp fresh sage, chopped
- 1 onion, diced
- 2 garlic cloves, minced
- 1 cup vegetable broth
- 1/2 cup heavy cream
- 1 cup breadcrumbs
- 1/2 cup grated parmesan cheese
Instructions
- Preheat oven to 375°F (190°C).
- Toss pumpkin cubes with olive oil, salt, pepper, and sage.
- Roast pumpkin for 25 minutes until tender.
- Sauté onion and garlic in a pan until soft.
- Add roasted pumpkin, vegetable broth, and cream to the pan. Simmer for 5 minutes.
- Transfer mixture to a baking dish. Top with breadcrumbs and parmesan.
- Bake for 20 minutes until golden and bubbly.
- Serve warm.
Notes
- Substitute butternut squash for pumpkin if preferred.
- Use gluten-free breadcrumbs for a gluten-free version.
- Prep Time: 15 mins
- Cook Time: 45 mins
- Category: Side Dish
- Method: Roasting, Baking
- Cuisine: American



