 Skip to content
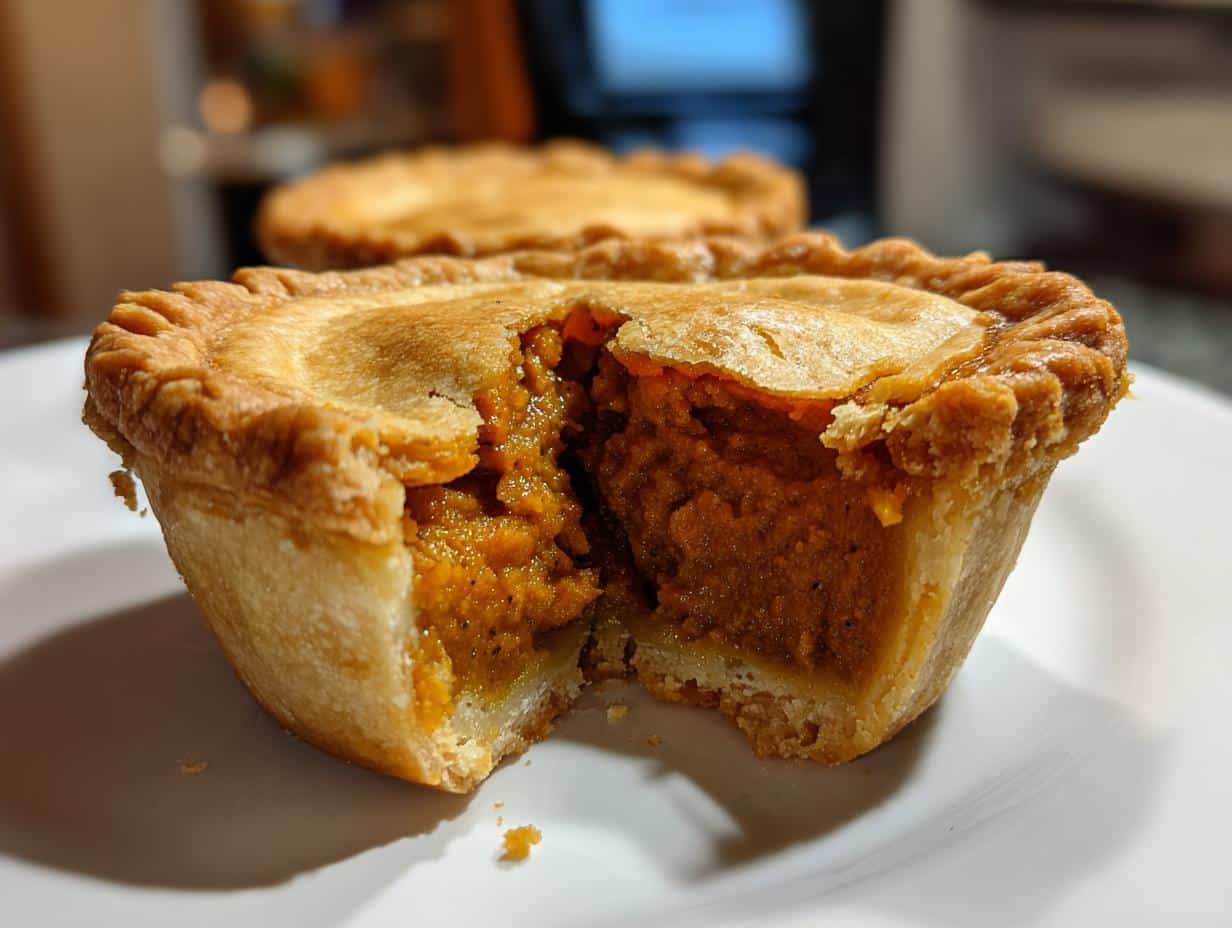
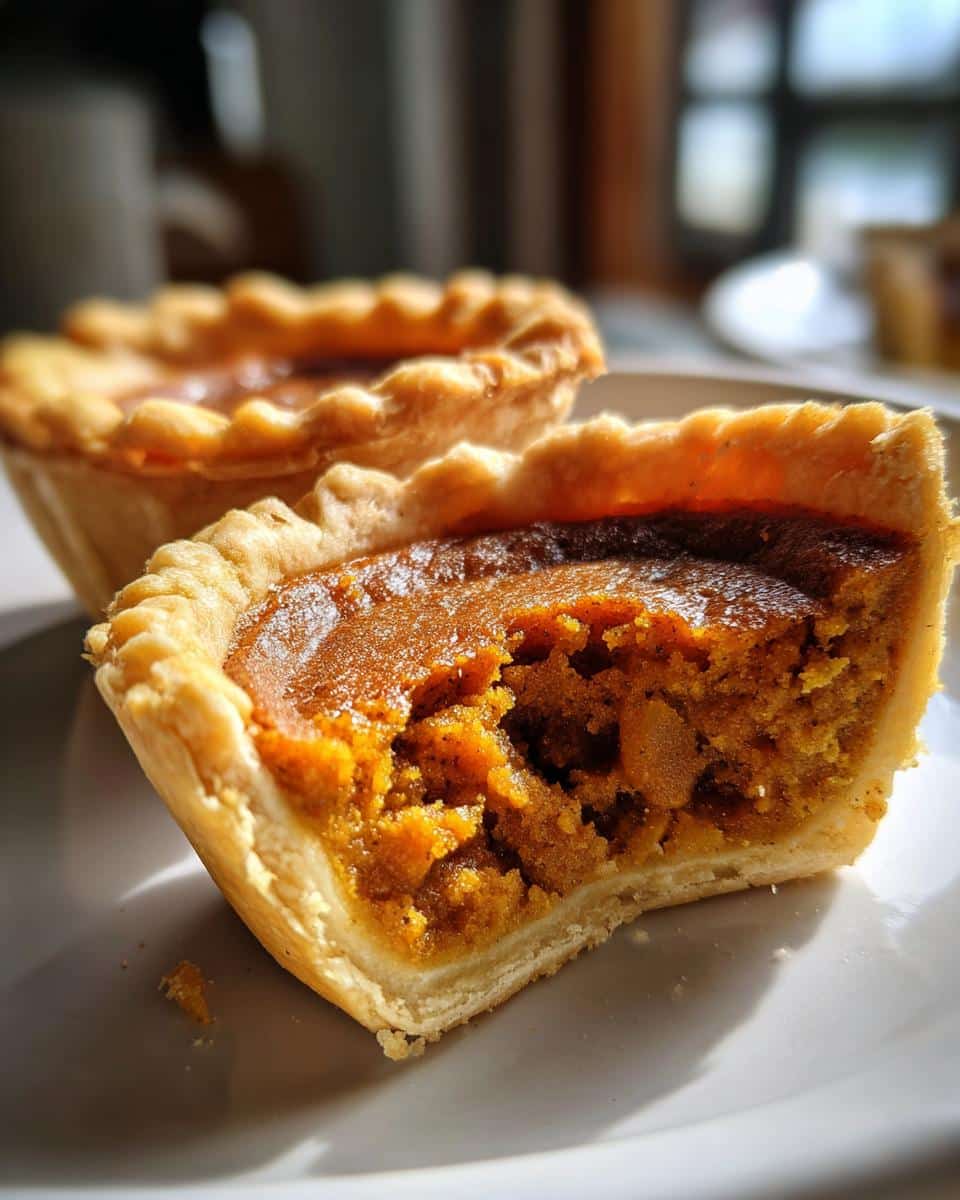
Nothing says autumn like the smell of spiced pumpkin pie wafting through the kitchen. My mini pumpkin pies became our family’s holiday staple after years of watching my grandma struggle to slice her perfect pumpkin pie evenly at Thanksgiving. These adorable individual portions solve all the problems – no messy plates, perfect crust-to-filling ratio every time, and let’s be honest, everyone wants their own personal dessert.
The first time I made them, my skeptical uncle ate three before dinner even started. Now they’re requested at every gathering from Halloween through New Year’s. The secret? That same smooth, cinnamon-kissed pumpkin filling Grandma used, but baked in flaky little crust cups that crisp up beautifully. One bite transports me right back to her cozy kitchen with the leaves turning golden outside.
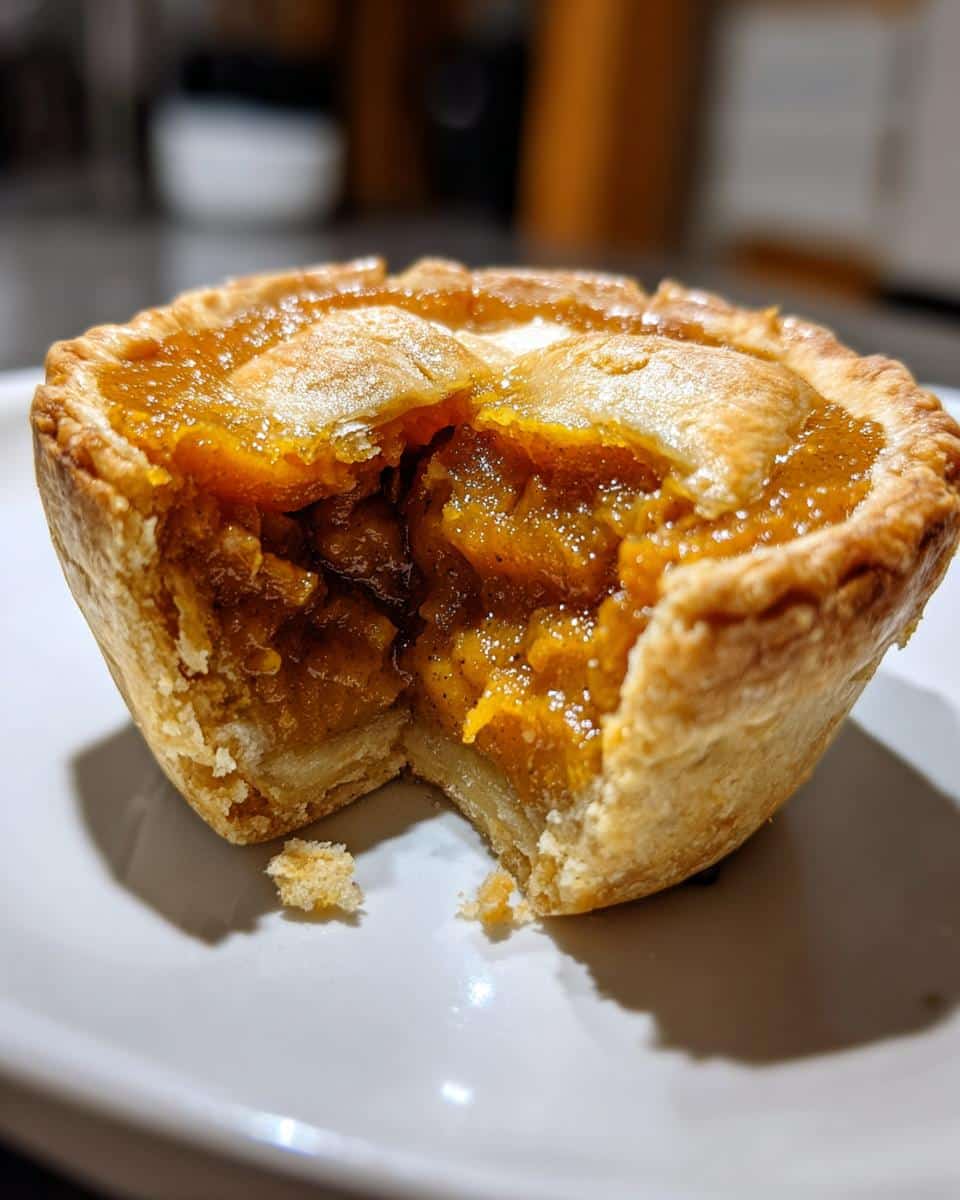
Why You’ll Love These Mini Pumpkin Pies
Trust me, once you try these bite-sized treats, you’ll never go back to slicing messy wedges again. Here’s what makes them special:
- No serving drama: Each guest gets their own perfectly portioned pie – no fighting over crust-to-filling ratios!
- Flavor that sings: The blend of cinnamon, ginger, and nutmeg makes that pumpkin filling taste like a cozy autumn hug.
- Textural heaven: Flaky crust meets velvety smooth filling in every single bite.
- Holiday hero: They look adorable on dessert tables and free you from last-minute slicing during parties.
My favorite part? Watching people’s faces light up when they realize they don’t have to share.
Ingredients for Mini Pumpkin Pies
Gather these simple ingredients – I promise you probably have most in your pantry already! The magic happens when they all come together. (Pssst…don’t skip the evaporated milk – it’s the secret to that luscious texture Grandma always achieved.)
- 1 pie crust – store-bought works in a pinch, but homemade is worth the extra 10 minutes if you’ve got them
- 1 cup pumpkin puree (not pie filling – we’ll spice it ourselves!)
- 1/2 cup packed brown sugar – the dark molasses notes make all the difference
- 1/4 cup granulated sugar – just enough to balance the spices without being cloying
- 1 large egg – room temperature, please! Cold eggs make the filling grumpy
- 1/2 teaspoon cinnamon – the warm hug of fall
- 1/4 teaspoon ginger – for that subtle kick
- 1/4 teaspoon nutmeg – freshly grated if you’re feeling fancy
- 1/4 teaspoon salt – don’t skip this flavor booster
- 1/2 cup evaporated milk – the unsung hero that creates that silky texture
See? Nothing weird or hard-to-find. Just good, honest ingredients that transform into something magical. Now let me tell you why each one matters…
How to Make Mini Pumpkin Pies
Alright, let’s get to the fun part – transforming those simple ingredients into little bites of autumnal bliss! I’ve made these dozens of times (okay, maybe hundreds), and I’ll walk you through every step so yours turn out perfect on the first try. Just follow along and trust the process – it’s easier than you think!
Preparing the Crust
First things first – that flaky, buttery crust foundation! If you’re using store-bought dough, let it sit at room temperature for about 10 minutes – just until it’s pliable but still cool. Homemade dough? Even better! Roll it out on a lightly floured surface to about 1/8 inch thick – imagine the thickness of two stacked quarters.
Here’s my trick: use a 3.5-inch round cutter (a wide-mouth mason jar lid works in a pinch) to cut perfect circles. Press them gently into a standard muffin tin – no greasing needed! The dough should come just slightly up the sides. If it tears, don’t panic – just patch it with extra dough. Pop the whole tin in the fridge for 15 minutes while you make the filling. This little chill session prevents shrinking during baking – learned that the hard way!
Making the Filling
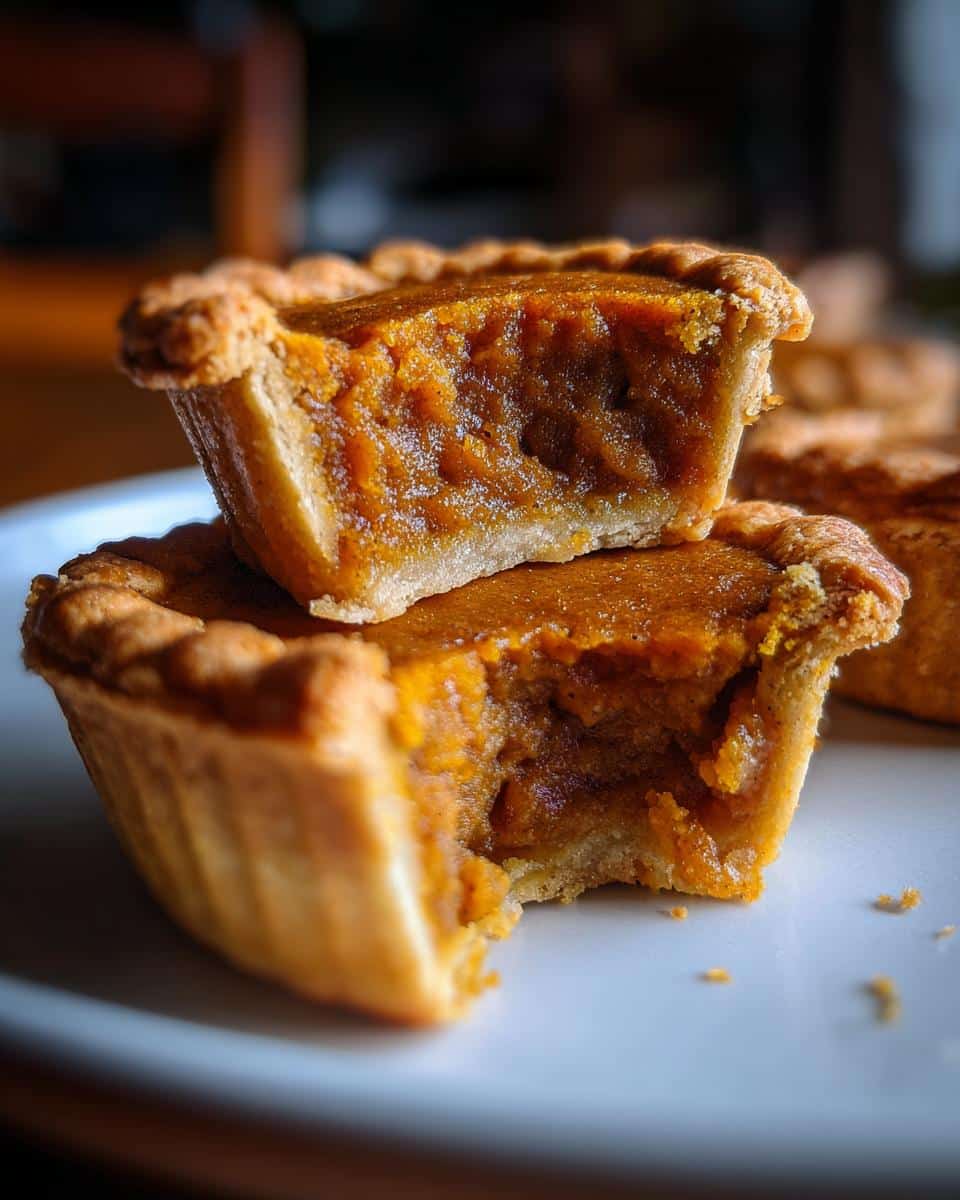
Now for that luscious pumpkin center! In a large bowl, whisk together the pumpkin puree, brown sugar, granulated sugar, egg, cinnamon, ginger, nutmeg, and salt until it’s completely smooth. No shy stirring here – really get in there to banish any lumps! I like to use a hand mixer for about 30 seconds to make it extra velvety.
Slowly pour in the evaporated milk while whisking. The mixture will be thin – that’s perfect! It thickens beautifully as it bakes. Give it a final stir and set it near your chilled crusts. Oh – and sneak a quick taste with your pinky (chef’s privilege!) – it should be richly spiced but not overpowering. Adjust with an extra pinch of cinnamon if needed.
Baking and Cooling
Time to bring it all together! Preheat your oven to 350°F with a rack in the center position – this ensures even baking. Pull your crusts from the fridge and fill each one about 3/4 full with the pumpkin mixture. Leave just a smidge of room at the top – they puff slightly as they bake.
Slide them into the oven and resist the urge to open the door for at least 20 minutes. Around the 25-minute mark, start checking – the edges should be lightly golden, and the centers should jiggle just slightly when nudged. My perfect doneness test? Insert a toothpick about 1 inch from the edge – it should come out clean while the very center still looks a tiny bit wet.
Here’s the hardest part – let them cool completely in the pan! I know, I know, the smell is intoxicating, but if you try to remove them too soon, they’ll fall apart. After about 30 minutes, run a butter knife around the edges and gently lift them out. The filling sets completely as they cool to room temperature – about 1 hour. (For the record, I’ve never actually waited the full hour before sneaking one…)
Tips for Perfect Mini Pumpkin Pies
After burning more than my fair share of mini pies (and serving some that looked more like abstract art than dessert), I’ve learned all the tricks to make yours flawless every time. Here are my hard-won secrets:
Chill that dough twice: Once after pressing into the muffin tin, and again after filling if your kitchen is warm. Cold dough equals flaky layers instead of sad, soggy bottoms. I stick mine in the freezer for 10 minutes when I’m impatient.
Cookie cutter wisdom: A 3.5-inch cutter gives you the ideal crust-to-filling ratio. No cutter? The top of a wide-mouth mason jar works shockingly well. Just flip it upside down and press firmly through the dough.
The 3/4 full rule: Filling to the brim guarantees pumpkin overflow (ask me how I know). Leave about 1/4 inch at the top – they’ll puff slightly during baking without making a mess in your oven.
Early doneness checks: Start testing at 20 minutes – mini pies go from perfect to overdone FAST. Look for set edges with just the tiniest jiggle in the center. They’ll continue cooking as they cool.
Silicon brush trick: Lightly brush crust edges with egg wash before baking for that gorgeous golden shimmer. It’s the little touches that make people think you slaved for hours!
Bonus tip from my last Thanksgiving disaster? Place a baking sheet under your muffin tin. That one rogue overflowing pie won’t ruin your oven floor (again). You’re welcome.
Mini Pumpkin Pies Variations
Don’t get me wrong – I adore the classic version, but sometimes you gotta mix things up! Here are my favorite twists that still honor the spirit of Grandma’s original:
Gingersnap Crust Gamechanger: Swap the regular pie crust for crushed gingersnaps mixed with melted butter. Just blitz 1 1/2 cups cookies in a food processor, mix with 5 tbsp melted butter, and press into the tins. The spicy crunch against the creamy filling? Absolute magic. My cousin requests this version every Christmas.
Pecan Party: Stir 1/3 cup chopped toasted pecans into the filling before baking. The toasty nuttiness cuts through the sweetness perfectly. For extra flair, sprinkle a few pecan halves on top before baking – they’ll toast up beautifully.
Dairy-Free Delight: Use coconut milk instead of evaporated milk for a lactose-free option. The subtle coconut flavor actually complements the pumpkin beautifully. And before you ask – yes, I’ve tried almond milk, but it makes the filling too thin. Trust me on the coconut.
Bourbon-Spiked Sophistication: For adult gatherings, add 1 tbsp bourbon to the filling mixture. It deepens all the warm spice flavors and gives that “what’s different about these?” factor. Just don’t tell the kids – they’ll want to try your “special” pies.
The best part? You can mix and match these ideas – gingersnap crust with pecans? Yes please! Just don’t stray too far from the original ratios or you’ll lose that perfect texture we worked so hard to achieve.
Serving and Storing Mini Pumpkin Pies
Now that you’ve created these adorable mini masterpieces, let’s talk presentation and preservation! (Because let’s be real – you’ll probably want to make extra since they disappear faster than autumn leaves in a windstorm.)
The Finishing Touches: While delicious plain, a dollop of freshly whipped cream takes these babies to the next level. For special occasions, I pipe little rosettes using a star tip – looks fancy but takes 30 seconds. Other crowd-pleasing toppings:
- A drizzle of warm caramel sauce (bonus points if you sprinkle with sea salt)
- Crumbled gingersnaps or toasted pecans for crunch
- Dusting of cinnamon sugar right before serving
- A scoop of vanilla ice cream for mini pie à la mode (my nephew’s favorite)
The Storage Situation: These keep beautifully in an airtight container in the fridge for 3 days – if they last that long! The crust stays surprisingly crisp thanks to the small size. For longer storage, you’ve got options:
- Freeze baked: Cool completely, then freeze on a baking sheet before transferring to freezer bags. Thaw overnight in fridge and refresh in a 300°F oven for 5 minutes.
- Freeze unbaked: Assemble pies but don’t bake. Freeze solid in the muffin tin, then pop out and store in freezer bags. Bake straight from frozen, adding 5-7 extra minutes.
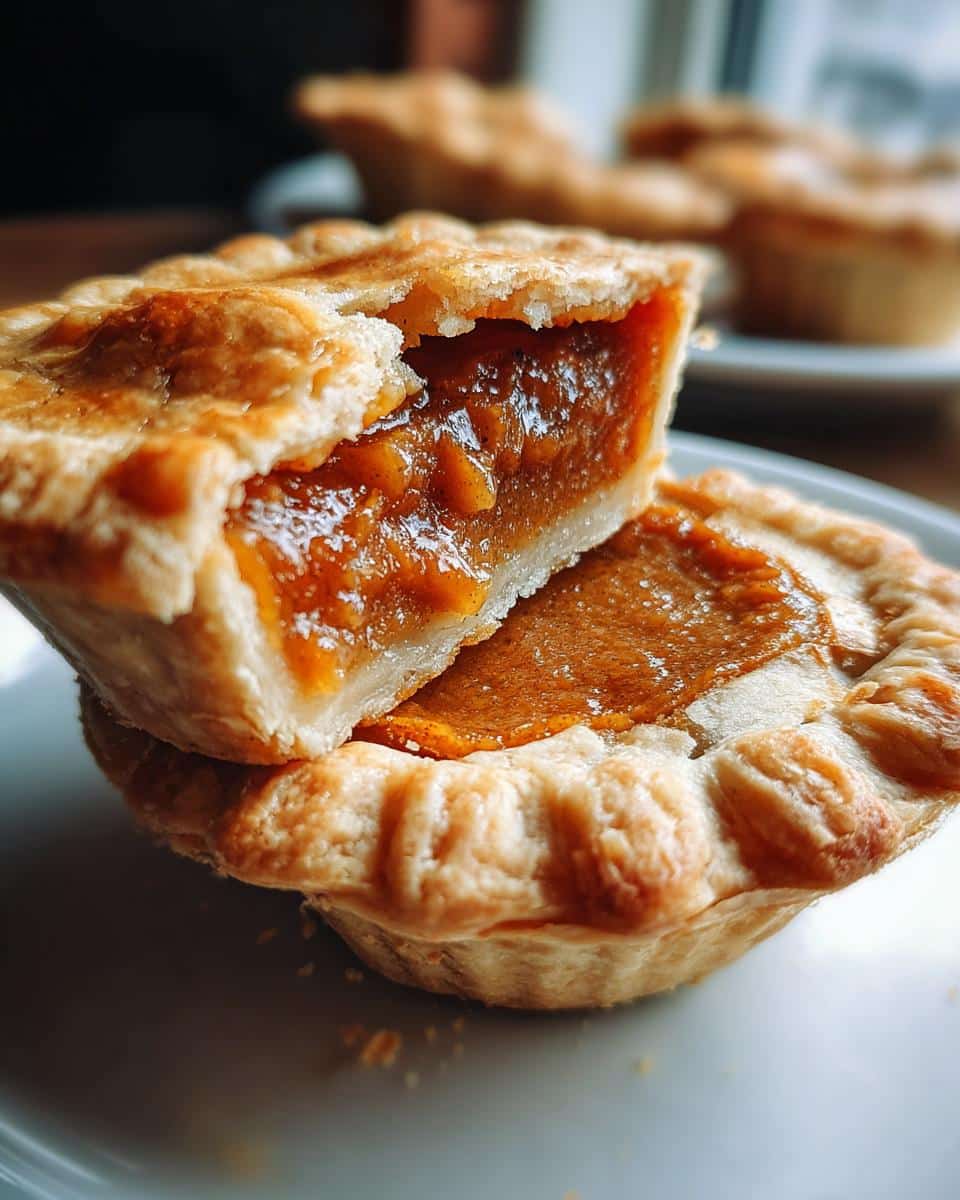
Reheating Pro Tip: If your fridge-stored pies lose their crispness, pop them in a 350°F oven for 3-4 minutes. It works wonders! Just watch closely – they reheat faster than you’d think. And whatever you do, don’t microwave unless you enjoy soggy crust (said from heartbreaking experience).
Fun fact – these actually taste better the next day as the spices meld. So feel free to bake ahead for stress-free entertaining. Though good luck not eating them all while “quality testing”…
Mini Pumpkin Pies FAQ
Over the years, I’ve gotten all sorts of questions about these little pumpkin delights – some from panicked friends mid-recipe (we’ve all been there!), others from curious bakers wanting to tweak things. Here are the answers to the ones I hear most:
Can I use fresh pumpkin instead of canned puree?
Absolutely! Roast a sugar pumpkin until fork-tender, scoop out the flesh, and puree until smooth. But here’s the key: drain it in a fine mesh strainer for at least an hour. Fresh pumpkin has way more water than canned, and nobody wants soupy pie filling. I usually squeeze mine in cheesecloth to be extra sure. (Confession: I use canned most days because #lazy, and it works great!)
Can I make these ahead of time?
You’re speaking my language! These are perfect for prepping ahead. Bake them up to 3 days before and store in the fridge, or freeze them either baked or unbaked. For unbaked, freeze them right in the muffin tin, then transfer to bags once solid. Add about 5 minutes to the baking time if cooking from frozen. Pro tip: Wait to add any whipped cream or toppings until just before serving.
How do I prevent a soggy crust?
Oh honey, we’ve all cried over a sad, mushy crust. My golden rule: blind bake the crusts for 8 minutes at 375°F before adding filling. Just prick the bottoms with a fork, line with parchment and pie weights (or dry rice!), and bake until barely golden. Let them cool slightly before filling. This creates a moisture barrier that keeps things crisp. Also – make sure your filling isn’t too wet (looking at you, undrained fresh pumpkin!).
Can I make them without eggs?
I’ve tested this for my vegan niece! Substitute 1 tbsp ground flaxseed mixed with 3 tbsp water (let it gel for 5 minutes first). The texture is slightly less firm but still delicious. A ripe mashed banana also works in a pinch, though it adds mild banana flavor. For both options, chill the baked pies overnight to help them set completely.
My filling puffed up and cracked – what went wrong?
First, breathe – they’ll still taste amazing! This usually means either the oven was too hot or you overmixed the filling. Next time, try:
- Mixing the filling just until combined (no need to beat it to death)
- Lowering oven temp by 25°F and baking slightly longer
- Placing a pan of water on the rack below to create steam
The cracks will sink back down as they cool, and a dollop of whipped cream covers all sins!
Nutritional Information
Okay, let’s be real – these mini pumpkin pies are treats, not health food. But because I know some of you (like my carb-counting sister-in-law) want the numbers, here’s the scoop. Remember: these are estimates based on standard ingredients – your exact numbers might vary depending on brands and tweaks.
- Per mini pie: About 150 calories
- Fat: 6g (3g saturated)
- Carbs: 22g (1g fiber, 12g sugar)
- Protein: 2g
For more precise calculations based on your specific ingredients, I love using online nutrition calculators – just plug in your exact brands and measurements. Pro tip: The crust is where most of the fat lives, so if you’re watching that, try my gingersnap crust variation (uses less butter) or go crustless in greased muffin cups for a “pumpkin custard” version.
Now stop worrying and enjoy your little bites of autumn bliss! And if you make them, tag me on Instagram – I love seeing your creations (and stealing your topping ideas)!
Print
Mini Pumpkin Pies: 3 Secrets for Irresistible Bite-Sized Bliss
- Total Time: 40 minutes
- Yield: 12 mini pies
- Diet: Vegetarian
Description
Mini pumpkin pies are perfect for individual servings. They have a flaky crust and a smooth, spiced pumpkin filling.
Ingredients
- 1 pie crust (store-bought or homemade)
- 1 cup pumpkin puree
- 1/2 cup brown sugar
- 1/4 cup granulated sugar
- 1 egg
- 1/2 teaspoon cinnamon
- 1/4 teaspoon ginger
- 1/4 teaspoon nutmeg
- 1/4 teaspoon salt
- 1/2 cup evaporated milk
Instructions
- Preheat oven to 350°F (175°C).
- Roll out pie crust and cut into small circles to fit a muffin tin.
- Press crust circles into muffin tin cups.
- In a bowl, mix pumpkin puree, sugars, egg, spices, and salt.
- Stir in evaporated milk until smooth.
- Fill each crust with pumpkin mixture.
- Bake for 25-30 minutes or until set.
- Cool before serving.
Notes
- Use a mini muffin tin for bite-sized pies.
- Chill dough before rolling for easier handling.
- Top with whipped cream if desired.
- Prep Time: 15 minutes
- Cook Time: 25 minutes
- Category: Dessert
- Method: Baking
- Cuisine: American



