 Skip to content

I’ll never forget the first time I made Monster Mouth Apple Slices for my niece’s Halloween party. The kids went wild for them! There’s something magical about turning simple ingredients into edible monsters that makes snack time so much more exciting. These little creations – crisp apple slices with peanut butter “gums” and mini marshmallow “teeth” – became the star of the party table.
What I love most about this recipe (besides the adorable factor) is how it sneaks in good nutrition while looking like pure fun. The apples give you that satisfying crunch and natural sweetness, while the peanut butter adds protein to keep little bellies full. And those tiny marshmallows? Well, they’re just the perfect whimsical touch that makes kids actually want to eat their fruit!
Whether it’s for a classroom party, after-school snack, or just a creative way to beat the afternoon munchies, these monster mouths never fail to delight. The best part? They come together in about 10 minutes flat – which we all know is crucial when you’re dealing with impatient little monsters of your own!
Table of Contents
Why You’ll Love This Monster Mouth Apple Slices Recipe
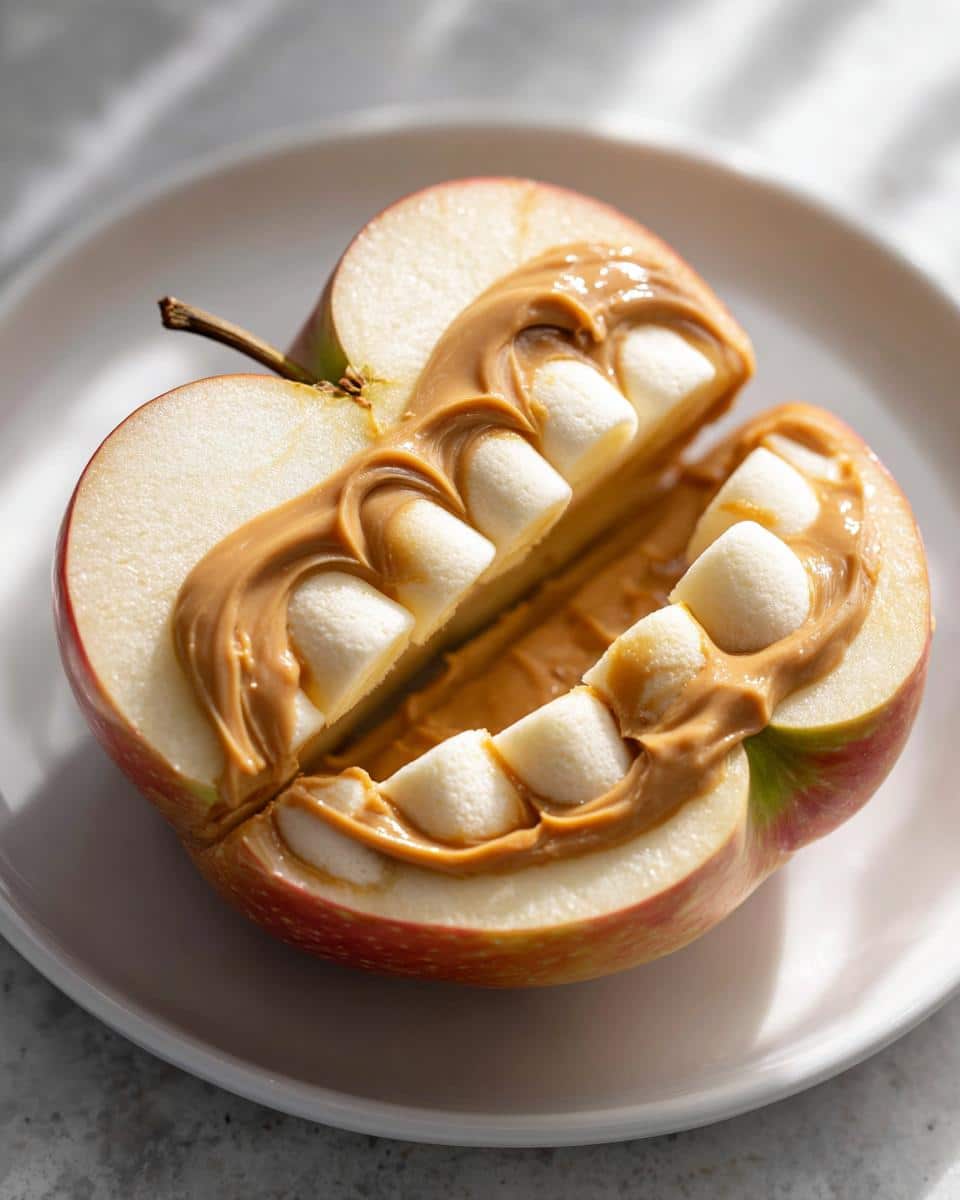
Let me tell you why this recipe is an absolute game-changer for snack time:
- Crazy quick – Done in 10 minutes flat (perfect for last-minute school party emergencies!)
- Seriously simple – Even my 6-year-old can help assemble these
- Pure fun – The marshmallow teeth make kids giggle every single time
- Sneaky healthy – Apples + peanut butter = nutrition win disguised as a silly treat
- Crowd-pleaser – Works for playdates, Halloween, or just Tuesday afternoons
Trust me, once you see those little monster grins staring up from the plate, you’ll be hooked!
Ingredients for Monster Mouth Apple Slices
Okay, let’s gather our monster-making supplies! Here’s what you’ll need for the most adorable snack attack:
- 2 medium crisp apples (I swear by Honeycrisp – they slice beautifully and stay crunchy)
- 1/4 cup creamy peanut butter (not the natural kind – it needs to be spreadable right from the jar!)
- 1/4 cup mini marshmallows (the tiny ones work best for realistic monster teeth)
That’s it – just three simple ingredients to create snack-time magic! Now let’s turn these into some seriously cute monsters.
Equipment You’ll Need
Don’t worry – you probably already have everything required in your kitchen! Here’s what I grab when making these monster mouths:
- A sharp knife (for perfect apple slices)
- Cutting board
- Small spoon or butter knife (for spreading that peanut butter just right)
That’s seriously all you need to create these little works of edible art!
How to Make Monster Mouth Apple Slices
Ready to create the most adorable snack ever? Let me walk you through each step – it’s so easy you’ll be making these on autopilot in no time!
Step 1: Prep the Apples
First things first – give those apples a good wash under cold water. I like to scrub them gently with my hands to remove any waxy coating. Now for slicing: cut each apple into about 8 wedges (remove the core first!). Here’s my trick to prevent browning – if you’re not serving immediately, give the slices a quick dunk in lemon water (just 1 tablespoon lemon juice mixed with 1 cup water). But honestly? These disappear so fast, browning is rarely an issue!
Step 2: Add the Peanut Butter
Time for the “gums”! Grab your peanut butter and a small spoon. Spread about ½ teaspoon onto the curved edge of each apple slice – the part where you’d normally bite. Don’t go too thick or it’ll ooze out when you add the teeth! Pro tip: if your peanut butter is stubborn, microwave it for just 5 seconds to make spreading easier.
Step 3: Create the Monster Teeth
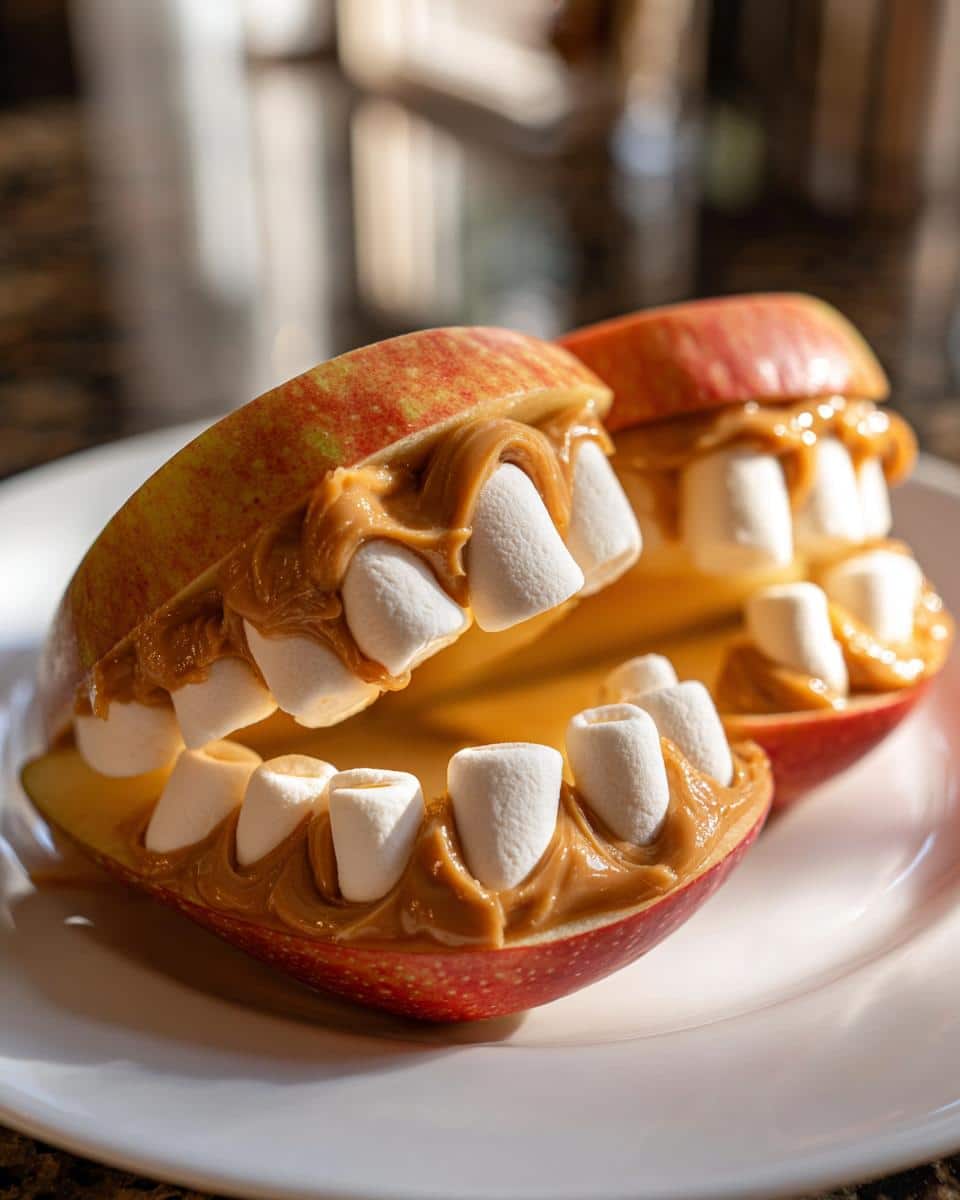
Here comes the magic – pinch those mini marshmallows and press them into the peanut butter “gums” to make teeth! I like to do about 5-6 per slice, alternating directions for that perfect monster grin. Gently pat them down so they stick. Voila! You’ve just created the most enthusiastic fruit eaters on the planet. Now watch them disappear before your eyes!
Tips for Perfect Monster Mouth Apple Slices
After making these little monsters dozens of times (my kids can’t get enough!), I’ve picked up some tricks to make them absolutely foolproof:
Chill before serving – Pop them in the fridge for 10 minutes if you can wait – the peanut butter firms up and those marshmallow teeth stay put better. Presentation matters – arrange them on a dark plate to make those toothy grins really pop! If you’re prepping ahead, toss the apple slices in that lemon water trick I mentioned earlier, then pat dry before assembling.
For nut-free versions, sunflower seed butter works great – just know it’ll darken the “gums” a bit. And here’s my favorite sneaky trick: add two mini chocolate chips as “eyes” above the mouth for extra monster personality!
Variations for Monster Mouth Apple Slices
Oh, the possibilities with these little monsters! Here are some of my favorite ways to mix things up:
- Nut butter swaps – Almond butter or cookie butter make delicious “gums” (sunflower seed butter for allergies)
- Extra decorations – Try raisins for warts or chocolate chips for eyes
- Sweet twist – Swap marshmallows for sliced almonds to make vampire fangs instead!
The best part? Kids love helping come up with new monster personalities – let their creativity run wild!
Serving Suggestions for Monster Mouth Apple Slices
These little monsters play well with others! For parties, I love pairing them with “eyeball” grapes (just draw pupils with edible marker) and cheese stick “bones.” They’re perfect alongside pumpkin muffins at Halloween or as part of a monster-themed lunch box. Honestly? They disappear fastest when served all by their adorable selves!
Storage and Reheating Instructions
Here’s the truth – these monster mouths are best enjoyed fresh! The apples stay crisp and the marshmallows keep their squish. If you must store them, layer between parchment paper in an airtight container for up to 2 hours max. Any longer and you’ll get sad, soggy monsters – and nobody wants that!
Nutritional Information for Monster Mouth Apple Slices
Each serving (about 4 apple slices) packs roughly 120 calories with a nice balance of fiber and protein. Remember, numbers may vary slightly based on your specific apple size and peanut butter brand!
Frequently Asked Questions About Monster Mouth Apple Slices
I get so many questions about these adorable snacks – here are the ones that pop up most often:
Can I make these ahead of time?
Honestly, they’re best assembled right before serving. But you can prep the apple slices ahead (store them in lemon water) and have the peanut butter and marshmallows ready to go for quick assembly!
What if my child has a peanut allergy?
No worries! Sunflower seed butter works wonderfully – just know it’ll turn the “gums” a bit darker. I’ve also had success with soy nut butter!
How long do they take to make?
From washing apples to monster creation? About 10 minutes tops! That’s why these are my go-to when surprise guests show up with kids in tow.
Will the apples turn brown?
They might a little, but between the peanut butter coverage and how fast these disappear, it’s rarely an issue. For parties, I just make extra!
Final Thoughts
There you have it – the easiest way to turn snack time into a monster mash of fun! I can’t wait for you to see the looks on your little ones’ faces when these toothy creations appear. Give them a try and snap a photo of your monster masterpieces – I’d love to see what creative variations you come up with!
Print
10-Minute Monster Mouth Apple Slices – Irresistible Snack Magic
- Total Time: 10 minutes
- Yield: 4 servings
- Diet: Vegetarian
Description
Fun and healthy snack featuring apple slices with peanut butter and mini marshmallows, perfect for kids and parties.
Ingredients
- 2 medium apples, sliced
- 1/4 cup peanut butter
- 1/4 cup mini marshmallows
Instructions
- Wash and slice the apples into wedges.
- Spread peanut butter on one side of each apple slice.
- Press mini marshmallows into the peanut butter to resemble teeth.
- Serve immediately or chill for 10 minutes if desired.
Notes
- Use almond butter if allergic to peanuts.
- Best eaten fresh to prevent browning.
- Add raisins for extra decoration.
- Prep Time: 10 minutes
- Cook Time: 0 minutes
- Category: Snack
- Method: No-Cook
- Cuisine: American



