 Skip to content
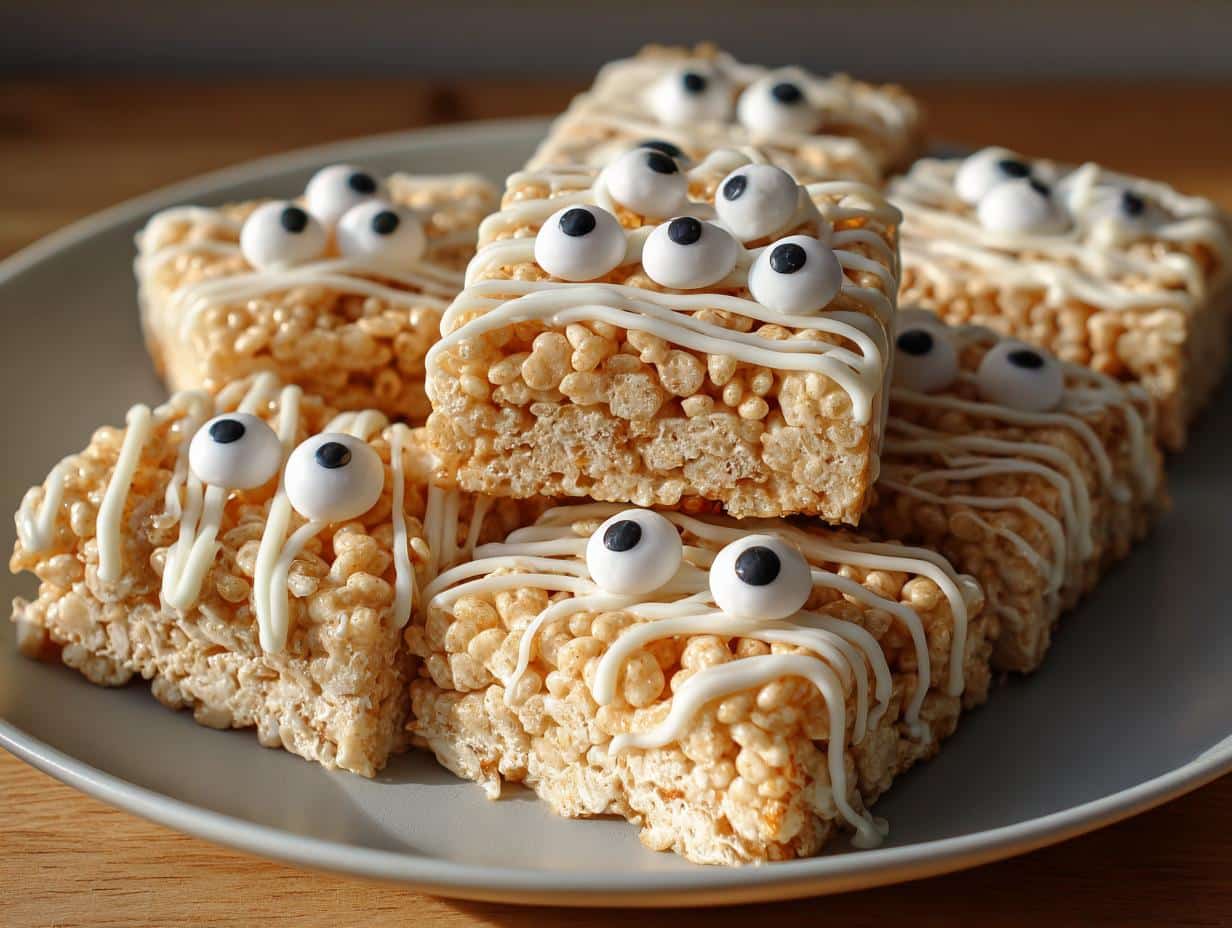
Okay, confession time – I live for Halloween treats that look impressive but secretly take 15 minutes to make. These adorable Mummy Rice Krispie Treats? Total crowd-pleasers every single year in my house. My kids go nuts helping drizzle the “bandages” and sticking on those googly candy eyes (which may or may not “accidentally” disappear into little mouths before decorating is done).
The best part? Even if your kitchen usually looks like a baking disaster zone, these no-bake mummies are foolproof. Just melt, mix, squish into shape, and unleash your inner artist with some icing. They’re perfect for classroom parties, last-minute Halloween potlucks, or just bribing your neighbors into forgiving your over-the-yard Halloween decorations. Trust me – once you see how easy and fun these are, you’ll be wrapping every Rice Krispie Treat in “bandages” year-round!
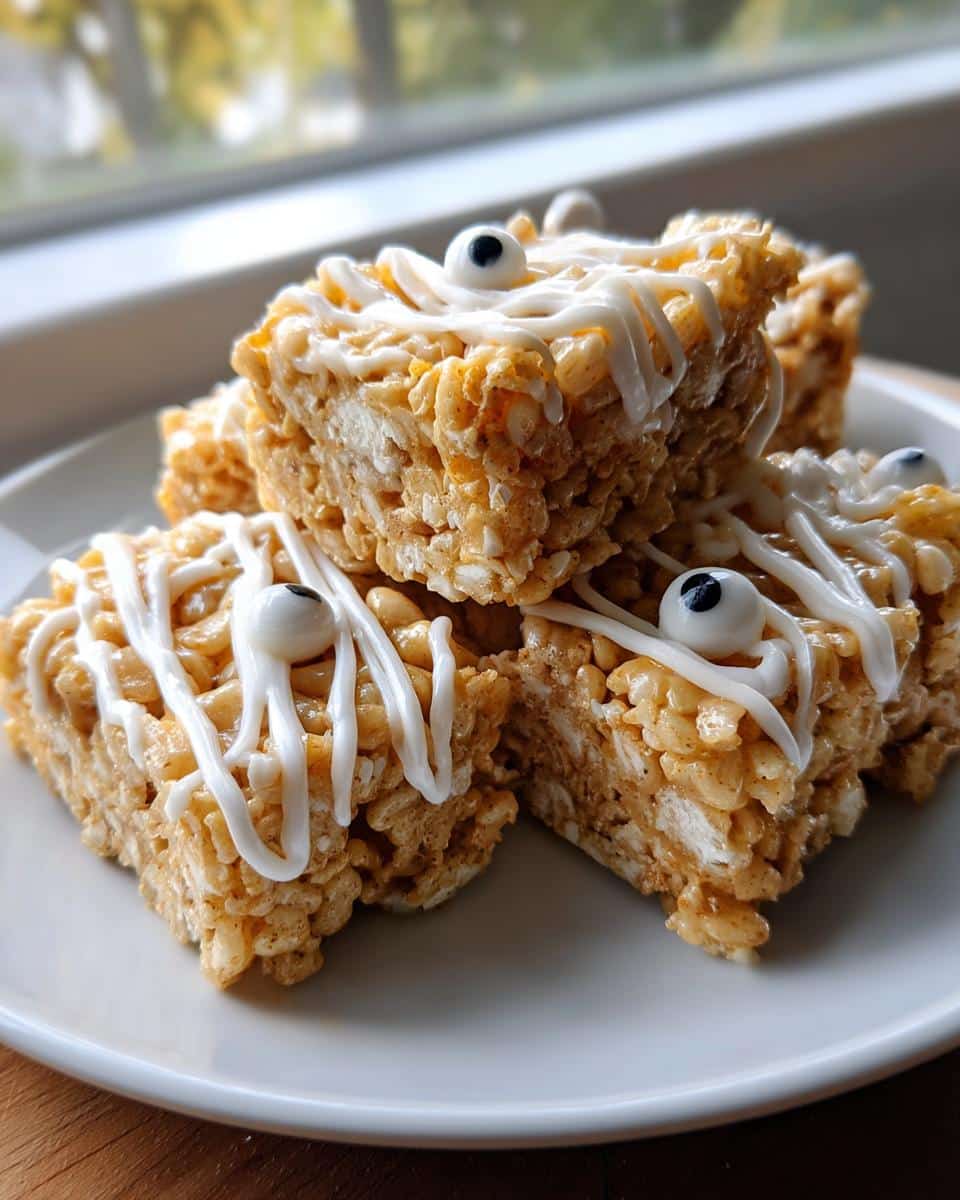
Why You’ll Love These Mummy Rice Krispie Treats
These little mummies have been my go-to Halloween treat for years, and here’s why they’ll steal your heart too:
- No oven required: Just melt, mix, and press – even my most kitchen-awkward friends nail these on the first try.
- Total kid magnet: Watching my 7-year-old carefully place eyeballs on his creations? Pure magic (plus it keeps him busy for a solid 20 minutes).
- Impossible to mess up: Crooked icing just makes them look more authentically “mummified” – it’s the one dessert where messy is better!
- Instantly festive: One bite and you’re suddenly the coolest house on the block at Halloween parties.
Ingredients for Mummy Rice Krispie Treats
Here’s what you’ll need to bring these adorable edible mummies to life (I promise, every ingredient plays a crucial role in their spooky charm):
- 3 tablespoons butter: The real stuff, please – it gives that perfect chewy texture and rich flavor
- 10 oz marshmallows (regular size, not minis): They melt smoother and give better structure
- 6 cups Rice Krispies cereal: The classic choice, though generic crisp rice works in a pinch
- 1 cup white icing (gel works best for decorating): Gives you control for those perfect “bandage” lines
- 10 candy eyeballs (or more if your mummies want to be extra watchful!)
Pro tip: Set everything out before starting – once those marshmallows melt, you’ll want to move fast!
How to Make Mummy Rice Krispie Treats
Okay, let’s get these adorable mummies assembled! I’ve made this recipe so many times I could do it in my sleep (and honestly, I might have during one particularly hectic Halloween week). Here’s my foolproof method:
- Melt the butter first in a large saucepan over low heat – this creates the perfect base for the marshmallows without burning. I like to use a wooden spoon for stirring – it just feels right for this nostalgic recipe.
- Add all the marshmallows and keep stirring until they’re completely melted and smooth. This takes about 3-4 minutes – don’t rush it! The marshmallows should look like a glossy white lava when ready.
- Remove from heat and immediately stir in the Rice Krispies. Mix quickly but thoroughly until every single cereal piece gets coated. The mixture will be gloriously sticky – that’s exactly what you want!
- Press firmly into a greased 9×13 pan. I use wax paper to press it down evenly without sticking to my hands. Let it cool completely (about 30 minutes) before cutting into rectangles with a sharp knife.
Decorating Your Mummy Rice Krispie Treats
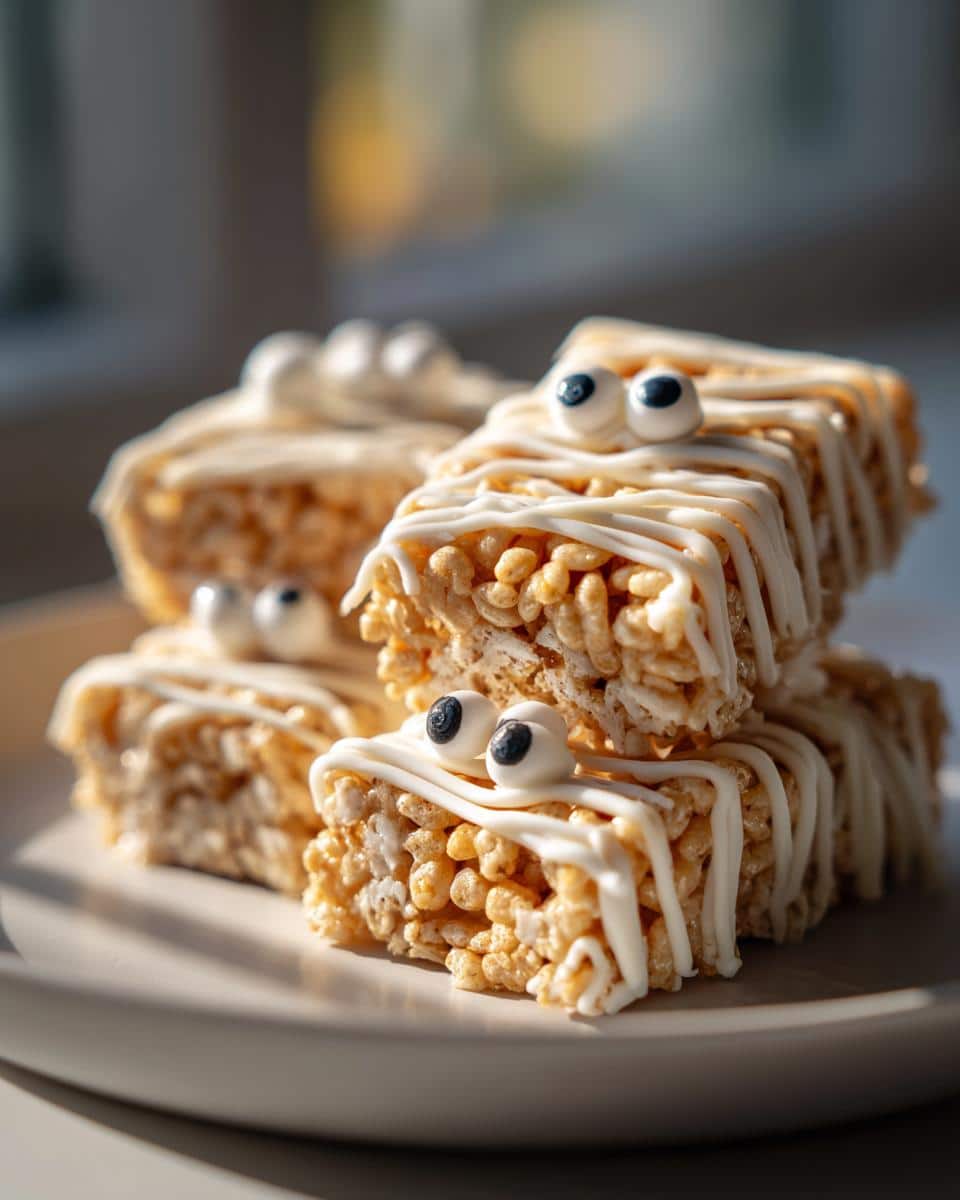
Now for the fun part! Use a piping bag or ziplock with the corner snipped to drizzle white icing in messy crisscross lines – the more uneven, the more mummy-like they’ll look. Press on candy eyeballs while the icing is still wet. Let set for 15 minutes so the “bandages” harden slightly. Pro tip: Make some with just one eye showing for extra creepy charm!
Tips for Perfect Mummy Rice Krispie Treats
After making these dozens of times (and learning from every “oops” moment), here are my can’t-live-without tips:
- Grease your hands lightly before pressing the mixture into the pan – it’ll save you from that frustrating marshmallow-string-everywhere situation we’ve all experienced!
- Gel icing is your BFF for decorating – it holds its shape beautifully compared to runny buttercream, giving you those crisp “bandage” lines.
- Store them in layers with parchment paper between – no more pulling apart sticky mummy casualties when you want a snack.
- Work quickly once you mix in the cereal – that marshmallow glue sets up fast, so have your pan ready to go.
Trust me, these little tricks will make your mummies look like they stepped out of a bakery case instead of a kitchen disaster!
Ingredient Substitutions and Variations
Want to mix things up with your mummies? No problem – these treats are seriously forgiving! For vegan versions, swap in plant-based butter and vegan marshmallows (they melt just fine). Gluten-free friends? Use your favorite crispy rice cereal – the texture stays perfect. Feeling extra spooky? Try black icing for “dirty” bandages or add a drop of peppermint extract to the icing for a chilling twist. The best part? None of these swaps will wreck that classic Rice Krispie treat chewiness we all love.
Storing and Serving Suggestions
These mummy treats stay fresh and chewy for days if you stash them right! I always use an airtight container with parchment between layers – no sad, stuck-together mummies here. They’re perfect paired with “witch’s brew” punch or arranged on a platter with clementine “pumpkins.” Pro tip: The eyeballs might slide if stored somewhere too warm, so keep them in a cool spot (not the fridge – that makes them too hard!).
Nutritional Information for Mummy Rice Krispie Treats
Here’s the scoop on these sweet little mummies (pun totally intended!): Each treat clocks in at about 150 calories, with 12g sugar and 4g fat. Just remember – these numbers can vary depending on your specific brands of marshmallows or icing. The candy eyeballs add minimal extras, so don’t feel guilty sneaking an extra one… or three!
Frequently Asked Questions
Over the years, I’ve gotten every question imaginable about these mummy treats – here are the ones that pop up most often:
Can I use mini marshmallows instead?
Absolutely! Use about 5 cups of minis (they measure differently by volume). They melt even faster, so keep a close eye – you might need to reduce the heat slightly.
How do I keep my Rice Krispie treats from getting hard?
The secret’s in the storage! An airtight container is non-negotiable. If they do stiffen up, a 5-second microwave zap brings back that perfect chew.
Can I make these ahead for a party?
You bet! They hold up great for 1-2 days. I actually think they taste better after resting overnight – the flavors meld beautifully. Just wait to add the eyeballs until right before serving.
Help! My icing won’t stick to the treats!
Ah, the classic culprit is greasy fingers. Wipe the treats with a paper towel first, or do what I do – decorate them while they’re slightly warm (not hot!).
Share Your Spooky Creations
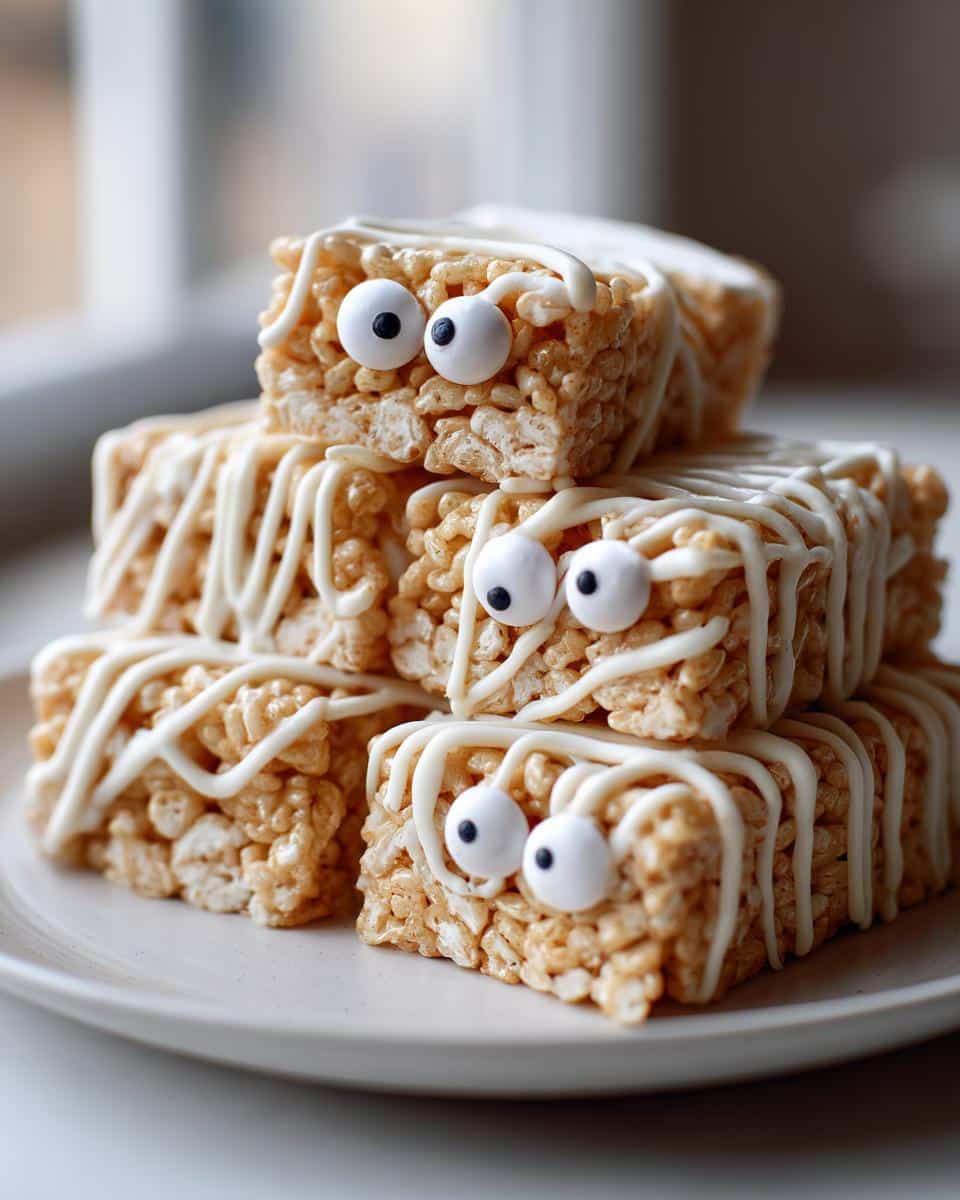
Nothing makes me happier than seeing your creepy-cute mummy masterpieces! Tag me in your photos so I can ooh and ahh over your decorating skills – bonus points if your kiddos helped make them look extra messy and adorable. Halloween baking memories are the best kind!
Print
25 Adorable Mummy Rice Krispie Treats Kids Will Devour Instantly
- Total Time: 20 minutes
- Yield: 10 treats
- Diet: Vegetarian
Description
Mummy Rice Krispie Treats are a fun and easy-to-make Halloween dessert. These treats are shaped like mummies and decorated with icing to create a spooky yet delicious snack.
Ingredients
- 3 tablespoons butter
- 10 oz marshmallows
- 6 cups Rice Krispies cereal
- 1 cup white icing
- 10 candy eyeballs
Instructions
- Melt butter in a large saucepan over low heat.
- Add marshmallows and stir until fully melted.
- Remove from heat and mix in Rice Krispies cereal.
- Press the mixture into a greased baking pan and let cool.
- Cut into rectangles and drizzle white icing in a crisscross pattern to resemble bandages.
- Add candy eyeballs to complete the mummy look.
Notes
- Store in an airtight container for up to 3 days.
- Use gel icing for better control when decorating.
- Prep Time: 15 minutes
- Cook Time: 5 minutes
- Category: Dessert
- Method: No-Bake
- Cuisine: American



