 Skip to content

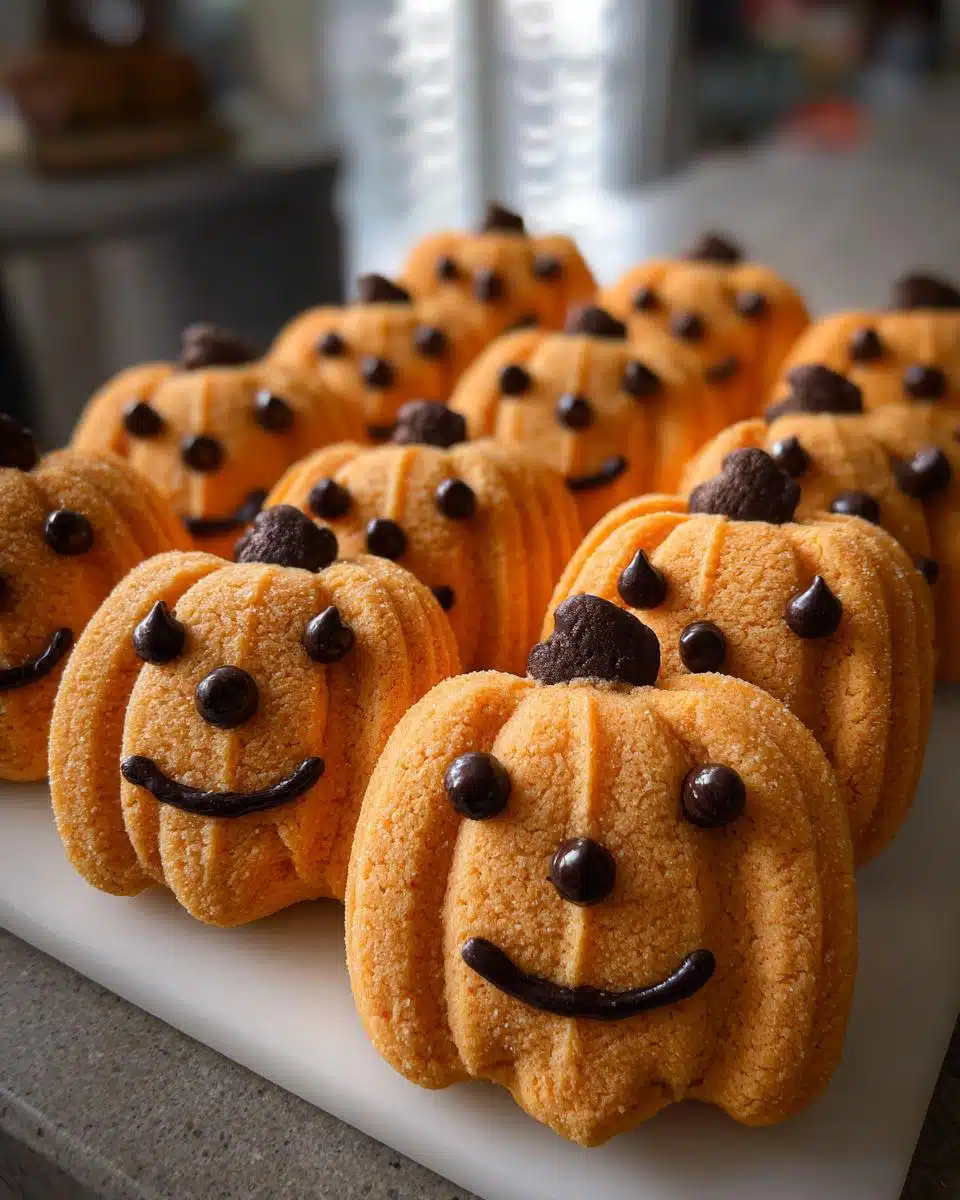
Is there anything more delightful than filling your kitchen with the warm, spicy scent of fall baking? These pumpkin-shaped cookies bring back all my favorite childhood memories of Halloween preparations with my mom. We’d turn our kitchen into a pumpkin patch every October, rolling out dough and giggling as we gave each cookie its own silly face. What I love most is how simple they are to make – no fancy tools required, just a bit of orange food coloring and your creativity. Whether you’re baking with kids or just want a festive treat, these adorable cookies spread instant autumn cheer.
Why You’ll Love These Pumpkin-Shaped Cookies
Trust me, these cookies are a total crowd-pleaser—here’s why:
- Super easy to make: No complicated steps—just mix, shape, and bake. Even if you’re new to baking, you’ll nail these.
- Endless decorating fun: Get creative with chocolate chip smiles or icing swirls. Kids love helping (or eating the “mistakes”).
- Perfect for any fall occasion: Halloween parties, Thanksgiving desserts, or just a cozy afternoon snack—they always steal the show.
- Smells like autumn magic: The buttery, vanilla-scented dough fills your kitchen with the coziest vibes. Warning: neighbors might drop by unannounced!
Ingredients for Pumpkin-Shaped Cookies
Gathering the right ingredients is the first step to pumpkin-shaped perfection—and the good news? You probably have most of these in your pantry already. Here’s what you’ll need:
- 2 1/2 cups all-purpose flour: Spoon and level it—don’t scoop! This keeps the cookies tender.
- 1/2 teaspoon baking powder: Just enough lift without puffing up our pumpkin shapes.
- 1/4 teaspoon salt: Trust me, this tiny amount makes all the flavors pop.
- 1 cup unsalted butter, softened: Leave it out for 30 minutes—you want it cool but spreadable (about 65°F).
- 1 cup granulated sugar: For that classic cookie sweetness.
- 1 large egg: Room temperature blends smoother—just set it out with the butter.
- 1 teaspoon vanilla extract: My secret? A splash extra never hurt anyone.
- Orange food coloring: Gel works best for vibrant color without thinning the dough.
- Chocolate chips or icing: For giving your pumpkins personality!
See? Nothing fancy—just simple, quality ingredients that come together like magic.
Equipment You’ll Need
Don’t worry – you won’t need any fancy gadgets for these pumpkin-shaped cookies! Here’s my go-to list:
- Large mixing bowl: For creaming that butter and sugar to perfection
- Baking sheets: Two is ideal so you can rotate batches
- Parchment paper: Lifesaver for easy cleanup and no sticking
- Butter knife: For creating those signature pumpkin ridges
- Wire rack: Lets cookies cool evenly before decorating
That’s it! Now let’s get baking – the pumpkin fun awaits.
How to Make Pumpkin-Shaped Cookies
Okay, let’s turn that dough into adorable little pumpkins! This is where the real fun begins. I’ll walk you through each step—it’s so simple, you’ll be amazed at how professional they look.
Step 1: Prepare the Dough
First, preheat your oven to 350°F (175°C). Line those baking sheets with parchment paper – saves so much cleaning later! Now, whisk together your flour, baking powder, and salt in a bowl. Set that aside.
Here’s my favorite part: cream the butter and sugar together until it’s light and fluffy. You’ll know it’s ready when the mixture looks almost like pale yellow clouds. Then beat in the egg and vanilla. The smell alone will have you drooling!
Gradually add the dry ingredients, mixing just until combined. Now for the magic – stir in orange food coloring until you get that perfect pumpkin hue. Pro tip: gel coloring gives you vibrant color without making the dough sticky.
Step 2: Shape and Bake
Roll tablespoon-sized portions of dough into balls – this is fun for little hands to help with! Place them on your baking sheet about 2 inches apart. Gently flatten each ball slightly with your palm.
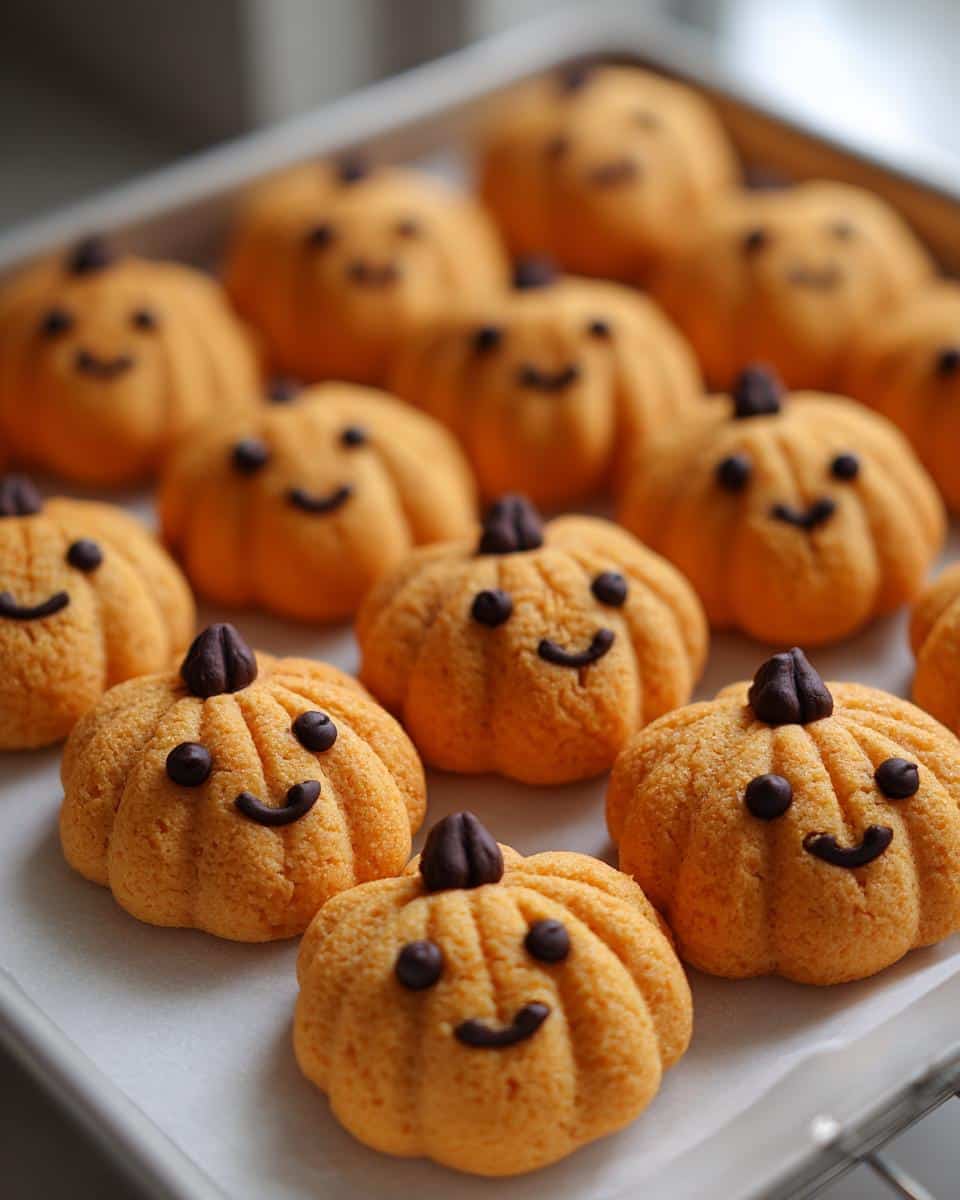
Now grab that butter knife. Starting at the top, make 6-8 vertical lines around each cookie to create pumpkin ridges. Don’t press too hard – just enough to make indentations. They’ll puff up beautifully in the oven.
Bake for 10-12 minutes until the edges are just starting to golden. Don’t overbake – they’ll firm up as they cool. Let them rest on the pan for 2 minutes before moving to a wire rack.

Step 3: Decorate Your Pumpkin-Shaped Cookies
Once completely cool, it’s time for the best part – the faces! Use chocolate chips for simple eyes and mouths, or get fancy with icing. My kids love making some happy, some spooky, and some just plain silly.
For extra flair, pipe on green icing stems or leaves. The decorating possibilities are endless – let your inner artist shine! Just try not to eat them all before you’re done decorating.
Tips for Perfect Pumpkin-Shaped Cookies
After making hundreds of these little orange cuties, I’ve picked up some tricks to guarantee bakery-worthy results every time:
- Chill if sticky: If your dough feels too soft after coloring, pop it in the fridge for 20 minutes. This makes shaping those pumpkin ridges so much easier.
- Go for gel: Liquid food coloring can make dough sticky – gel coloring gives you that vibrant pumpkin orange without the mess.
- Underbake slightly: Pull them when the edges just start turning golden – the centers will set as they cool for the perfect soft bite.
- Make extras: Trust me, you’ll want to test at least three cookies for “quality control” before serving!
See? Even your first batch will look like you’ve been baking pumpkins for years!
Ingredient Substitutions and Variations
These pumpkin-shaped cookies are wonderfully adaptable! Here are my favorite ways to mix things up when I’m feeling creative or need to work with what’s in my pantry:
- Gluten-free: Swap the all-purpose flour 1:1 with your favorite gluten-free blend. I’ve had great results with cup-for-cup mixes.
- Natural coloring: Skip the food dye and use 1 tablespoon pumpkin puree mixed into the wet ingredients for a subtle orange hue.
- Spiced version: Add 1/2 teaspoon cinnamon and 1/4 teaspoon nutmeg to the dry ingredients for extra warmth.
- Dairy-free: Coconut oil works beautifully in place of butter – just chill the dough longer before shaping.
Don’t be afraid to play around – every variation I’ve tried has turned out delicious! For more kid-friendly baking ideas, check out these kid-friendly sweet potato breakfast cookies.
Serving and Storing Pumpkin-Shaped Cookies
Here’s the scoop on keeping your pumpkin cookies looking and tasting their best! First, let them cool completely before decorating—warm cookies will make your chocolate chips melt and icing run. For storage, stack them in an airtight container with parchment between layers. They’ll stay fresh at room temperature for 3-4 days (if they last that long!). Want to make ahead? The undecorated cookies freeze beautifully for up to a month—just thaw and decorate when you’re ready to serve!
Nutritional Information
Each pumpkin-shaped cookie contains approximately 120 calories. Remember, nutritional values are estimates and vary based on ingredients used – especially if you go wild with the icing decorations!
Frequently Asked Questions
Can I freeze the dough?
Absolutely! Shape it into balls first, then freeze on a baking sheet before transferring to a freezer bag. They’ll keep for 3 months—just add a few extra minutes to the bake time when ready. My kids love when we have “emergency pumpkin cookies” ready to go!
How do I prevent spreading?
Chilling is key! If your kitchen’s warm, pop the shaped cookies in the fridge for 15 minutes before baking. Also, make sure your butter isn’t too soft—it should leave a slight indent when pressed, not feel greasy.
Can I make these without food coloring?
Sure thing! Try mixing 1 tablespoon pumpkin puree into the wet ingredients for a natural orange tint. The flavor’s subtle, and the cookies stay just as cute (if slightly less vibrant). For another fun fall baking project, try these savory pumpkin and cheddar scones.
What’s the best way to decorate with kids?
Keep it simple—chocolate chips are foolproof! Let them press in pieces while cookies are slightly warm. For icing, put it in squeeze bottles for less mess. Embrace the “imperfect” faces—they’re always the most charming!
Share Your Pumpkin-Shaped Cookies
I’d love to see your pumpkin cookie creations! Tag me in your photos when those adorable orange faces come out of your oven. Nothing makes me happier than seeing families making memories with this recipe – just like I did with my mom all those years ago. If you’re looking for more quick and easy recipes, be sure to explore the site!
Print
Irresistible Pumpkin-Shaped Cookies in Just 3 Easy Steps
- Total Time: 32 minutes
- Yield: 24 cookies
- Diet: Vegetarian
Description
Make fun and festive pumpkin-shaped cookies for Halloween or fall events. These cookies are easy to bake and decorate.
Ingredients
- 2 1/2 cups all-purpose flour
- 1/2 teaspoon baking powder
- 1/4 teaspoon salt
- 1 cup unsalted butter, softened
- 1 cup granulated sugar
- 1 large egg
- 1 teaspoon vanilla extract
- Orange food coloring
- Chocolate chips or icing for decoration
Instructions
- Preheat oven to 350°F (175°C). Line baking sheets with parchment paper.
- Whisk flour, baking powder, and salt in a bowl.
- Cream butter and sugar until light and fluffy. Add egg and vanilla, mixing well.
- Gradually add dry ingredients to the wet mixture. Add orange food coloring until desired shade is reached.
- Roll dough into balls, then flatten slightly. Use a knife to create pumpkin ridges.
- Bake for 10-12 minutes. Let cool before decorating with chocolate chips or icing for the pumpkin face.
Notes
- Chill dough for 30 minutes if too soft to shape.
- Use gel food coloring for vibrant color.
- Store in an airtight container for up to 5 days.
- Prep Time: 20 minutes
- Cook Time: 12 minutes
- Category: Dessert
- Method: Baking
- Cuisine: American




I’ve been absent for a while, but now I remember why I used to love this blog. Thank you, I?¦ll try and check back more often. How frequently you update your website?