 Skip to content
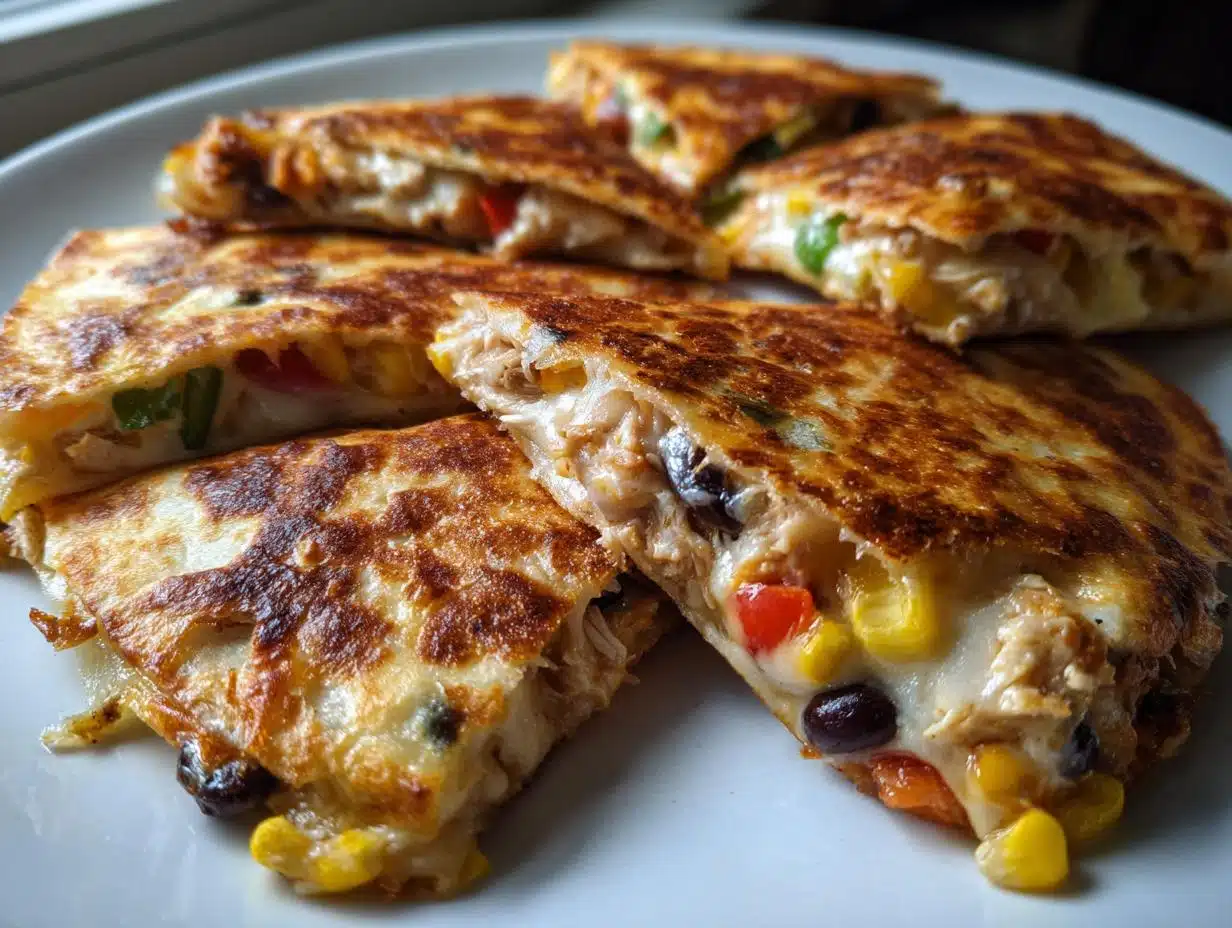
Let me tell you about my favorite kitchen hack for crazy-busy nights – sheet pan quesadillas! I stumbled onto this method last year when my kids were begging for quesadillas but I couldn’t face standing at the stove flipping them one by one (we’ve all been there, right?). The magic happens when you layer everything on a baking sheet – tortillas, cheese, your favorite fillings – then pop it in the oven. Ten minutes later, you’ve got golden, crispy perfection ready to slice into wedges. No more burnt fingers from flipping tortillas, no more arguing over who gets the “best” one – just easy, cheesy goodness for everyone. Trust me, once you try this hands-off method, you’ll never go back to the old way!
Table of Contents
Why You’ll Love These Sheet Pan Quesadillas
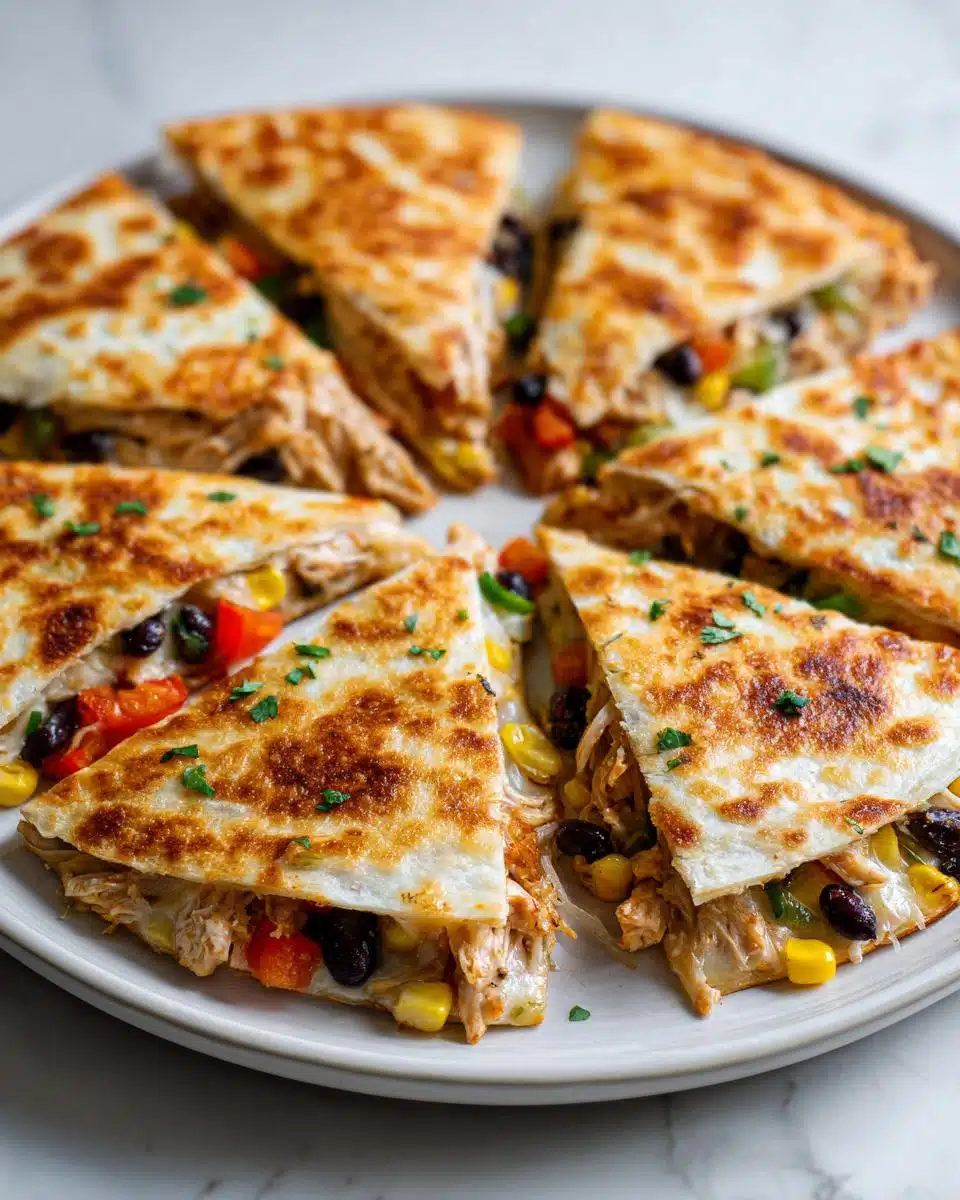
Oh my gosh, where do I even start with why these are the best? Let me count the ways:
- One-pan wonder: Say goodbye to flipping individual quesadillas – everything bakes together on one sheet pan! (And yes, that means WAY fewer dishes to wash)
- Customizable to the max: Got picky eaters? No problem! Make half with chicken, half vegetarian, or let everyone build their own section of the pan.
- Perfectly crispy every time: The oven gives you that golden, crunchy exterior we all crave without any burned spots.
- Weeknight superhero: From fridge to table in under 30 minutes – even on soccer practice nights!
- Crowd-pleasing magic: Whether it’s family dinner or game day snacks, these disappear faster than you can say “more guac, please!”
Ingredients for Sheet Pan Quesadillas
Here’s everything you’ll need to make these cheesy wonders – I’ve separated them so you can easily scan the list while prepping (because we all know that mid-recipe “Wait, did I add the…” panic!).
The Essentials:
- 4 large flour tortillas (about 10-inch size – burrito style works great)
- 2 cups shredded cheese (I use a Mexican blend, but sharp cheddar is fantastic too)
- 1 tbsp olive oil (the good stuff – you’ll taste it in that crispy crust!)
The Good Stuff (aka Fillings):
- 1 cup cooked chicken, shredded (leftover rotisserie chicken is my secret weapon)
- 1/2 cup black beans, rinsed and drained really well (no one wants mushy quesadillas)
- 1/2 cup corn kernels (fresh, frozen, or canned – just pat them dry if using canned)
The Flavor Boosters:
- 1/4 cup each diced red and green bell peppers (about half a pepper of each)
- 1 tsp taco seasoning (my homemade blend or store-bought – no judgment here)
- 1/4 cup chopped fresh cilantro (optional but HIGHLY recommended)
And don’t forget the sour cream and salsa for serving – because what’s a quesadilla without its best friends?
How to Make Sheet Pan Quesadillas
Ready to make the easiest quesadillas of your life? Here’s my foolproof method – I’ve made this so many times I could do it in my sleep (and honestly, I practically have on those extra-tired weeknights!).
Step 1: Prep the Baking Sheet
First things first – crank that oven to 400°F (200°C) so it’s nice and hot when you’re ready to bake. Grab your biggest baking sheet and line it with parchment paper – this is a non-negotiable for easy cleanup, trust me! Now take your tortillas and brush one side of each with olive oil. I use about 1/2 tablespoon per tortilla, just enough to make them glisten. Place two tortillas oil-side down on the baking sheet, leaving a little space between them (they’ll expand as they bake).
Step 2: Layer Ingredients Evenly
Here’s where the magic happens! Sprinkle half your cheese evenly over the tortillas – this first layer acts like glue for all your fillings. Then scatter the chicken, black beans, corn, and bell peppers evenly across both tortillas. Don’t be shy with the taco seasoning – I like to sprinkle it right over the fillings so every bite is flavorful. Top everything with the remaining cheese (yes, more is better here – it’s what makes that perfect melty pull!). Finally, place the other two tortillas on top, oil-side up. Gently press down so everything sticks together.
Step 3: Bake to Perfection
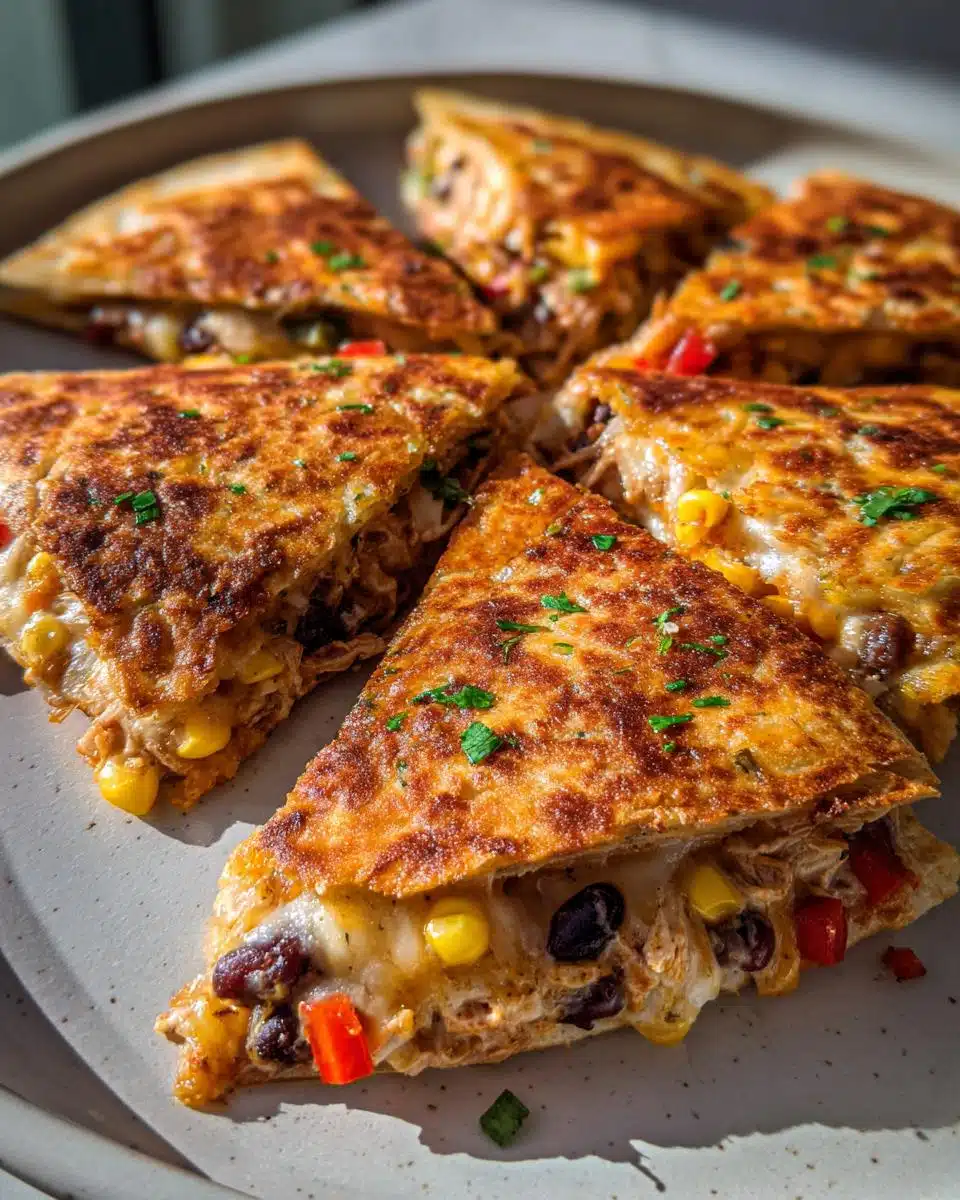
Slide your masterpiece into the hot oven and set a timer for 10 minutes. At around the 8-minute mark, start peeking – you’re looking for that gorgeous golden brown color and the cheese should be bubbling at the edges. If it’s not quite there yet, give it another 1-2 minutes. Once out of the oven, resist the urge to slice immediately (I know, it’s hard!) – let it rest for 2 minutes. This lets the cheese set so you get clean cuts. Then grab your pizza cutter and slice into wedges while everyone gathers around, drooling!
Expert Tips for the Best Sheet Pan Quesadillas
After making these sheet pan quesadillas more times than I can count, I’ve picked up some tricks that take them from good to “Oh my gosh, how did you make these?!” territory:
Press lightly for better sticking: After layering toppings, gently press down with your hands or a spatula – not enough to smash everything, just enough to help ingredients adhere so you don’t lose fillings when slicing.
The golden window: Bake until you see melted cheese bubbling around the edges and the tortilla turns a deep golden (not pale, not burnt!). This usually happens between 10-12 minutes in my oven.
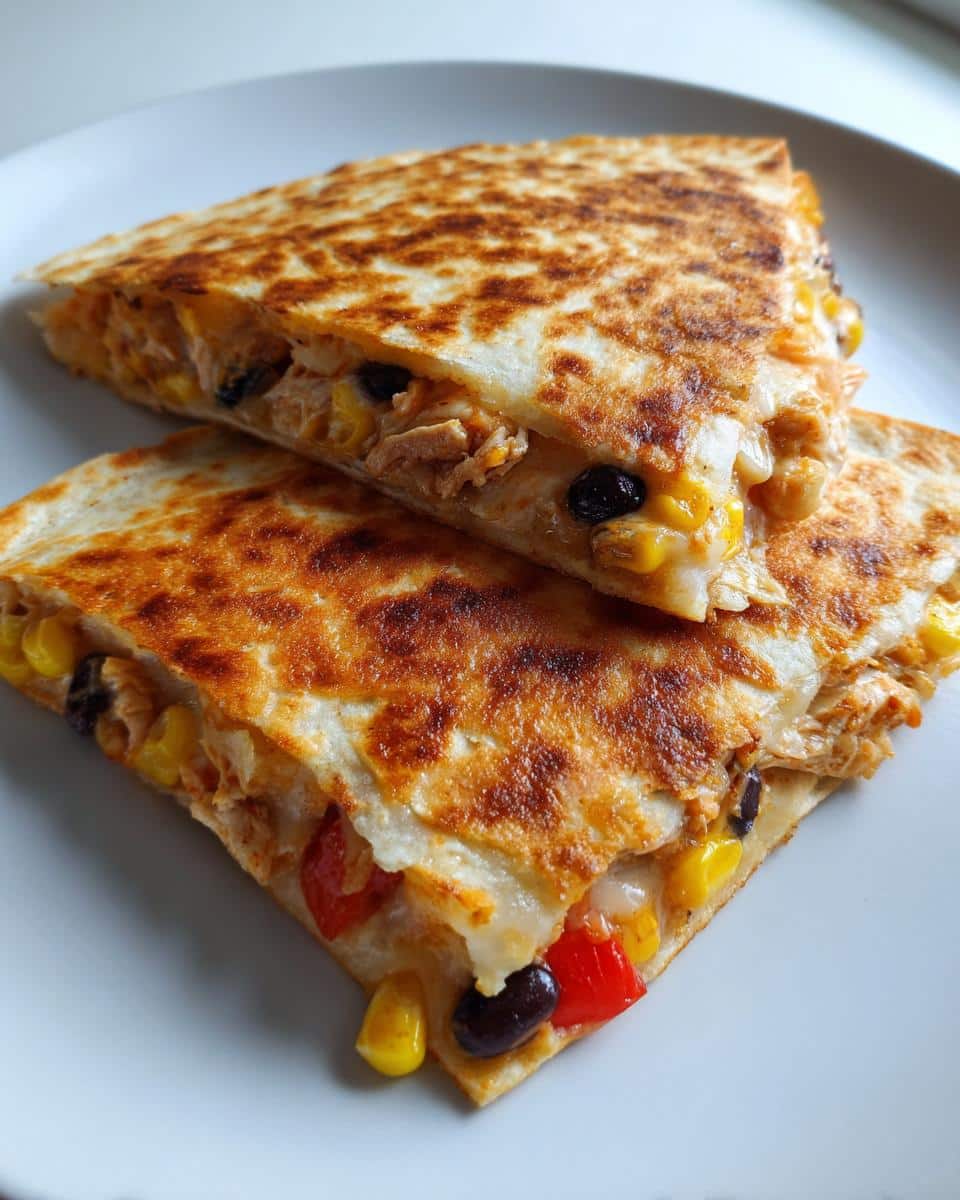
Slice like a pro: Use a pizza cutter for clean wedges. For extra crisp edges, run it under the broiler for 30 seconds after slicing – just watch carefully!
Cheese insurance: Always put cheese on both top and bottom layers – it acts as the perfect glue to hold everything together beautifully.
Customizing Your Sheet Pan Quesadillas
The beauty of these sheet pan quesadillas? They’re basically a blank canvas for whatever flavors you’re craving! Here are some of my favorite ways to mix things up:
For vegetarians: Swap the chicken for sautéed mushrooms or extra black beans. Sometimes I’ll roast some zucchini or eggplant slices first for extra flavor.
Spice lovers: Add sliced jalapeños (fresh or pickled) or a sprinkle of chili powder. My husband swears by adding a dash of chipotle powder for smoky heat.
Protein swaps: Ground beef with taco seasoning works great, or try shredded pork carnitas for something different. Even leftover taco meat is perfect here!
Cheese variations: Pepper jack gives a nice kick, while Monterey Jack melts beautifully. For a fun twist, I’ll sometimes do half mozzarella – it gets that amazing stretch!
Recipe Tips
- Try filling with leftovers like those in the 1-Pan Taco Casserole for even quicker prep.
- Swap ground beef for shredded chicken from the Chicken Fajita Casserole.
- For a meatless version, take inspiration from this Black Bean Sweet Potato Enchilada Casserole.
- Want extra crunch? Add crushed tortilla chips, like in the Dorito Chicken Casserole.
Serving and Storing Sheet Pan Quesadillas
Now for the best part – loading up those golden wedges with all the good stuff! I always serve these right on the sheet pan (fewer dishes, remember?) with bowls of cool sour cream, chunky salsa, and maybe some guacamole if I’m feeling fancy. A sprinkle of extra cilantro makes them look fancy with zero effort. Leftovers? Just pop them in an airtight container – they’ll keep for 2 days in the fridge. To reheat, a quick 5 minutes in the oven brings back that perfect crunch (the microwave works in a pinch, but they won’t be as crispy).
Sheet Pan Quesadillas FAQs
I get asked these questions all the time – here’s everything you need to know to make your sheet pan quesadilla adventures foolproof!
Can I use corn tortillas instead of flour?
You can, but they’ll be more delicate. Corn tortillas tend to crack when folded, so I recommend making two separate layers (like a tostada) rather than folding. Brush both sides with oil and bake at 375°F for a crispier result.
What’s the best way to reheat leftovers?
The oven is your friend here! 5 minutes at 350°F brings back that perfect crunch. If you’re in a hurry, the microwave works (about 30 seconds), but they’ll lose some crispiness – try finishing in a dry skillet to crisp up.
Can I freeze sheet pan quesadillas?
Absolutely! Cool completely, then wrap tightly in foil or plastic wrap. They’ll keep for 2 months frozen. Reheat straight from frozen in a 375°F oven for 10-12 minutes – no thawing needed!
How do I prevent soggy quesadillas?
The key is draining your ingredients well – pat beans and corn dry with paper towels. Also, don’t overstuff! A thin, even layer of fillings works best for maximum crispiness.
Nutritional Information
Here’s the scoop on what’s in these cheesy wonders – but remember, values vary based on your exact ingredients (especially cheese and fillings!). Per hearty wedge serving:
- Calories: 320
- Fat: 14g (6g saturated)
- Protein: 18g
- Carbs: 30g (with 3g fiber)
- Sodium: 480mg
Not bad for something that tastes this indulgent! Using low-fat cheese or loading up on veggies can make it even lighter.
Final Thoughts
There you have it – my foolproof way to make sheet pan quesadillas that’ll change your weeknight dinner game forever! I can’t wait for you to try this method and see how easy (and delicious) it is. When you do, come back and tell me – what fillings did your family go crazy for? Happy baking!
Print
“10-Minute Sheet Pan Quesadillas: Easy & Irresistibly Crispy”
- Total Time: 22 minutes
- Yield: 4 servings
- Diet: Low Lactose
Description
A quick and easy sheet pan quesadilla recipe perfect for busy weeknights. Just layer ingredients on a baking sheet, bake, and cut into slices.
Ingredients
- 4 large flour tortillas
- 2 cups shredded cheese (cheddar or Mexican blend)
- 1 cup cooked chicken, shredded
- 1/2 cup black beans, rinsed and drained
- 1/2 cup corn kernels
- 1/4 cup diced red bell pepper
- 1/4 cup diced green bell pepper
- 1 tsp taco seasoning
- 1 tbsp olive oil
- 1/4 cup chopped cilantro
- Sour cream and salsa for serving
Instructions
- Preheat oven to 400°F (200°C). Line a baking sheet with parchment paper.
- Brush one side of each tortilla with olive oil. Place two tortillas oil-side down on the baking sheet.
- Sprinkle half the cheese evenly over the tortillas. Add chicken, black beans, corn, bell peppers, and taco seasoning.
- Top with remaining cheese and place the other two tortillas on top, oil-side up.
- Bake for 10-12 minutes until golden and crispy. Let cool for 2 minutes.
- Slice into wedges and serve with sour cream, salsa, and cilantro.
Notes
- Swap chicken for beef or keep it vegetarian.
- Add jalapeños for extra spice.
- Store leftovers in an airtight container for up to 2 days.
- Prep Time: 10 minutes
- Cook Time: 12 minutes
- Category: Main Course
- Method: Baking
- Cuisine: Mexican




Comments and Reviews