 Skip to content
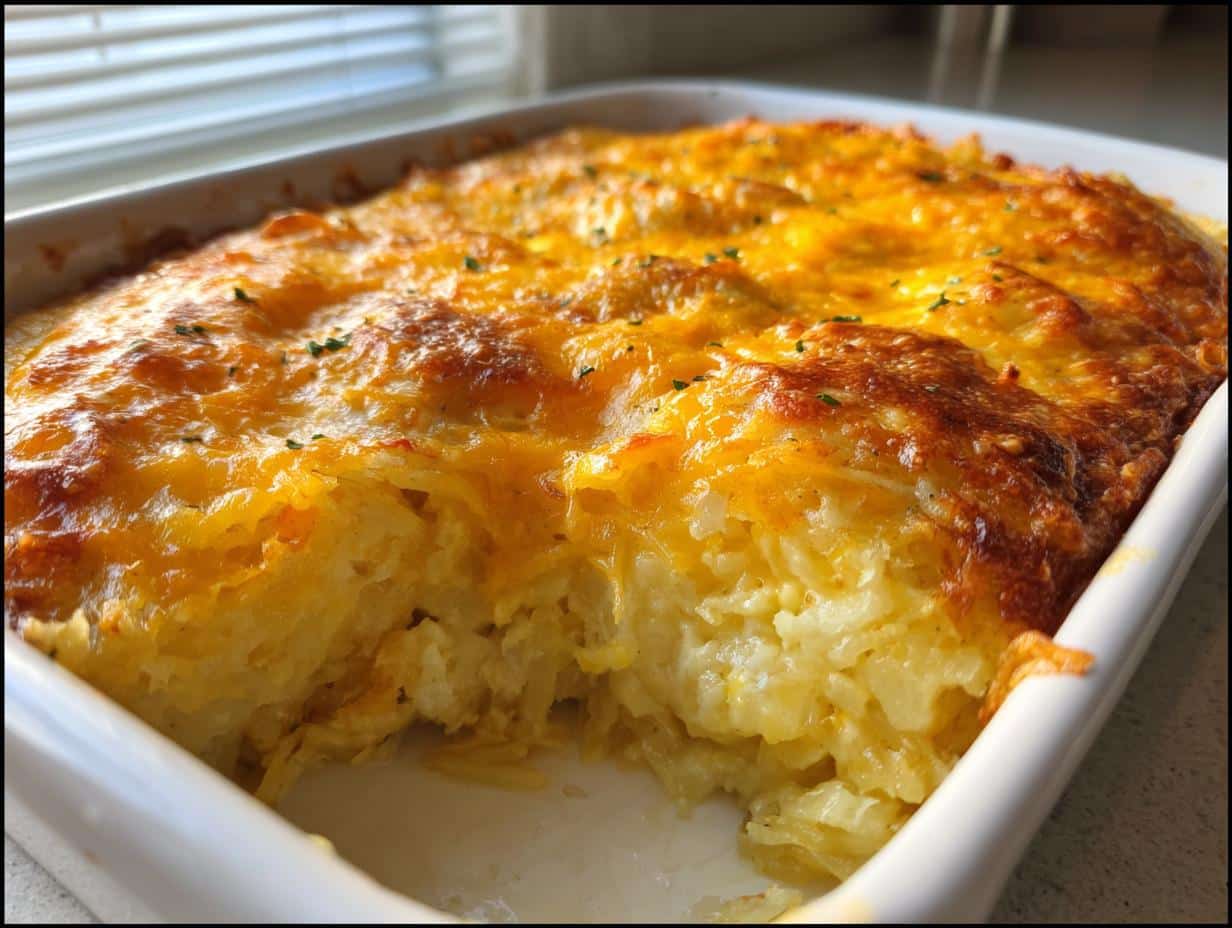
There’s something magical about pulling a golden, bubbly 3-step hashbrown casserole from the oven on a sleepy Sunday morning. The scent of melted cheese and crispy potatoes fills my kitchen, instantly waking up everyone in the house. This recipe became my go-to breakfast solution after discovering it accidentally worked perfectly for my chaotic holiday brunches – when my oven decided to quit mid-cooking! The beauty lies in its simplicity: dump, mix, bake. No fancy techniques, no endless prep – just pure comfort food that disappears faster than you can say “seconds please!” Trust me, this foolproof dish will become your new breakfast hero too.
Table of Contents
Why You’ll Love This 3-Step Hashbrown Casserole
This isn’t just another breakfast dish – it’s your new secret weapon for stress-free mornings and guaranteed happy eaters. Let me tell you why this 3-step hashbrown casserole became my kitchen MVP:
Quick Breakfast Solution
Honestly, I used to dread breakfast prep until this recipe saved my sanity. Those mornings when you’re half-asleep? Just dump everything in one bowl while the oven heats up. The whole active prep takes less time than brewing coffee! Frozen hashbrowns mean no peeling or chopping – just mix and bake. Even my teenager can make it without supervision (and believe me, that’s saying something).
Crowd-Pleasing Flavor
One bite and you’ll understand why my family inhales this casserole. The cheese melts into gooey perfection while the sour cream keeps everything luxuriously creamy. That crispy golden crust? Pure magic. The comforting blend of potatoes, cheese, and just enough seasoning makes even picky eaters come back for thirds. Pro tip: the leftovers (if you have any) taste even better the next day!
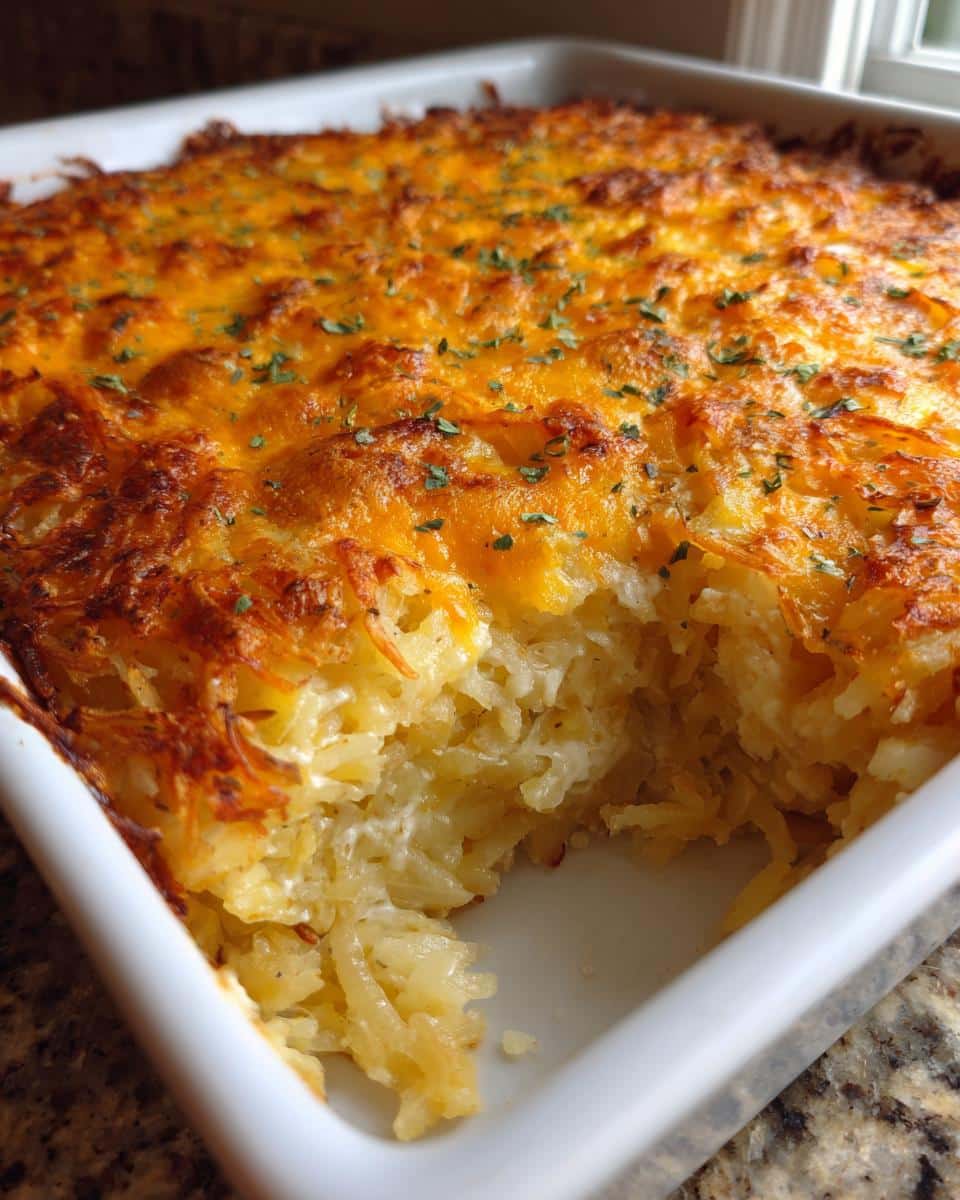
Ingredients for 3-Step Hashbrown Casserole
Gathering the right ingredients makes this hashbrown casserole foolproof – I’ve learned through trial and error what works best. Here’s exactly what you’ll need for that perfect balance of creamy and crispy:
The Essentials
- 1 package (30 oz) frozen hashbrowns – must be thawed overnight in fridge (trust me, frozen potatoes won’t cook evenly!)
- 1 can (10.5 oz) condensed cream of chicken soup – don’t dilute it, straight from the can
- 1 cup sour cream – packed firmly into measuring cup, full-fat works best
The Flavor Boosters
- 1/2 cup butter – melted and slightly cooled (I use unsalted to control sodium)
- 2 cups shredded cheddar cheese – freshly grated melts smoother than pre-shredded
- 1/2 teaspoon salt – adjust to taste after mixing
- 1/4 teaspoon black pepper – freshly cracked adds nice warmth
See? Nothing fancy – just pantry staples that transform into something extraordinary. Now let’s get mixing!
How to Make 3-Step Hashbrown Casserole
Alright, let’s dive into the magic of turning these simple ingredients into the most glorious breakfast masterpiece! I promise it’s easier than you think – just follow my foolproof steps and you’ll have everyone begging for the recipe.
Step 1: Prep and Mix
First, grab your biggest mixing bowl (I learned this the hard way when ingredients went everywhere!). Dump in those thawed hashbrowns – break up any clumps with your hands first. Now pour in the cream of chicken soup straight from the can – no need to stir yet. Dollop that glorious sour cream right on top, then drizzle the melted butter over everything. Here’s my secret: sprinkle half the cheese over the dry ingredients before mixing. This creates little cheesy pockets throughout the casserole!
Now, roll up your sleeves and mix gently but thoroughly. I use a rubber spatula at first, then finish with clean hands to feel for any unmixed spots. The texture should be evenly coated but not soupy – if it seems too dry, add another tablespoon of sour cream.
Step 2: Bake to Perfection
Spread your mixture into the greased baking dish and pat it down gently – this helps create that coveted crispy top layer. Pop it in the preheated oven and set your timer for 30 minutes. At this point, pull it out and sprinkle the remaining cheese evenly across the top (this prevents over-browning). Return to oven for 15-20 more minutes until golden brown and bubbly around the edges.
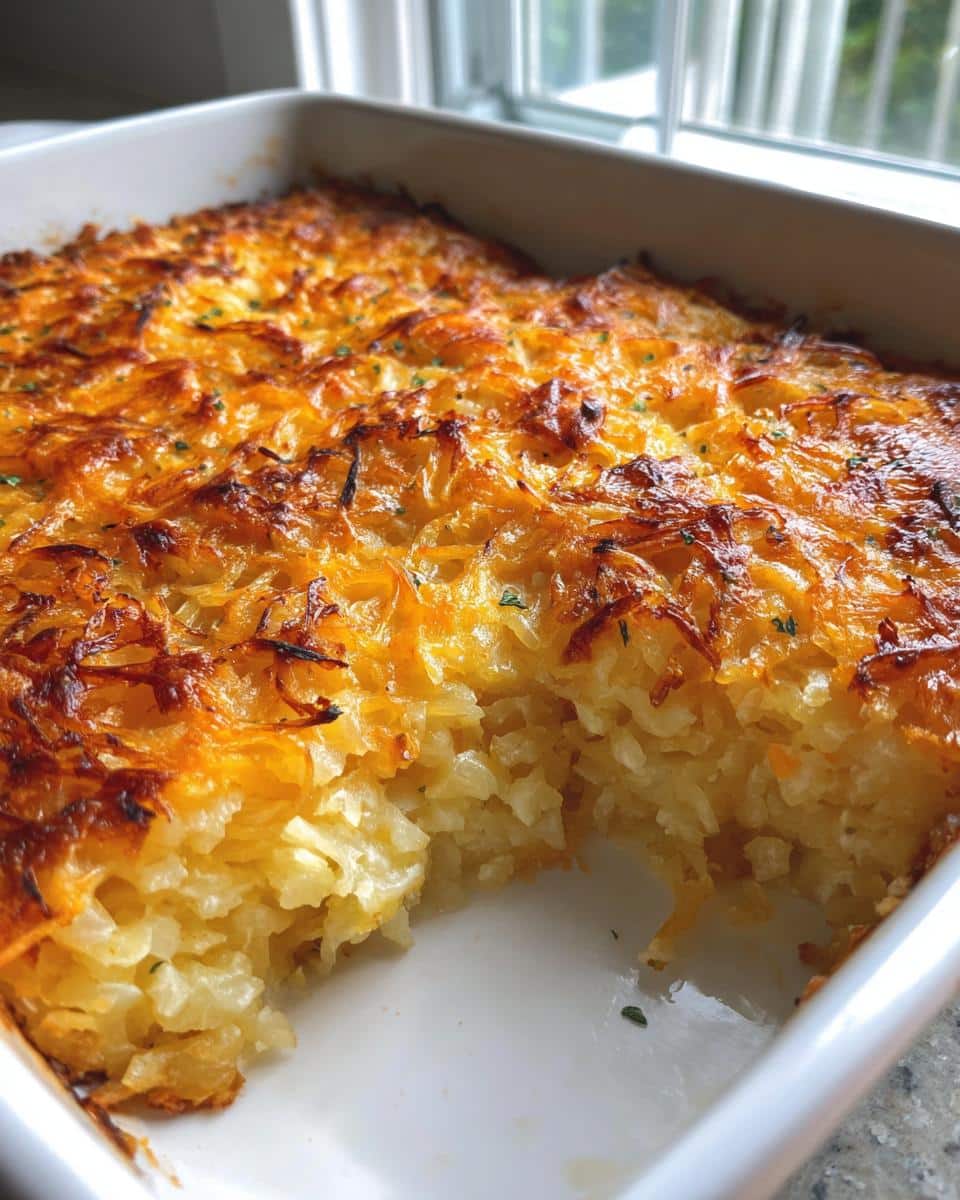
Broiler Tip for Crispiness
For extra crunch, turn on the broiler during the last 2-3 minutes – but WATCH IT LIKE A HAWK! I once got distracted folding laundry and ended up with a charred top (still delicious underneath though). The perfect casserole should sound slightly hollow when tapped in the center.
Serving Suggestions
Let it rest for 5 minutes before cutting – this keeps it from falling apart. I love serving wedges with fresh orange slices to cut through the richness, or crispy bacon strips on the side for protein. On holidays, I’ll drizzle mine with hot sauce or top with chopped green onions for color. Honestly though? It’s spectacular all by itself with just a fork and a hungry appetite!
Expert Tips for the Best 3-Step Hashbrown Casserole
After making this casserole more times than I can count (and occasionally messing it up spectacularly), I’ve learned all the tricks to guarantee perfect results every single time. These are the little things that make all the difference!
Cheese Variations
While sharp cheddar is our family favorite, don’t be afraid to mix it up! Swiss cheese gives a lovely nutty flavor that pairs perfectly with ham if you’re adding protein. For a Tex-Mex twist, try pepper jack and stir in some diced green chiles. My neighbor swears by smoked gouda – just remember to reduce the salt slightly since smoky cheeses pack more flavor. If you’re feeling fancy, blend three cheeses (I do cheddar, mozzarella, and parmesan) for extra depth.
One golden rule: always grate your own cheese if possible. Those pre-shredded bags contain anti-caking agents that can make your casserole slightly grainy. And here’s my secret – save a handful of cheese to sprinkle on top during the last 15 minutes for that perfect golden crust without over-browning.
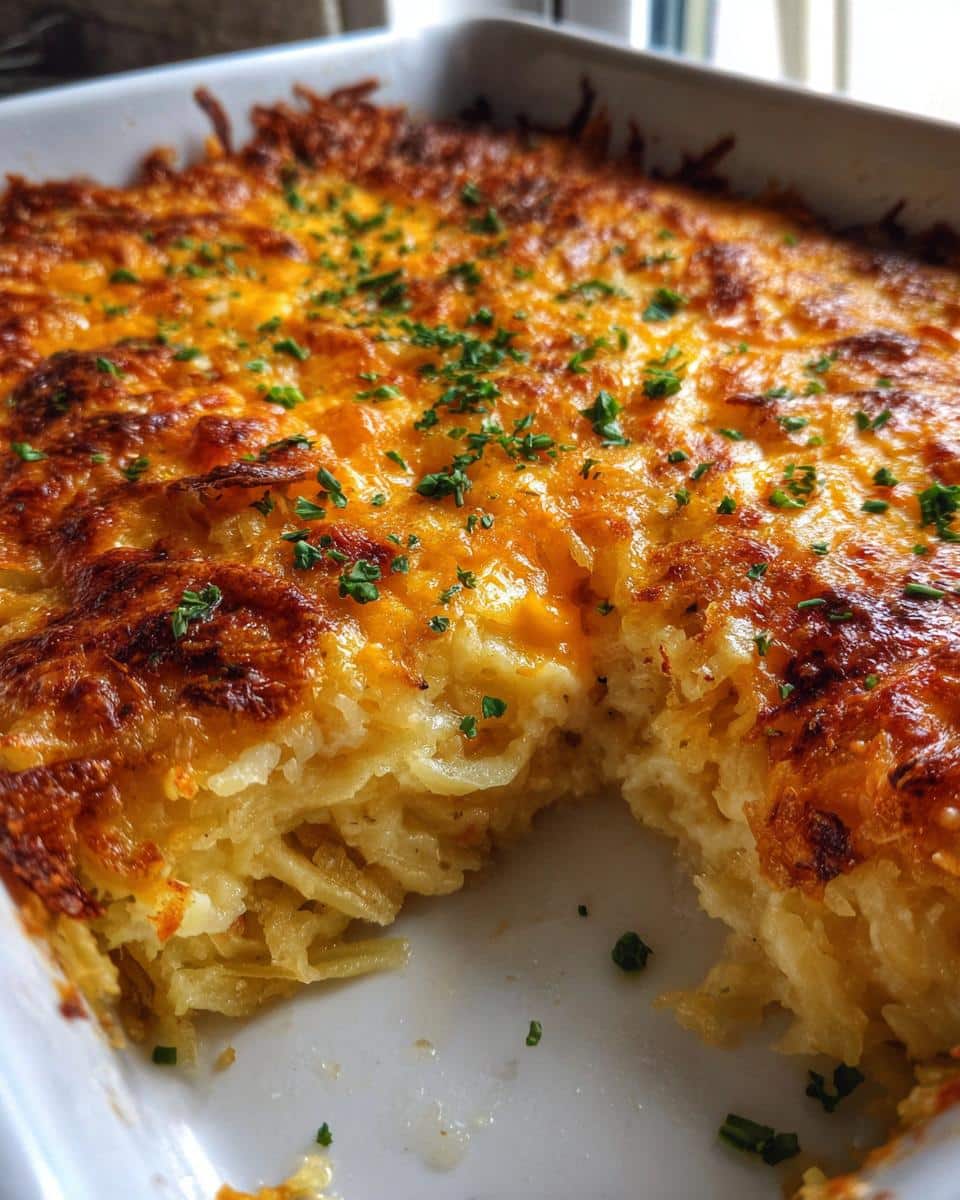
Storing and Reheating Your Hashbrown Casserole
Here’s the beautiful thing about this casserole – it practically gets better overnight! Let it cool completely, then cover tightly with foil or transfer to an airtight container. In the fridge, it’ll stay fresh for 3-4 days (though mine never lasts that long). For longer storage, wrap individual portions in plastic wrap before freezing – they’ll keep for 2-3 months. When reheating, I pop cold slices in the microwave for 1-2 minutes or bake at 350°F until heated through (about 15-20 minutes). Pro tip: sprinkle a few drops of water over the top before reheating to keep it from drying out!
FAQ: 3-Step Hashbrown Casserole Questions
Can I use fresh potatoes instead of frozen hashbrowns?
You absolutely can, but it changes the texture completely. Fresh potatoes release more moisture, making the casserole wetter. If you go this route, shred russet potatoes and squeeze them dry in a clean towel first. You’ll also need to increase baking time by 10-15 minutes.
What can I substitute for cream of chicken soup?
Cream of mushroom or celery soup work great for vegetarians. For a homemade version, mix 1 cup milk with 2 tablespoons flour, 2 tablespoons butter, and 1 teaspoon chicken bouillon – simmer until thickened. It won’t be quite the same, but still delicious!
Why does my casserole come out watery?
Two likely culprits: either your hashbrowns weren’t fully thawed (ice crystals melt during baking) or you used low-fat dairy. Always thaw potatoes overnight in the fridge and stick with full-fat sour cream for best results. If it happens, just pop it back in the oven for 10 more minutes uncovered.
Can I make this ahead and refrigerate before baking?
Yes! Assemble everything except the final cheese topping, cover tightly, and refrigerate overnight. Let it sit at room temp for 30 minutes before adding the cheese and baking – you may need 5-10 extra minutes in the oven.
Is this breakfast casserole freezer-friendly?
It freezes beautifully! Cool completely, then wrap individual portions in foil before freezing. To reheat, bake frozen at 350°F for 25-30 minutes or microwave single servings for 2-3 minutes, stirring halfway through.
Estimated Nutritional Information
Now, let’s talk numbers – but remember, these are just estimates based on standard ingredients. Your exact nutrition will vary depending on the brands you use (I learned this when my “light” sour cream experiment cut calories but sacrificed creaminess!). Per serving, you’re looking at roughly: 320 calories, 22g fat (12g saturated), 580mg sodium, and 8g protein. Not bad for something this indulgent tasting! For precise counts, I’d recommend plugging your specific ingredients into a nutrition calculator – but honestly? Some mornings are just meant for enjoying the cheesy goodness without overthinking it.
Share Your Experience
Nothing makes me happier than hearing how this 3-step hashbrown casserole turned out in your kitchen! Did your family go crazy for it? Maybe you added your own special twist? Drop me a note below – I read every single comment while nibbling on leftover casserole (purely for quality control, of course).
Print
35-Minute 3-Step Hashbrown Casserole: Cheesy Bliss!
- Total Time: 1 hour
- Yield: 8 servings
- Diet: Vegetarian
Description
A simple and delicious 3-step hashbrown casserole perfect for breakfast or brunch.
Ingredients
- 1 package (30 oz) frozen hashbrowns, thawed
- 1 can (10.5 oz) condensed cream of chicken soup
- 1 cup sour cream
- 1/2 cup butter, melted
- 2 cups shredded cheddar cheese
- 1/2 teaspoon salt
- 1/4 teaspoon black pepper
Instructions
- Preheat oven to 350°F (175°C). Grease a 9×13 inch baking dish.
- In a large bowl, mix all ingredients until well combined.
- Spread mixture evenly in prepared baking dish. Bake for 45-50 minutes or until golden brown and bubbly.
Notes
- Let stand 5 minutes before serving.
- For crispier top, broil for 2-3 minutes after baking.
- Store leftovers refrigerated for up to 3 days.
- Prep Time: 10 minutes
- Cook Time: 50 minutes
- Category: Breakfast
- Method: Baking
- Cuisine: American



